
📑 Table of Contents ▶
Sourdough Starter
The first time I made sourdough starter, I felt a surge of excitement. The thought of creating something from just flour and water seemed almost magical. I remember sitting in my kitchen, watching as my mixture bubbled and transformed over the days. It felt like nurturing a little pet. I was on a quest to master sourdough bread, and it all began with that simple starter.
Watching the bubbles rise in the starter, I often imagined the warm, delicious loaves of bread I’d make from it. Like so many, I started with a basic recipe and crafted my own variations along the way. It was an incredible experience to witness how just a few ingredients could create a living culture that would elevate my baking.
Creating a sourdough starter not only connected me to the baking process but also provided an ever-present companion in my kitchen. Each feeding transformed my flour and water mixture, paving the way for countless baking adventures. The sense of achievement that came from nurturing and cultivating my starter motivated me to dive deeper into the world of sourdough.
Understanding Sourdough Starter
Fundamentals
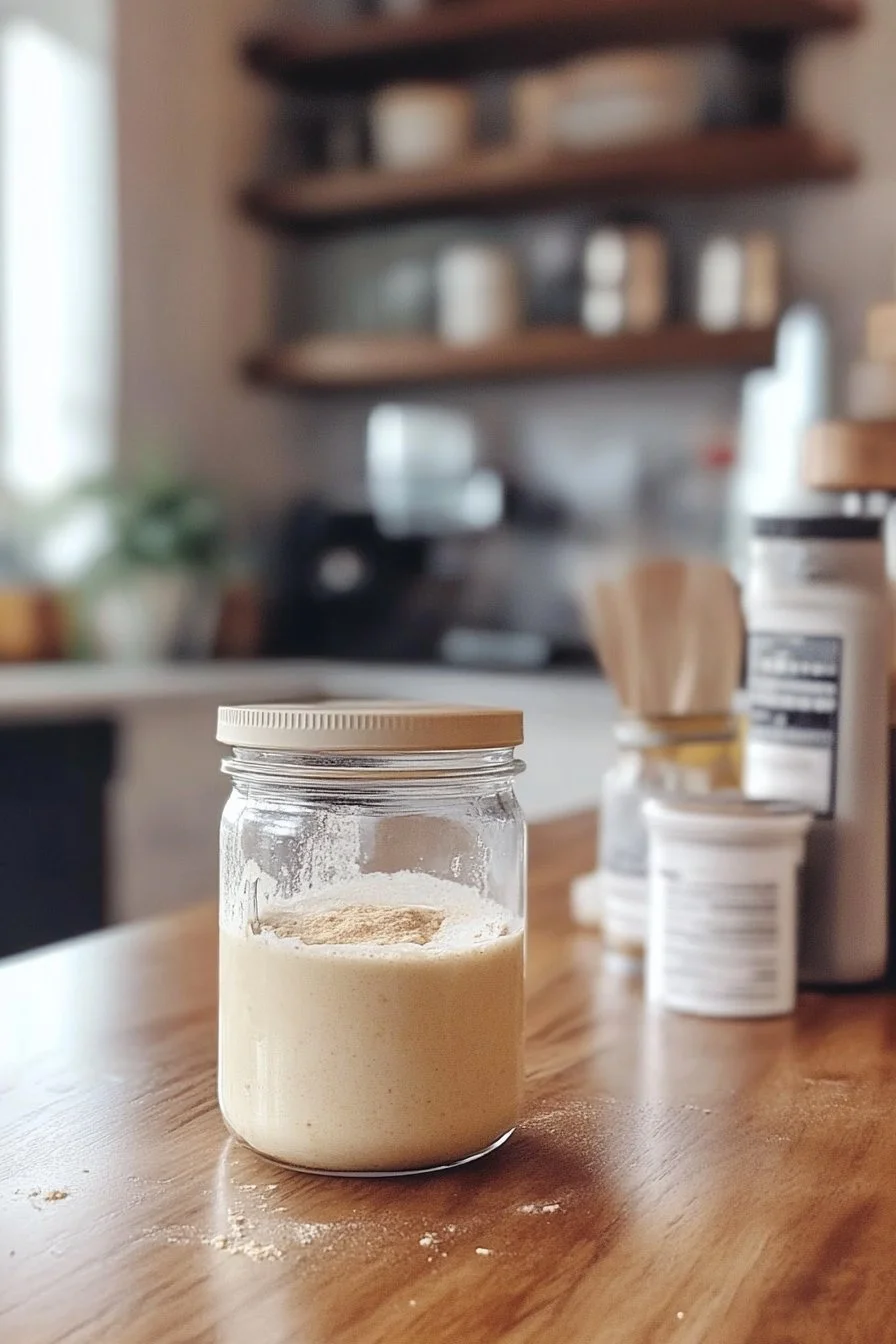
Sourdough starter is a mixture of flour and water left to ferment, capturing wild yeast and bacteria from the environment. This natural fermentation process creates a vibrant ecosystem that leavens bread. Knowing the basics behind a sourdough starter sets the stage for exciting baking endeavors. It’s not just about ingredients but the science behind fermentation that truly brings your baking to life.
Preparation/setup
To prepare your sourdough starter, find a large bowl to hold all your ingredients. Make sure to clean and sanitize the bowl properly to prevent any unwanted bacteria from spoiling your starter. Create a warm environment in your kitchen, as this helps the fermentation process. A consistent temperature around 70-75°F works best for nurturing the yeast.
Ingredients
You will need:
- 1 cup all-purpose flour
- 1/2 cup water
- 1/2 cup whole grain flour (optional)
- 1 tablespoon sugar or honey (optional)
Gather these simple ingredients before starting the process. The optional whole grain flour can enhance flavor and activity levels in your starter. The sugar or honey isn’t necessary, but it can kickstart fermentation, especially in the beginning stages.
Directions
- In a large bowl, mix together the all-purpose flour and 1/2 cup of water until you have a thick paste. If you’re using whole grain flour, you can add it in at this stage.
- Cover the bowl with a clean cloth or plastic wrap and let it sit at room temperature for 24 hours.
- After 24 hours, discard half of the mixture and add another 1/2 cup of water and 1 cup of flour. Stir until combined, then cover and let it sit again.
- Repeat this feeding process once every 24 hours. You should start to see bubbles forming after about 3 days.
- Continue feeding your starter until it is bubbly and has doubled in size, usually around 5-7 days. At this point, it is ready to use for baking sourdough bread!
Cultivating Your Sourdough Starter
Technique
Cultivating a sourdough starter requires consistency. Follow the daily feeding routine diligently. At each feed, ensure you discard half of the mixture, which maintains the balance of yeast and bacteria. This process encourages a healthy fermentation environment and prevents it from becoming overly acidic.
Utilize room temperature to your advantage. If your kitchen is too cool, consider finding a warmer spot or using a proofing box. This careful attention to temperature ensures your sourdough starter thrives and becomes bubbly quickly.
Tips/tricks
- Use filtered or bottled water if your tap water has a heavy chlorine smell. This slight adjustment can drastically improve the health of your starter.
- If your starter isn’t bubbling after a few days, check the temperature or consider changing the flour type. Sometimes, switching to a whole grain flour can reignite fermentation.
Keep a journal of your starter’s progress. Note any changes you observe during the feeding phases. You’ll see patterns emerge that help you understand your starter’s needs and preferences.
Perfecting Your Sourdough Starter
Troubleshooting/variations
If your sourdough starter develops an off smell or discoloration, you may need to start over. However, if it smells sour but not rotten, it’s likely fine. Just make sure to feed it regularly. Occasionally, a thin layer of liquid (known as “hooch”) might form on the surface. This indicates your starter needs more food – simply stir it back in or pour it off, then feed as usual.
Experimenting with your starter can lead to exciting variations. Incorporating rye flour or spelt flour adds different flavors and enhances fermentation. Each type of flour contributes unique characteristics to the starter, giving your sourdough an edge.
Perfecting results
To achieve a well-risen and flavorful bread, use your sourdough starter when it is at its peak activity. Generally, this occurs 4-6 hours after the last feeding. Look for a bubbly, prominent mixture that has doubled in size. This is the sweet spot for optimal leavening power.
Consider timing your baking around your starter’s feeding schedule. Baking in the morning after an evening feed ensures that your starter is robust and active when it comes time to incorporate it into your dough.
Using Your Sourdough Starter
Serving/presentation
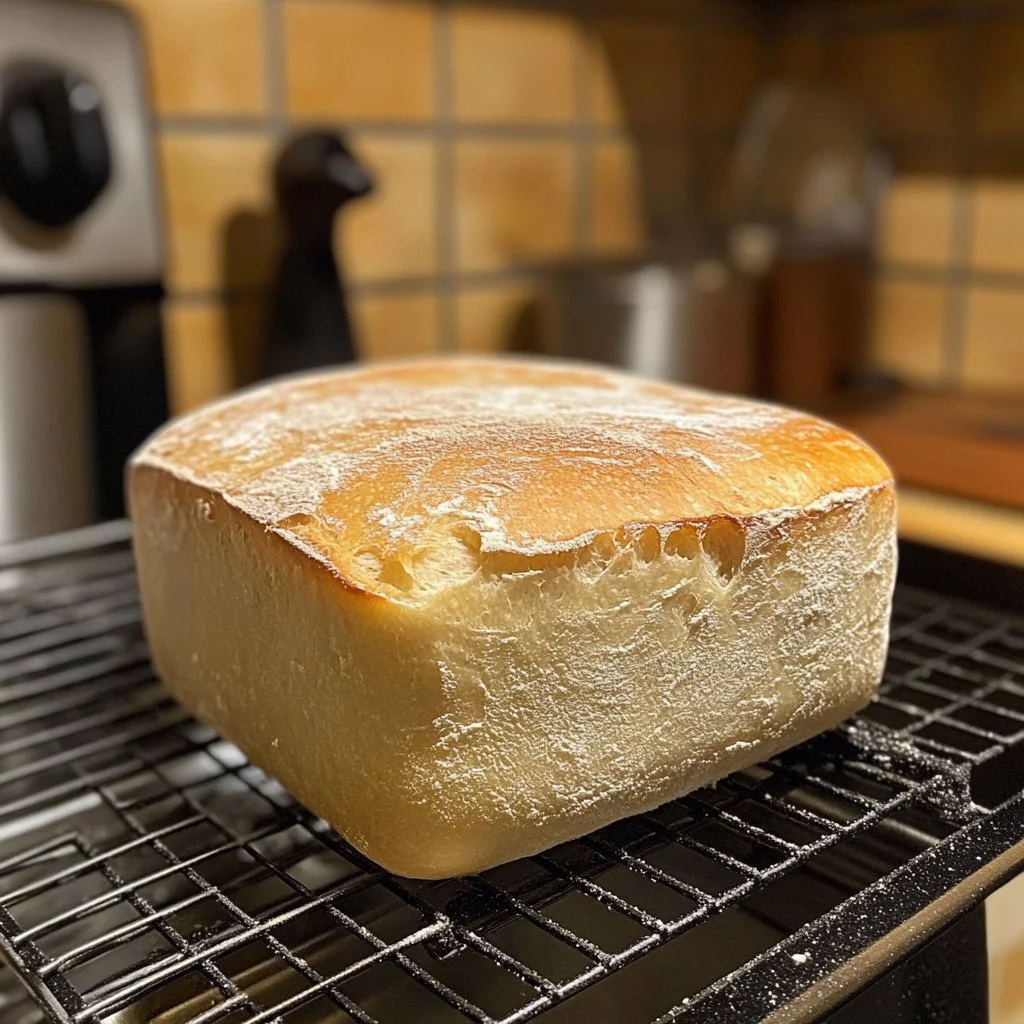
After using your sourdough starter in your bread dough, you’ll want to present it beautifully. Freshly baked sourdough loaves often have an appealing crust and are delightful served warm. To showcase the gorgeous texture, slice the loaf just before serving. You can pair it with olive oil, herbs, or spreads for a tasty appetizer or accompaniment.
Take pride in the appearance of your loaves — a golden-crisp crust and a soft, chewy interior speak volumes about the quality of your starter and your baking skills.
Pairings/storage
Though not pairing with traditional beverages like wine, your sourdough bread shines when paired with a variety of foods. Delicious accompaniments include homemade dips, soups, cheeses, or even spreads. Store your bread in a paper bag at room temperature to keep the crust crisp while retaining moisture.
Additionally, extend the life of your sourdough starter by keeping it in the fridge if you aren’t using it daily. Feed it once a week in this case, ensuring you bring it back to room temperature before baking.
Creating and nurturing a sourdough starter opens the door to delightful baking adventures. Through daily care and attention, you can create a reliable companion that significantly enhances your baking repertoire.
Print
Sourdough Starter
- Prep Time: 5 minutes
- Cook Time: 0 minutes
- Total Time: 168 hours
- Yield: 1 starter
- Category: Baking
- Method: Fermentation
- Cuisine: American
- Diet: Vegan
Description
Learn how to create and cultivate your own sourdough starter from just flour and water, transforming your baking experience.
Ingredients
- 1 cup all-purpose flour
- 1/2 cup water
- 1/2 cup whole grain flour (optional)
- 1 tablespoon sugar or honey (optional)
Instructions
- In a large bowl, mix together the all-purpose flour and 1/2 cup of water until you have a thick paste. If using whole grain flour, add it in at this stage.
- Cover the bowl with a clean cloth or plastic wrap and let it sit at room temperature for 24 hours.
- After 24 hours, discard half of the mixture and add another 1/2 cup of water and 1 cup of flour. Stir until combined, cover, and let sit again.
- Repeat this feeding process once every 24 hours. You should start to see bubbles forming after about 3 days.
- Continue feeding your starter until it is bubbly and has doubled in size, usually around 5-7 days. At this point, it is ready to use for baking sourdough bread!
Notes
Use filtered water for best results and keep a journal to track your starter’s progress.
