📑 Table of Contents ▶
Oyakodon Recipe
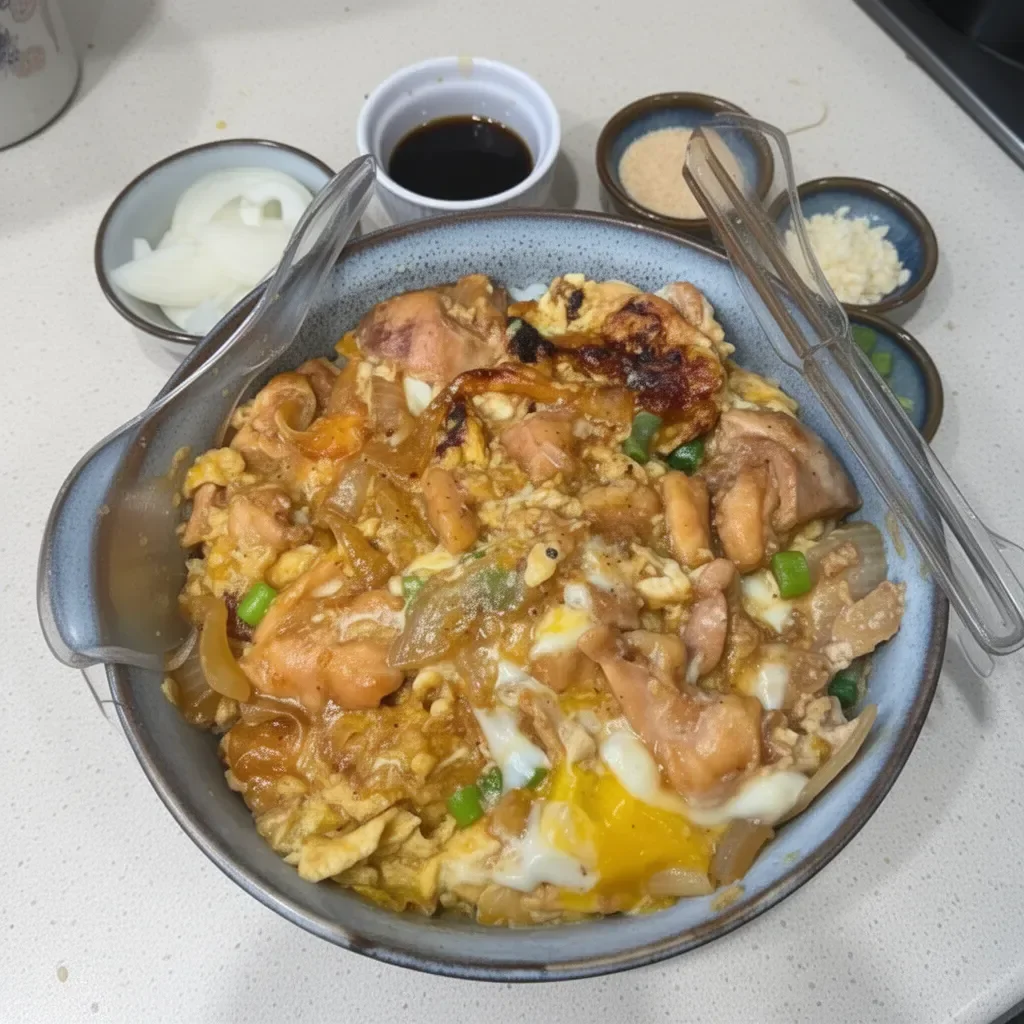
Personal experiences often shape our culinary journeys, especially those that involve comforting meals like Oyakodon. I still remember the first time I made this delightful dish at home. I found myself captivated by its simplicity and heartwarming flavors, and I instantly knew it would become a staple in my kitchen. The combination of tender chicken, fluffy eggs, and savory sauce over rice creates the balance every dinner should have.
The term "Oyakodon" translates to "parent-and-child donburi," representing the chicken and egg in the dish. It’s a dish that tells a story of familial love and togetherness, emphasizing the importance of sharing meals with those we cherish. The flavors intertwine in such a way that they bring back memories of family dinners and warm gatherings.
In the pursuit of easy yet flavorful chicken recipes, Oyakodon stands out as a fantastic option. It utilizes common ingredients to create a comforting dish that can elevate any weeknight dinner. Simple and satisfying, this recipe shines brightly on the dinner table, inviting everyone to dig in.
Oyakodon’s Essentials
Fundamentals
Oyakodon embodies simplicity while delivering an explosion of flavors. The traditional Japanese dish consists of chicken and eggs simmered together in a savory sauce. It’s usually served over rice, making it a complete meal on its own. The magic of Oyakodon lies in its balance of ingredients, which harmonize beautifully to create a dish everyone loves.
In this recipe, skinless and boneless chicken thighs serve as the star, offering tenderness that pairs flawlessly with eggs. The combination of dashi powder, soy sauce, mirin, and brown sugar provides a rich, umami-packed sauce that coats each ingredient.
Preparation/setup
Before diving into the cooking process, prepare all your ingredients to streamline your workflow. Start by deboning the chicken thighs and cutting them into small cubes, as this allows them to cook evenly and absorb the flavors. Make sure to dice the onions and mince the garlic, as these aromatic ingredients contribute to the dish’s depth.
Separating the scallion whites from the greens will also add a nice presentation to your final dish. Ensuring everything is prepped and within reach will make your cooking experience enjoyable and fuss-free.
Ingredients
Gather the following ingredients for a delicious Oyakodon that serves two:
- Rice (2 servings)
- 4 Eggs
- 4 Chicken thighs (skinless and boneless)
- 2 Scallions (white and greens separated)
- 1 Onion (diced)
- 3 cloves Garlic (minced)
- 3 tbsp Mirin
- 4 tbsp Light Soy sauce
- 2 gr Dashi Powder (Japanese stock powder)
- 2 tbsp Brown Sugar
Directions
- Boil water and cook rice according to packaging instructions. Set aside.
- Debone and remove the skin from the chicken thighs. Cut the meat into small cubes.
- Dice the onions into chunks and finely chop the scallions and garlic. Separate the white parts from the green parts of your scallions.
- In a bowl, mix together the chicken cubes, dashi powder, soy sauce, 1 cup of water, mirin, and brown sugar.
- In a pan, cook scallion whites, garlic, and onions on medium heat with vegetable oil until soft.
- Once the onions soften, add the chicken mixture from the bowl to the pan. Let it cook on medium heat for 8-9 minutes.
- Meanwhile, whisk the 4 eggs in a bowl until they reach 85% consistency.
- Gently pour the beaten eggs over the chicken and sauce mixture. Cook for another 4 minutes, allowing the eggs to set but remain slightly runny.
- Sprinkle chopped scallion greens over the dish.
- Serve the Oyakodon over a bowl of steamed rice.
Mastering Oyakodon Techniques
Technique
The cooking technique for Oyakodon focuses on one-pan preparation, making it both efficient and easy. Start by sautéing the aromatics—garlic, scallions, and onions—allowing their flavors to infuse the oil and create a fragrant base. Once they soften, you add the chicken mixture, stirring occasionally to ensure even cooking.
As the chicken cooks, it absorbs the flavors from the sauce. This step is vital to achieving a well-rounded taste. When it’s time to pour in the eggs, do so gently to maximize the texture. The goal is to keep the eggs slightly runny, which adds a creamy element to the overall dish.
Tips/tricks
To elevate your Oyakodon experience, consider these tips:
- Marinate the chicken in soy sauce and mirin for about 30 minutes before cooking to enhance the flavor.
- If you prefer a thicker sauce, reduce the cooking liquid for an extra minute before adding the eggs.
- For added texture, sprinkle some furikake (a Japanese seasoning) on top before serving, giving the dish a delightful finishing touch.
With these simple strategies, you can achieve restaurant-quality Oyakodon straight from your kitchen.
Perfecting Your Oyakodon
Perfecting results
The secret to perfecting your Oyakodon lies in timing and heat control. Each ingredient should cook just enough to maintain its texture while allowing the flavors to meld beautifully. Ensuring the eggs remain slightly runny is key; they will continue to cook from residual heat after being poured over the chicken.
In addition, cooking the chicken with the sauce means the flavors penetrate deeply into the meat, resulting in a dish that bursts with umami. If you’re aiming for tender chicken, keep the cooking time precise and don’t rush through the process.
Troubleshooting/variations
If your Oyakodon turns out a bit too salty, simply balance it with additional rice or add a splash of water to dilute the sauce. You can also alter the sweetness by adjusting the amount of brown sugar or mirin to suit your taste.
For variations, you might experiment with adding vegetables like peas or carrots for extra color and nutrition. Alternatively, substitute chicken with tofu or seafood for a different twist, while keeping the same savory sauce.
Serving Oyakodon
Serving/presentation
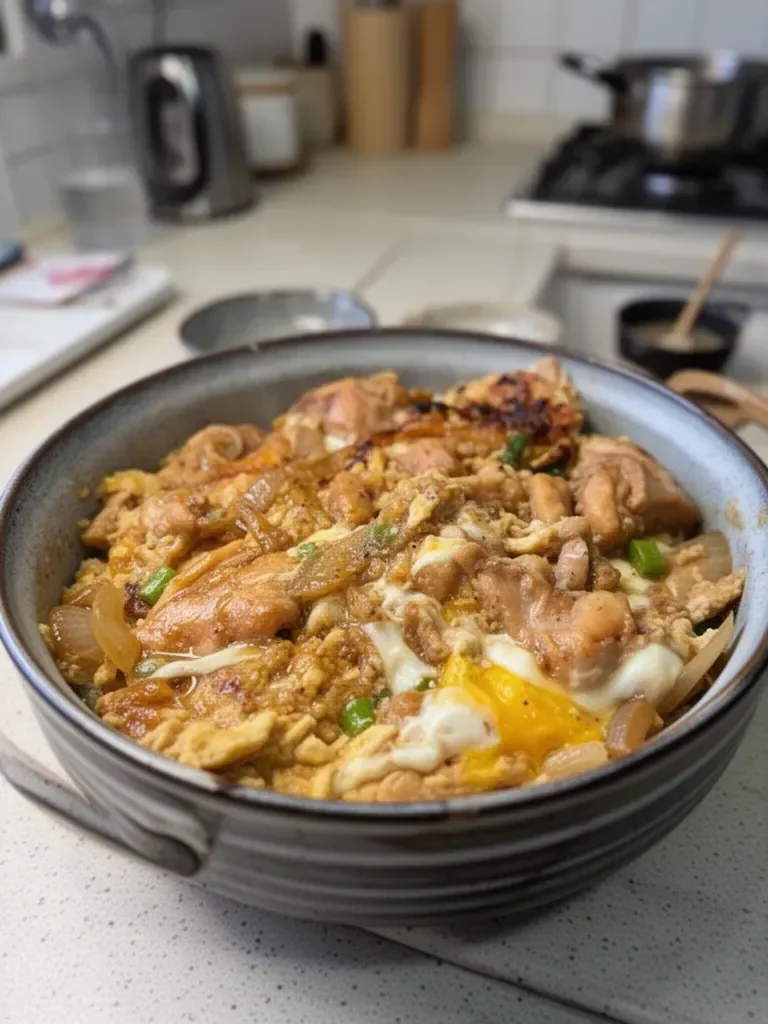
Serving Oyakodon is part of the joy of this dish. Ladle the chicken and egg mixture generously over a bowl of fluffy rice, allowing the sauce to soak into the grains. This dish often comes with garnishes like chopped scallion greens which add a pop of color and fresh flavor.
Consider serving it in individual bowls to add a personal touch to your meal. The vibrant presentation makes Oyakodon a perfect centerpiece for any dinner table, drawing everyone’s attention.
Pairings/storage
Oyakodon shines on its own, but you can pair it with side dishes like pickled vegetables or a light salad to create a balanced meal. For drinks, consider serving green tea or even a refreshing non-alcoholic beverage that complements the meal.
If you have leftover Oyakodon, store it in an airtight container in the refrigerator for up to two days. Reheat gently on the stove or in the microwave, adding a splash of water to maintain moisture in the sauce.
Oyakodon embodies the art of home cooking with its comforting flavors and ease of preparation. Each bite offers a gentle reminder of the joys of sharing simple meals with loved ones. The blend of chicken and eggs creates a warm sensation that resonates well any time of the year.
Making Oyakodon is not just about following steps; it’s about infusing each part of the process with your flair and love for food. The next time you find yourself wondering what to cook, remember this Japanese classic—it will not disappoint. Enjoy the experience of making Oyakodon as much as indulging in it!
Print
Oyakodon
- Prep Time: 10 minutes
- Cook Time: 20 minutes
- Total Time: 30 minutes
- Yield: 2 servings
- Category: Main Course
- Method: Stovetop
- Cuisine: Japanese
- Diet: Non-Vegetarian
Description
A comforting Japanese dish that combines tender chicken, fluffy eggs, and savory sauce served over rice.
Ingredients
- 2 servings Rice
- 4 Eggs
- 4 Chicken thighs (skinless and boneless)
- 2 Scallions (white and greens separated)
- 1 Onion (diced)
- 3 cloves Garlic (minced)
- 3 tbsp Mirin
- 4 tbsp Light Soy sauce
- 2 g Dashi Powder (Japanese stock powder)
- 2 tbsp Brown Sugar
Instructions
- Boil water and cook rice according to packaging instructions. Set aside.
- Debone and remove the skin from the chicken thighs. Cut the meat into small cubes.
- Dice the onions into chunks and finely chop the scallions and garlic. Separate the white parts from the green parts of your scallions.
- Mix together the chicken cubes, dashi powder, soy sauce, 1 cup of water, mirin, and brown sugar in a bowl.
- Cook scallion whites, garlic, and onions on medium heat with vegetable oil until soft.
- Add the chicken mixture from the bowl to the pan. Let it cook on medium heat for 8-9 minutes.
- Whisk the eggs in a bowl until they reach 85% consistency.
- Pour the beaten eggs over the chicken and sauce mixture. Cook for another 4 minutes, allowing the eggs to set but remain slightly runny.
- Sprinkle chopped scallion greens over the dish.
- Serve the Oyakodon over a bowl of steamed rice.
Notes
Marinate the chicken in soy sauce and mirin for about 30 minutes for enhanced flavor.
