📑 Table of Contents ▶
- Why Chicken Tempura is a Family Favorite
- Fundamentals
- Preparation/Setup
- Directions
- Elevating Your Tempura Technique
- Technique
- Tips/Tricks
- Mastering Japanese Chicken Tempura
- Perfecting Results
- Troubleshooting/Variations
- Serving and Enjoying Your Tempura
- Serving/Presentation
- Pairings/Storage
- Light & Crispy Japanese Chicken Tempura
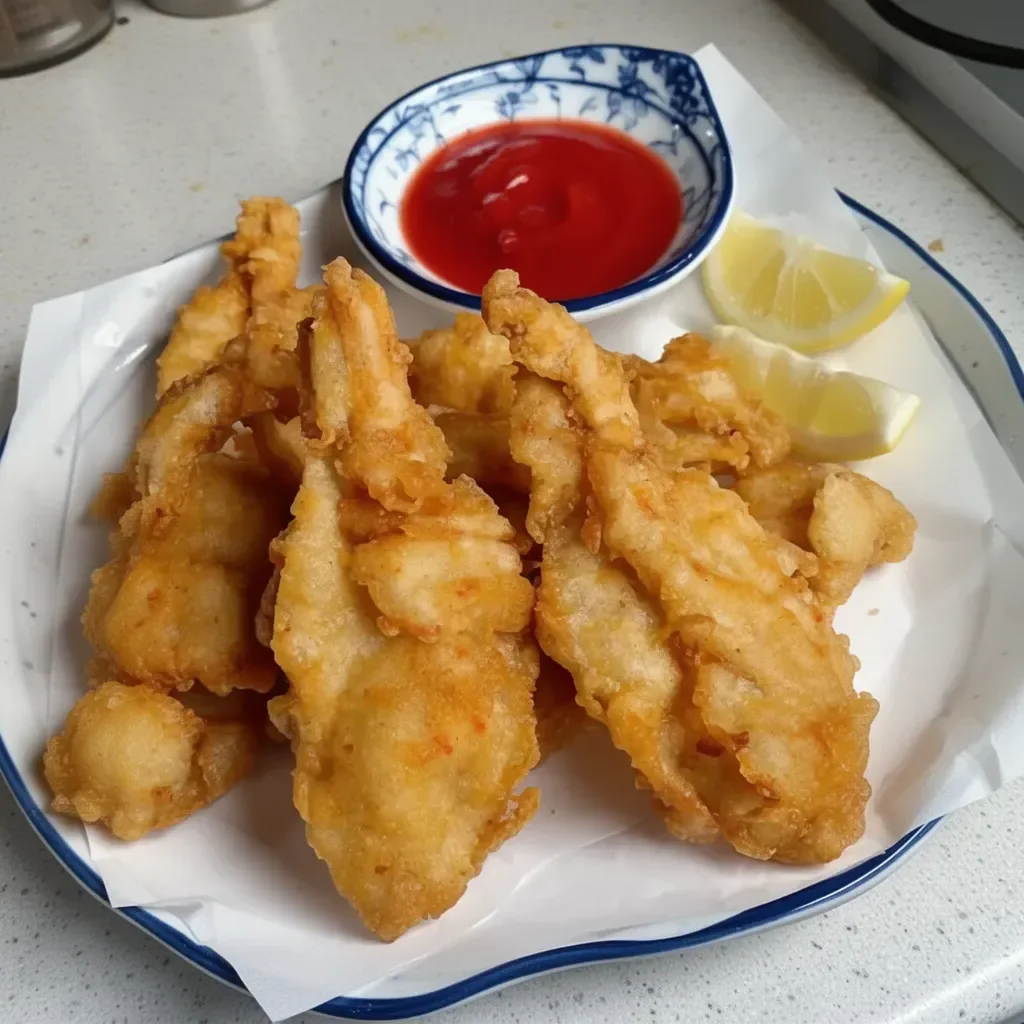
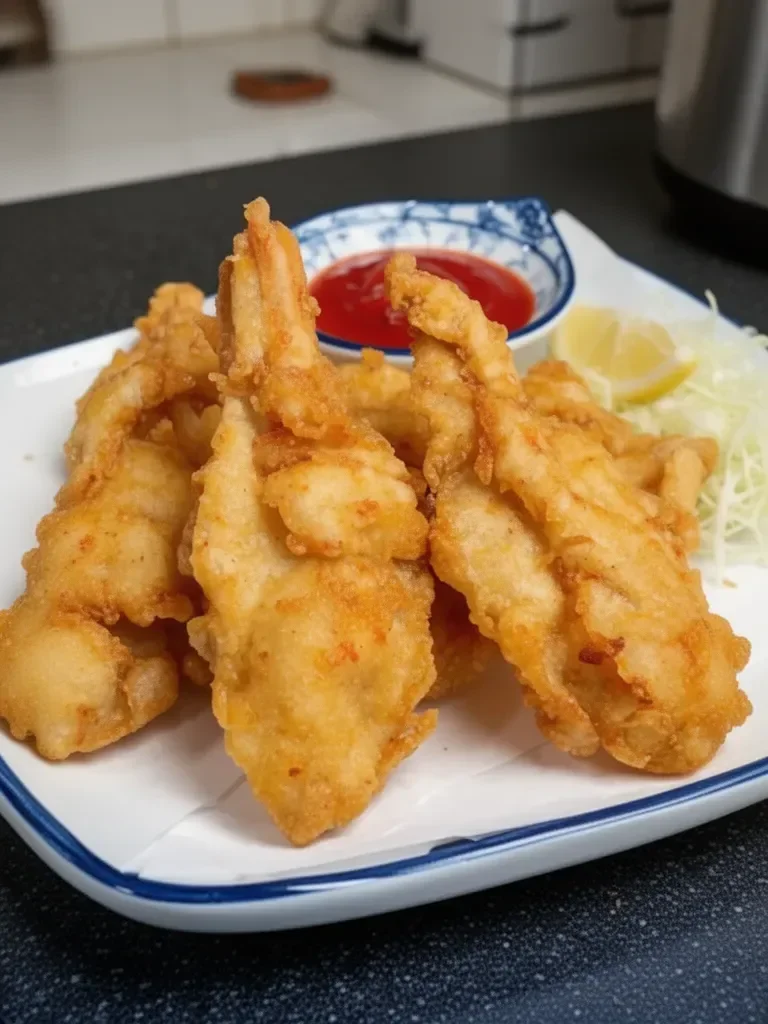
Light & Crispy Japanese Chicken Tempura
Creating a dish like Japanese chicken tempura brings back memories of weekends spent in my grandmother’s kitchen, the enticing aroma of frying food filling the air. I can still hear her laughter and feel her enthusiasm as she shared the secrets to making perfect tempura. The light, airy batter transformed ordinary chicken into an extraordinary experience, and nothing could compare to the crispy texture that danced on my taste buds.
In moments of celebration or simple family dinners, this dish always stole the spotlight. The delight of biting into perfectly fried pieces of chicken, encased in a delicate batter, holds a special place on our dinner table. Let’s embark on a journey to recreate this beloved recipe that promises crispy goodness with every bite. Japanese chicken tempura, with its satisfying crunch, deserves a place in your weeknight meal repertoire.
The beauty of cooking Japanese chicken tempura lies in its simplicity, enabling you to enjoy a restaurant-quality dish at home. With easy-to-follow steps and a handful of ingredients, you can impress friends and family alike. Join in on the fun of frying and discover how this tempura can elevate your chicken dinner experience!
Why Chicken Tempura is a Family Favorite
Fundamentals
Japanese chicken tempura is all about texture—light, crispy, and incredibly satisfying. The batter, made from just a few key ingredients, results in that perfect crunch we all crave. It’s a dish that not only tastes good but also offers a fun cooking experience.
The wonderful thing about tempura is its versatility. While chicken takes the spotlight here, you can also use vegetables or seafood to create variations that excite the palate. The key lies in the technique of frying, which helps maintain that signature lightness while ensuring each piece cooks evenly to provide a succulent treat.
Preparation/Setup
To make the best chicken tempura, start by gathering all ingredients. You’ll need 1 pound of chicken breast, cut into bite-sized pieces, along with 1 cup of all-purpose flour, 1 cup of ice-cold water, a large egg, and a teaspoon of baking powder. Don’t forget to add salt and pepper for seasoning, as these will enhance the flavor of the dish. Vegetable oil is crucial for frying, so ensure you have enough for deep frying.
The preparation is straightforward. Whisk the dry ingredients in one bowl and combine the wet ingredients in another. This separation is essential to achieving a perfect batter that isn’t overmixed, preserving that desired lightness.
Ingredients
- 1 pound chicken breast, cut into bite-sized pieces
- 1 cup all-purpose flour
- 1 cup ice-cold water
- 1 large egg
- 1 teaspoon baking powder
- Salt and pepper, to taste
- Vegetable oil, for frying
Directions
- In a bowl, whisk together the flour, baking powder, and a pinch of salt. In another bowl, mix the ice-cold water with the egg.
- Combine the wet and dry ingredients gently to create a batter (don’t overmix; it’s okay if it’s slightly lumpy).
- Heat about 2 inches of vegetable oil in a deep pan to 350°F (175°C).
- Dip the chicken pieces into the batter, allowing excess to drip off.
- Carefully place the battered chicken in the hot oil, frying in batches to avoid overcrowding.
- Fry until golden brown and crispy, about 4-5 minutes.
- Remove the chicken with a slotted spoon and drain on paper towels.
- Serve immediately with dipping sauce.
Elevating Your Tempura Technique
Technique
The technique of creating a light and crispy tempura batter requires a gentle touch. The ice-cold water plays a crucial role by keeping the batter cooler than the oil, which helps it retain a light texture while frying. Don’t rush the process; allow the oil to reach the ideal frying temperature for the best results.
Another important tip is to fry the chicken in batches. This ensures that each piece has enough room to cook evenly and develop that irresistible crunch. The sound of sizzling in the oil is not just music to your ears but also a sure sign that you’re on your way to perfect chicken tempura.
Tips/Tricks
- Keep your water ice-cold until right before you mix it with the egg. This will help achieve an airy and light batter.
- A lumpy batter is desirable; overmixing can result in a dense texture.
- Use a thermometer to monitor the oil temperature carefully; too hot oil can burn the batter before the chicken cooks through, while too cool oil can result in greasy tempura.
- You can add seasonings to your batter beyond salt and pepper, such as garlic powder or cayenne pepper, for added flavor.
Mastering Japanese Chicken Tempura
Perfecting Results
To achieve perfect chicken tempura, consistency in your batter and frying temperature is key. After frying, allow the chicken to rest briefly on paper towels, which helps absorb excess oil while maintaining that crunch. Using a slotted spoon during the frying process also helps ensure that the chicken remains nice and crispy.
Experiment with cooking times depending on the size of your chicken pieces; smaller bites will cook faster, while larger chunks may need additional time. Always strive for that golden-brown hue—this is the ideal color that indicates a perfectly cooked piece of tempura.
Troubleshooting/Variations
If you find your chicken tempura not as crispy as you wish, consider these tweaks. Ensure your oil temperature is accurate—too low can lead to sogginess, while too high can result in burnt batter. One can also try double coating the chicken by dipping it in flour again before the frying step for an extra crunch.
Substituting the chicken with vegetables, like sweet potato, zucchini, or green beans, creates delightful variations. Just keep the technique the same, ensuring that each piece is coated lightly and fried until golden.
Serving and Enjoying Your Tempura
Serving/Presentation
Presenting chicken tempura beautifully enhances the dining experience. Arrange the crispy chicken on a platter lined with paper towels to absorb any extra oil.
Consider garnishing with finely sliced green onions or sprinkle with sesame seeds for color and texture. Serve alongside a small dish of soy sauce or your favorite dipping sauce to compliment the tempura’s flavor.
Pairings/Storage
While enjoying chicken tempura, consider pairing it with light, refreshing salads or steamed rice to balance the meal’s richness. You can also serve it with tangy dipping sauces like ponzu or a simple mixture of soy sauce and vinegar for an added layer of flavor.
If you have leftovers, store them in an airtight container in the refrigerator. Reheating can diminish the crispy texture, so try using an oven to maintain crunch instead of a microwave.
Japanese chicken tempura holds a special place in culinary traditions, and easily recreating it at home enables families to enjoy great flavors together. Through careful preparation and a few simple techniques, you can whip up this light and crispy dish, making every meal a delightful occasion. Simple and satisfying, this tempura will soon become a staple that you look forward to serving. Enjoy unleashing your culinary skills with this fantastic dish, bringing warmth and joy to your dinner table.
Print
Light & Crispy Japanese Chicken Tempura
- Prep Time: 15 minutes
- Cook Time: 20 minutes
- Total Time: 35 minutes
- Yield: 4 servings
- Category: Main Course
- Method: Frying
- Cuisine: Japanese
- Diet: Gluten-Free (if using gluten-free flour)
Description
Experience the delight of perfectly fried chicken pieces encased in a light and airy tempura batter that brings the essence of traditional Japanese cooking to your dinner table.
Ingredients
- 1 pound chicken breast, cut into bite-sized pieces
- 1 cup all-purpose flour
- 1 cup ice-cold water
- 1 large egg
- 1 teaspoon baking powder
- Salt and pepper, to taste
- Vegetable oil, for frying
Instructions
- Whisk together the flour, baking powder, and a pinch of salt in a bowl.
- Mix the ice-cold water with the egg in another bowl.
- Combine the wet and dry ingredients gently to create a batter (don’t overmix; it’s okay if it’s slightly lumpy).
- Heat about 2 inches of vegetable oil in a deep pan to 350°F (175°C).
- Dip the chicken pieces into the batter, allowing excess to drip off.
- Carefully place the battered chicken in the hot oil, frying in batches to avoid overcrowding.
- Fry until golden brown and crispy, about 4-5 minutes.
- Remove the chicken with a slotted spoon and drain on paper towels.
- Serve immediately with dipping sauce.
Notes
Ensure your oil temperature is accurate for the best results. You can double coat the chicken for extra crunch.
