📑 Table of Contents ▶
Chicken Cutlet
Finding the perfect chicken cutlet can feel like a treasure hunt, especially when the craving strikes after a long day. One evening, after returning home from work, I stared into the fridge and saw two chicken breasts waiting for a transformation. I remembered those crispy, golden cutlets that my family loved. The aroma of frying chicken fills the kitchen, inviting everyone to gather for dinner.
As I dredged, breaded, and fried, the sizzle of chicken brought back memories of family dinners spent laughing over plates. Chicken cutlets, with their crunch and juiciness, always evoke a sense of comfort. While I could indulge in countless variations, the classic cutlet perfectly brings together simplicity and flavor.
The best part? The versatility of chicken cutlets makes them suitable for any meal. Whether served with rice and cabbage or nestled between sandwich bread, they turn an ordinary night into a delightful experience. With this guide, learn how to create the ultimate chicken cutlet that will win over anyone at the table.
Chicken Cutlet Basics
Fundamentals
A chicken cutlet, at its heart, showcases the tender juiciness of boneless and skinless chicken breasts, transformed with a delightful crispy coating. Understanding the fundamentals of crafting the perfect cutlet sets a solid foundation for both novice and experienced cooks alike. The process excites the senses, from the moment of dredging in flour to the satisfying crunch of panko breadcrumbs.
This beloved dish has roots in various cultures, each adding its own spin. This guide respects the classic technique while encouraging creativity. With each step carefully outlined, anyone can master the art of making chicken cutlets—whether for a family dinner or special occasion.
Preparation/Setup
Start by preparing your workspace. Gather the ingredients: two pieces of boneless, skinless chicken breasts, a half cup of all-purpose flour, a beaten egg, one cup of fresh panko breadcrumbs, salt, pepper, and oil for frying. Place the cooked rice and shredded cabbage nearby for serving.
Setting up your dredging station is crucial. Arrange three shallow dishes: one for the flour, one for the beaten egg, and another for the panko breadcrumbs. This organized setup streamlines the breading process, making it easy to coat each piece with flavor and texture.
Ingredients
- 2 pieces chicken breasts (Boneless and skinless)
- 1/2 cup all-purpose flour (gluten-free option available)
- 1 piece egg, beaten (or milk and cornstarch for an egg-free option)
- 1 cup panko breadcrumbs (fresh for best texture)
- Salt and pepper (to season the chicken)
- Oil for frying (canola, vegetable, or sunflower)
- Katsu sauce, for serving
- Cooked rice, for serving
- Shredded cabbage, for serving
- Lemon wedges, for serving
- Sandwich bread (optional, for sandwiches)
Directions
- Begin by flattening the chicken breasts. Place them between two sheets of plastic wrap and pound them to an even thickness for uniform cooking.
- Season both sides of the chicken breasts generously with salt and pepper.
- In the first dish, place the all-purpose flour. In the second, beat the egg until smooth. Place the panko breadcrumbs in the third dish.
- Dredge each chicken breast in the flour, coating both sides evenly. Shake off any excess.
- Dip the floured chicken into the beaten egg, allowing any excess to drip off.
- Finally, coat the chicken breasts in the panko breadcrumbs, pressing slightly to ensure the crumbs adhere well.
- Heat about half an inch of oil in a frying pan over medium heat. When hot, carefully place the breaded chicken breasts into the oil.
- Fry each side for about 3 to 4 minutes until golden brown and cooked through.
- Remove the chicken from the pan and place it on a plate lined with paper towels to drain excess oil. Allow it to rest for a few minutes.
Crafting the Perfect Chicken Cutlet
Technique
Once the foundational steps are in place, refining your technique elevates the chicken cutlet even further. Proper frying temperature makes a significant difference. Too hot, and the outside will burn while the inside remains raw; too cool, and the chicken may absorb excess oil, becoming greasy.
Aim for a medium temperature that ensures a golden brown crust. Additionally, avoid overcrowding the pan, as this can lower the oil temperature and lead to uneven cooking. Instead, fry the chicken in batches if necessary to maintain optimal frying conditions.
Tips and Tricks
To perfect your chicken cutlet, remember a few essential tips. For gluten-free options, substitute the all-purpose flour with a gluten-free blend. Ensure the panko breadcrumbs stay fresh for optimal crunchiness. Fresh breadcrumbs from day-old bread yield the best texture and flavor.
Meanwhile, experiment with seasoning. Alongside salt and pepper, try adding garlic powder, onion powder, or Italian herbs to enhance flavor. The chicken cutlet is versatile, welcoming any combination of spices to suit your taste.
Ensuring Great Results
Perfecting Results
After mastering the techniques, focus on perfecting the result. The chicken should be cooked to an internal temperature of 165°F for safe consumption. Use a meat thermometer to accurately check; this ensures juicy chicken rather than dry meat.
Also, adjust the frying time based on chicken thickness. Thicker breasts may require an additional minute or two in the pan. Keeping an eye on the cutlet’s appearance ensures a beautifully golden and scrumptious exterior.
Troubleshooting and Variations
Every kitchen experiment can vary, leading to potential troubleshooting. If your cutlets turn out greasy, check the frying temperature or the amount of oil used. Similarly, if the panko doesn’t adhere well, double-check the dredging process; ensuring a complete coating is crucial.
Consider variations for added excitement. Marinading the chicken before breading introduces new flavors. Enjoy the cutlets with different toppings or sauces. Dine with katsu sauce for a distinct flavor contrast, or serve with ranch dressing for a comforting twist.
Serving and Storing Your Chicken Cutlet
Serving and Presentation
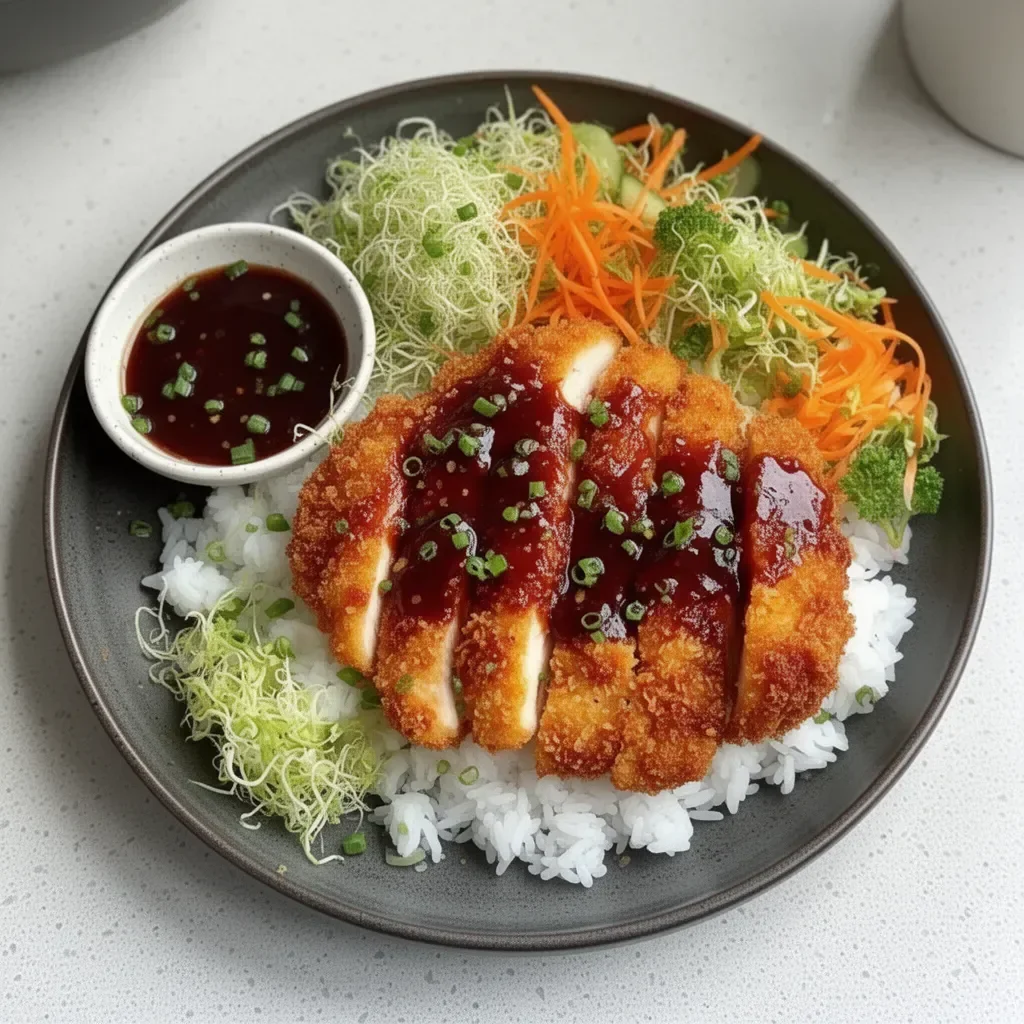
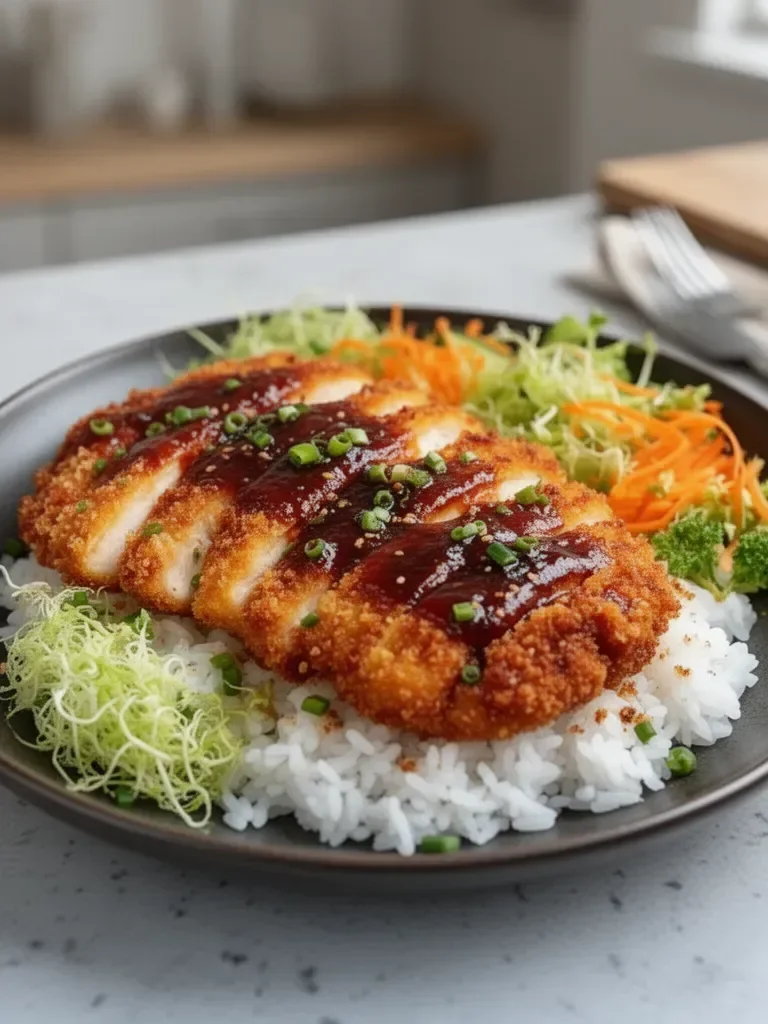
Presentation amplifies the dining experience. Arrange your chicken cutlet on a plate, serving it alongside a generous helping of cooked rice, bright shredded cabbage, and lemon wedges for a fresh touch. The vibrant colors and contrasting textures entice the eyes, enhancing the meal’s appeal.
For an extra touch, craft sandwiches using your favorite bread. Layer the cutlet with shredded cabbage and a drizzle of katsu sauce for a mouthwatering meal.
Pairings and Storage
Serve the chicken cutlet warm, pairing it with sides that complement its crispy texture. Choose cooked rice, creamy mashed potatoes, or a simple salad. The cutlet can serve as the star of a beautiful and satisfying dinner.
Leftover cutlets can be stored in an airtight container in the refrigerator for up to three days. When reheating, ensure they maintain their crunchy exterior by using the oven rather than the microwave. This method breathes life back into the breading and keeps the chicken juicy.
Crafting a chicken cutlet transforms simple ingredients into an irresistible dish. With careful steps and a touch of creativity, anyone can create these delicious cutlets. Enjoy the warmth and satisfaction they bring to your table. Embrace the culinary adventure and delight in every bite!
Print
Chicken Cutlet
- Prep Time: 10 minutes
- Cook Time: 8 minutes
- Total Time: 18 minutes
- Yield: 2 servings
- Category: Main Course
- Method: Frying
- Cuisine: American
- Diet: Gluten-Free Option
Description
Crispy, golden chicken cutlets that are simple to make and bring comfort to any meal.
Ingredients
- 2 pieces chicken breasts (boneless and skinless)
- 1/2 cup all-purpose flour (gluten-free option available)
- 1 piece egg, beaten (or milk and cornstarch for an egg-free option)
- 1 cup panko breadcrumbs (fresh for best texture)
- Salt and pepper (to season the chicken)
- Oil for frying (canola, vegetable, or sunflower)
- Katsu sauce, for serving
- Cooked rice, for serving
- Shredded cabbage, for serving
- Lemon wedges, for serving
- Sandwich bread (optional, for sandwiches)
Instructions
- Begin by flattening the chicken breasts. Place them between two sheets of plastic wrap and pound them to an even thickness for uniform cooking.
- Season both sides of the chicken breasts generously with salt and pepper.
- In the first dish, place the all-purpose flour. In the second, beat the egg until smooth. Place the panko breadcrumbs in the third dish.
- Dredge each chicken breast in the flour, coating both sides evenly. Shake off any excess.
- Dip the floured chicken into the beaten egg, allowing any excess to drip off.
- Finally, coat the chicken breasts in the panko breadcrumbs, pressing slightly to ensure the crumbs adhere well.
- Heat about half an inch of oil in a frying pan over medium heat. When hot, carefully place the breaded chicken breasts into the oil.
- Fry each side for about 3 to 4 minutes until golden brown and cooked through.
- Remove the chicken from the pan and place it on a plate lined with paper towels to drain excess oil. Allow it to rest for a few minutes.
Notes
For gluten-free options, substitute the all-purpose flour with a gluten-free blend. Ensure the panko breadcrumbs stay fresh for optimal crunchiness. Adjust frying time based on chicken thickness.
