
📑 Table of Contents ▶
- Apple Pie With Homemade Crust
- Creating the Perfect Apple Pie With Homemade Crust
- Fundamentals
- Preparation/setup
- Mastering the Art of Apple Pie Baking
- Technique
- Tips/tricks
- Perfecting Your Apple Pie With Homemade Crust
- Perfecting results
- Troubleshooting/variations
- Serving and Storing Your Apple Pie With Homemade Crust
- Serving/presentation
- Pairings/storage
- Conclusion
- FAQs – Apple Pie With Homemade Crust
Apple pie with homemade crust always reminds me of the cozy afternoons spent in my grandmother’s kitchen. The scent of spices mingling with fresh apples filled the air, creating a warm, welcoming atmosphere. Each time I make an apple pie with homemade crust, I am transported back to those moments of simple joy and shared laughter.
As the creator of ChickenDinnerIdeas, I aim to bring that same sense of comfort and connection to my recipes. Despite my focus on chicken, the art of baking an apple pie with homemade crust holds a special place in my heart. It’s a labor of love that brings family and friends together over a slice of nostalgia and delight.
Apple pie with homemade crust is a testament to the magic of baking. It’s about turning simple ingredients into something extraordinary. Whether you’re a seasoned baker or just starting, this recipe promises a rewarding experience and a delicious outcome.

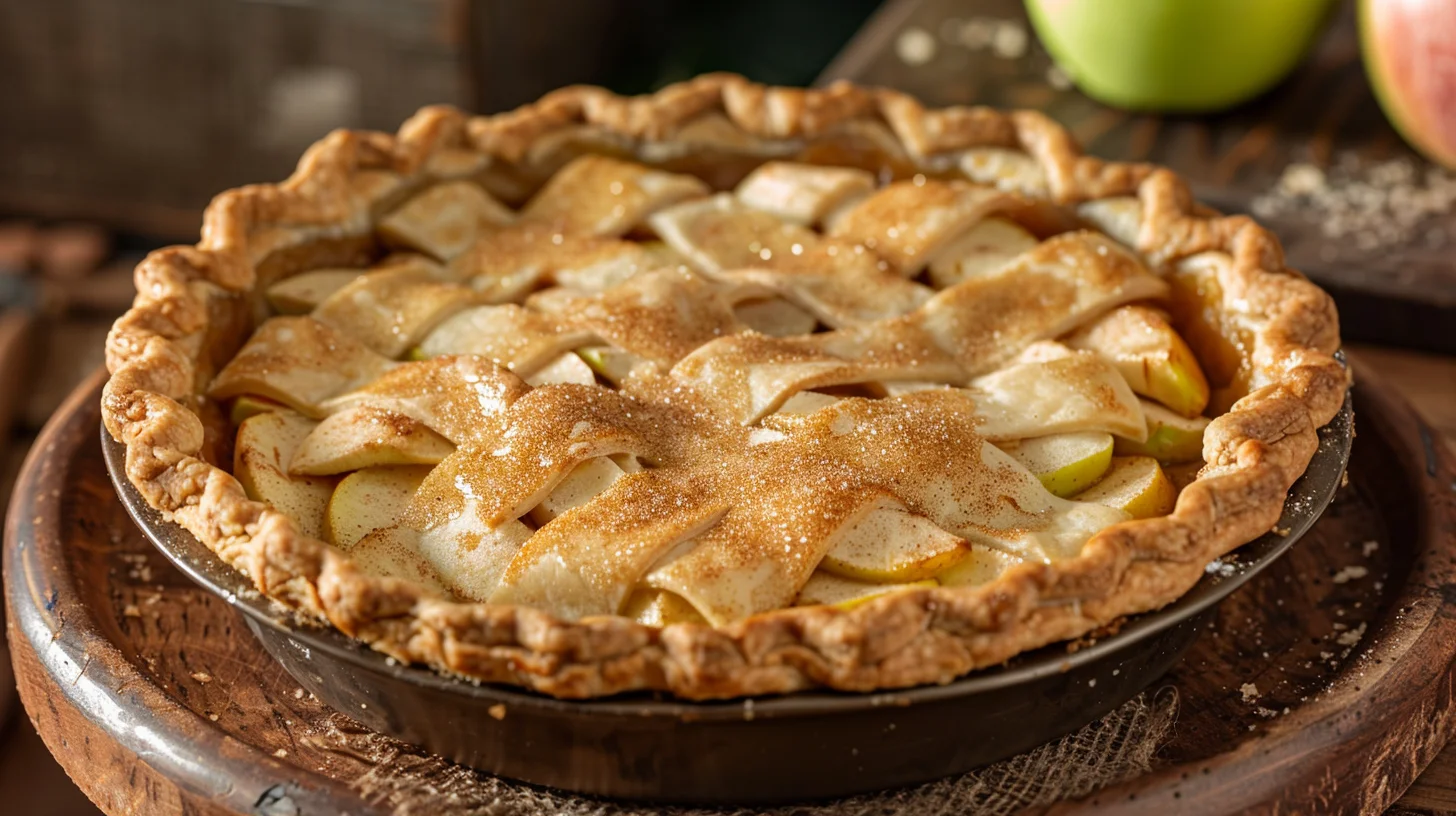
Apple Pie With Homemade Crust
- Prep Time: 30 minutes
- Cook Time: 1 hour 10 minutes
- Total Time: 1 hour 40 minutes
- Yield: 1 pie
- Category: Dessert
- Method: Baking
- Cuisine: American
Description
Learn how to make a delicious apple pie with a flaky homemade crust that will impress your family and friends. Perfect for any occasion!
Ingredients
- 2 1/2 cups (300g) all-purpose flour
- 1/2 teaspoon (2.5ml) table salt, fine
- 1 tablespoon (15ml) sugar
- 1 cup (225g) butter, chilled and diced
- 1/2 cup (120ml) very cold ice water
- 3 lbs (1.4kg) granny smith apples
- 1/2 cup (110g) vegetable oil
- 3 tablespoons (45ml) all-purpose flour
- 2/3 cup (160ml) apple juice or cider
- 1/2 cup (100g) granulated sugar
- 1/2 cup (110g) light brown sugar, tightly packed
- 2 teaspoons (10ml) vanilla extract
- 2 teaspoons (10ml) cinnamon
- 3/4 teaspoon (4ml) nutmeg
- Coarse sugar, for topping
- Cinnamon, for topping
Instructions
- Prepare the Crust: In a spacious bowl, blend together the flour, salt, and sugar. Use a pastry blender or your clean hands to incorporate the butter into the mix until it looks like coarse crumbs with small butter pieces about the size of peas.
- Pour in 1/4 cup of the ice-cold water and gently work the dough until it holds together. If necessary, add more cold water, a tablespoon at a time, until the dough is pliable and holds its shape when pinched, without being crumbly or sticky. Be careful not to overwork it. You should still see small bits of butter in the dough.
- Separate the dough into two equal portions. Shape each into a disc with smooth edges, wrap them in plastic, and refrigerate until needed (ideally for at least an hour, or overnight).
- Remove the dough discs from the fridge; if they are too hard to roll out, let them sit at room temperature for 5-10 minutes until they are pliable but still cool. On a lightly floured surface, roll out the first disc to fit the bottom and sides of a 9-inch pie pan, leaving a 1/2-inch overhang beyond the pan’s edges, trimming any excess. Roll the second disc to cover the top of the pie with a 1-inch overhang. Wrap both crusts in plastic wrap and refrigerate.
- Set your oven to 425°F, positioning the rack in the lower middle section. Peel and slice the apples into 1/4-inch-thick slices. Melt the butter in a saucepan over medium-low heat. Mix in the flour. Pour in the apple juice, both types of sugar, vanilla, cinnamon, and nutmeg. Bring the mixture to a gentle boil, stir thoroughly, then take it off the heat.
- In a large bowl, toss the apple slices with most of the warm butter-sugar mixture, keeping about 1/4 cup aside for brushing over the top crust.
- Carefully spoon the apple filling into the prepared pie crust, creating a mound. Place the top crust over the filling and tuck the extra edges of the top crust under the edges of the bottom crust. Pinch or use a fork to tightly seal the edges all around. Cut a few slits in the top crust.
- If needed, add a little water or apple juice to the reserved butter-sugar mix to thin it slightly. Brush this evenly over the entire top crust. Generously sprinkle coarse sugar over the top and add a dash of cinnamon if you like.
- Put the pie on a baking sheet and bake for 15 minutes. Then lower the oven temperature to 350°F and bake for another 50-55 minutes, or until the crust is golden and crisp. Check halfway through – if the edges are browning too quickly, cover them with a pie crust shield or loosely with foil.
- Allow the pie to cool completely before serving. Letting it cool on the counter overnight is ideal. Enjoy your homemade pie; the effort is well worth it!
Notes
- Use ice water kept very cold while making the crust for a flaky texture.
- Coat apple slices with most of the warm butter-sugar mixture for even flavor.
- Brush the remaining butter-sugar mix over the top crust for a golden finish.
Creating the Perfect Apple Pie With Homemade Crust
Fundamentals
The foundation of a great apple pie with homemade crust lies in understanding the basics. The crust is crucial, providing the buttery, flaky envelope that holds the flavorful apple filling. Start with high-quality all-purpose flour, chilled butter, and just the right amount of cold water to achieve the perfect dough consistency.
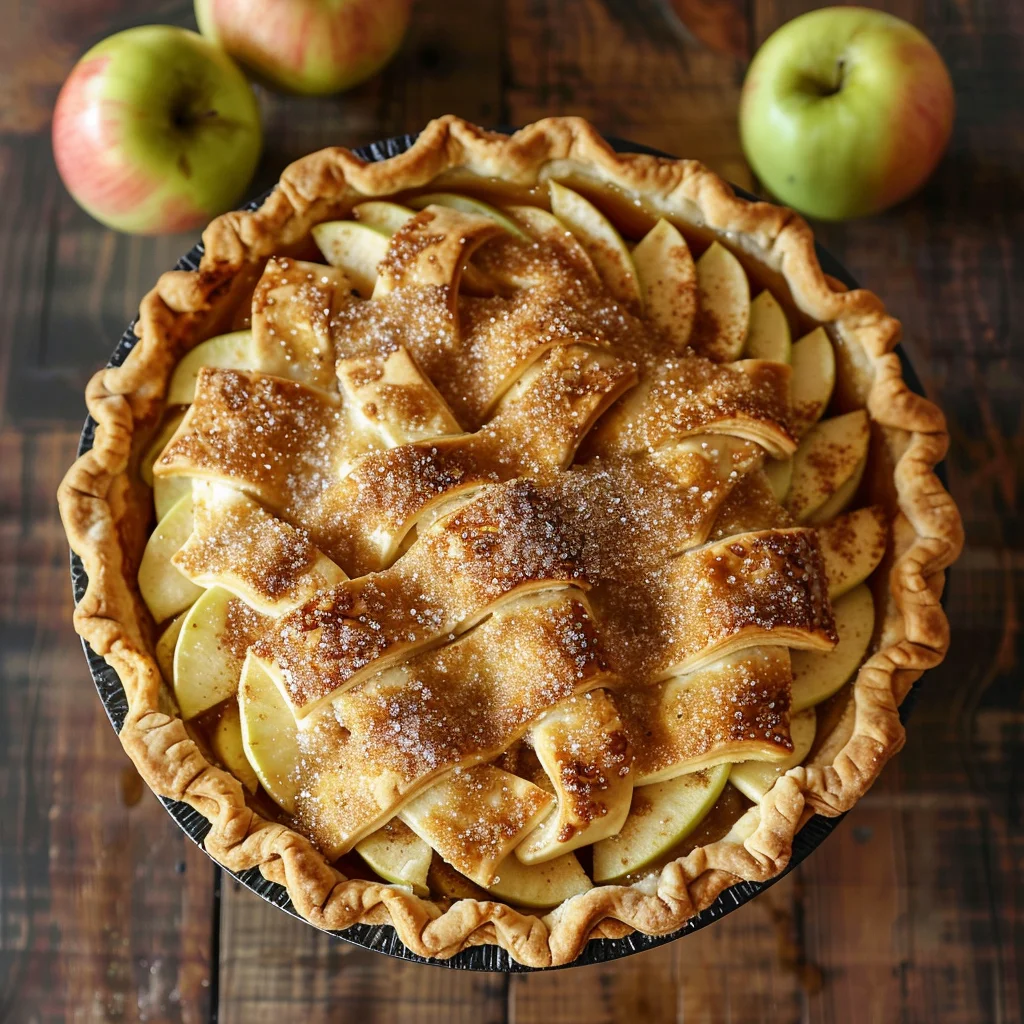
Granny Smith apples are ideal for their tartness and firmness, which balance the sweetness of the sugars and spices. The combination of granulated and brown sugar, along with cinnamon and nutmeg, creates a depth of flavor that enhances the apples’ natural taste.
Preparation/setup
To prepare your apple pie with homemade crust, begin by mixing flour, salt, and sugar in a large bowl. Incorporate the diced butter until the mixture resembles coarse crumbs. Add cold water gradually, ensuring the dough comes together without becoming sticky.
Divide the dough, shape it into discs, and let it chill. Meanwhile, peel and slice the apples, and prepare the filling by melting butter and combining it with flour, apple juice, sugars, and spices. This mixture will coat the apple slices, infusing them with warmth and sweetness.
Mastering the Art of Apple Pie Baking
Technique
Rolling out the dough requires a gentle touch. Ensure the first disc fits the bottom of your pie pan, leaving an overhang to secure the filling, while the second disc covers the pie with an extra inch for sealing. This technique prevents leaks and ensures a flaky, golden crust.
After placing the apple filling into the crust, cover it with the top crust. Seal the edges carefully and cut slits to allow steam to escape. This step is crucial for achieving a well-baked pie without a soggy bottom.
Apple Pie With Homemade Crust
Tips/tricks
For a truly exceptional apple pie with homemade crust, brush the top with a bit of the reserved butter-sugar mixture. Sprinkle coarse sugar and a touch of cinnamon for added texture and flavor. Bake initially at a high temperature to set the crust, then reduce the heat to ensure the apples cook through.
If you’re looking for more inspiration, explore our Citrus Marinated Turkey and Pineapple Skewers for a tangy twist or try the Tropical Coconut Mango Chicken Bites for a taste of the tropics.
Perfecting Your Apple Pie With Homemade Crust
Perfecting results
Achieving the perfect apple pie with homemade crust involves patience and precision. Ensure your dough is adequately chilled to prevent sticking while rolling. The apples should be evenly coated with the filling mixture for consistent flavor throughout the pie.
Monitor the pie as it bakes, covering the edges with foil if they darken too quickly. This attention to detail ensures a pie that’s visually appealing and delicious.
Troubleshooting/variations
If your crust is too crumbly, add a bit more cold water to the dough. For a sweeter pie, consider using a mix of apple varieties. Explore variations like Caramel Apple Pie Cinnamon Rolls for a unique twist on the classic recipe.
For those interested in a savory alternative, our Chicken Pot Pie Pasta offers a comforting dish perfect for any occasion.
Serving and Storing Your Apple Pie With Homemade Crust
Serving/presentation
Present your apple pie with homemade crust as the centerpiece of your table. Serve warm with a scoop of vanilla ice cream or a dollop of whipped cream for a classic pairing. This timeless dessert is sure to impress at any gathering.
For more creative recipes, try our Quick and Easy Homemade Butter Chicken, a flavorful dish that complements the sweetness of the pie.
Apple Pie With Homemade Crust
Pairings/storage
Store leftover apple pie with homemade crust in the refrigerator, covered, to maintain freshness. It can also be frozen for longer storage. When ready to enjoy, reheat in the oven to restore its flaky texture.
If you’re in the mood for more delightful desserts, consider trying Homemade Oatmeal Cream Pies for a sweet treat or explore the savory side with Sous Vide Steak Crust.
Conclusion
Apple pie with homemade crust is more than a recipe; it’s a celebration of tradition and flavor. The blend of tart apples, warm spices, and a buttery crust creates a delightful dessert that stands the test of time. Mastering this classic dish offers a rewarding experience and a delicious reminder of simpler times.
Whether you’re sharing it at a family gathering or enjoying a quiet slice on your own, this pie brings comfort and joy with every bite. Its versatility and timeless appeal make it a staple in any baker’s repertoire, ensuring that the art of apple pie with homemade crust continues to delight generations to come.
