
📑 Table of Contents ▶
- Classic Apple Crisp
- Crafting the Perfect Classic Apple Crisp
- Fundamentals
- Preparation/setup
- Mastering the Apple Crisp Technique
- Technique
- Tips/tricks
- Elevating Your Classic Apple Crisp
- Perfecting results
- Troubleshooting/variations
- Serving and Enjoying Your Classic Apple Crisp
- Serving/presentation
- Pairings/storage
- Conclusion
- FAQs – Classic Apple Crisp
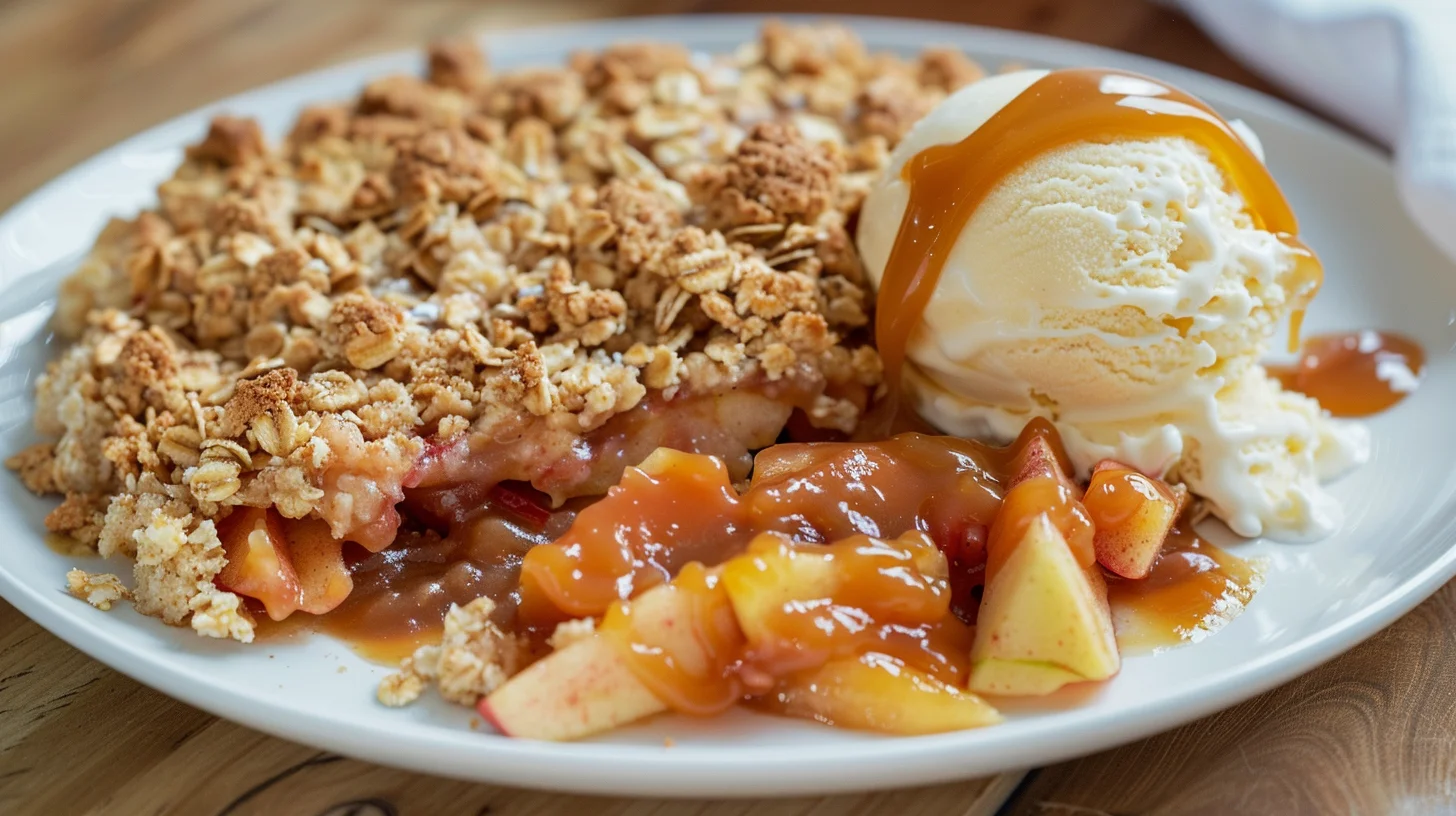
Growing up, desserts were a cherished tradition in our household. The aroma of a Classic Apple Crisp baking in the oven would fill the kitchen with warmth and anticipation. This timeless dessert embodies simplicity and comfort, offering the perfect balance of sweet and tart flavors. The secret to its appeal lies in the golden, crumbly topping paired with the tender apple filling beneath. Every bite is a nostalgic journey back to family gatherings and cozy autumn evenings, making a Classic Apple Crisp a staple in homes across the country.
As someone who believes in the power of food to bring people together, a Classic Apple Crisp is more than just a dessert; it’s an experience. Whether you’re hosting a dinner party or simply craving a heartfelt treat, this dish never fails to deliver. The combination of apples, brown sugar, and spices creates a symphony of flavors that dance on the palate. It’s one of those recipes that everyone should have in their repertoire, ready to impress guests or to enjoy as a comforting solo indulgence.
Creating a Classic Apple Crisp is a delightful process that celebrates the beauty of simple ingredients. With just a handful of pantry staples, you can craft a dessert that tastes like it took hours to prepare. The joy comes not only from the final product but also from the process of peeling and chopping apples, blending spices, and watching the crisp topping turn a perfect golden brown in the oven. It’s a testament to the idea that good food doesn’t have to be complicated to be delicious.
Now, let’s dive into the details of making this beloved dessert, ensuring that every step of the way is as enjoyable as the first bite. With a focus on quality ingredients and straightforward techniques, you’ll discover why a Classic Apple Crisp is a timeless favorite that never goes out of style.
Print
Classic Apple Crisp
- Prep Time: 20 minutes
- Cook Time: 45 minutes
- Total Time: 1 hour 5 minutes
- Yield: 10 servings
- Category: Dessert
- Method: Baking
- Cuisine: American
Description
Indulge in the ultimate comfort food with our classic apple crisp recipe. Learn how to make a deliciously sweet and crispy dessert that will satisfy all your cravings. Click now for the full recipe!
Ingredients
- 8 medium apples, peeled, cut into 1-inch (2.5 cm) chunks (about 10 cups or 1200g chunks)
- 1/2 cup (100g) packed light or dark brown sugar
- 1/4 cup (31g) all-purpose flour
- 1 teaspoon (5 ml) pure vanilla extract
- 1 teaspoon (5 ml) ground cinnamon
- 1/2 teaspoon (3 ml) ground nutmeg
- 1/4 teaspoon (1 ml) salt
- 3/4 cup (94g) all-purpose flour
- 3/4 cup (150g) packed light or dark brown sugar
- 1 teaspoon (5 ml) ground cinnamon
- 1/2 cup (8 Tbsp; 113g) beef lard, cold and cubed
- 1 cup (85g) old-fashioned whole rolled oats
- Optional: salted caramel and vanilla ice cream for serving
Instructions
- Set your oven to 350°F (177°C) and prepare a 9×13-inch baking pan by lightly coating it with grease. A baking dish that holds 3.5-4 quarts will also work.
- Combine all the filling components in a large bowl, then evenly distribute them in the prepared baking pan.
- For the topping, blend the flour, brown sugar, and cinnamon in a medium-sized bowl. Incorporate the cold, cubed beef lard using a pastry cutter or fork until the mixture is very crumbly. Mix in the oats. Spread this mixture over the fruit filling.
- Place in the oven and bake for 45 minutes, or until the top is golden and the fruit juices are bubbling at the edges. Once done, take it out of the oven and let it cool on a wire rack for at least 5 minutes before serving.
- You can enjoy it warm, at room temperature, or cold, either plain or with a drizzle of salted caramel and/or a scoop of vanilla ice cream.
- Store any leftovers covered in the refrigerator for up to 5 days.
Notes
- Consider using whole wheat flour instead of all-purpose flour for a healthier twist in both the filling and topping.
- Experiment with various apple varieties to create a unique flavor profile in your apple crisp.
- Evenly distribute the filling in the baking pan for a balanced fruit to topping ratio in each serving.
Crafting the Perfect Classic Apple Crisp
Fundamentals
The essence of a Classic Apple Crisp lies in its simplicity, where each ingredient plays a pivotal role. Apples form the heart of this dessert, and choosing the right variety can elevate the dish. Opt for medium apples that hold their shape during baking, such as Granny Smith, Honeycrisp, or Fuji. These apples balance sweetness and tartness, complementing the brown sugar and spices wonderfully.
When preparing the filling, combine the apple chunks with packed light or dark brown sugar, all-purpose flour, pure vanilla extract, ground cinnamon, ground nutmeg, and a pinch of salt. This mixture not only enhances the natural sweetness of the apples but also creates a luscious, syrupy consistency as it bakes. The flour acts as a thickening agent, ensuring the juices don’t become too runny.
Preparation/setup
Begin by preheating your oven to 350°F (177°C) and preparing a 9×13-inch baking pan. A light coat of grease prevents sticking and makes cleanup easier. Once your apples are peeled and chopped, mix them with the filling ingredients in a large bowl. Evenly spread the filling in your prepared baking pan to ensure consistent cooking.
For the topping, blend flour, brown sugar, and cinnamon in a medium bowl. Incorporate cold, cubed beef lard using a pastry cutter or fork until the mixture becomes crumbly. The lard provides a rich, flaky texture that sets this crisp apart. Stir in old-fashioned whole rolled oats for added texture and a nutty flavor. Spread this crumbly topping over the apple filling, ensuring it covers evenly for a uniform bake.
Mastering the Apple Crisp Technique
Technique
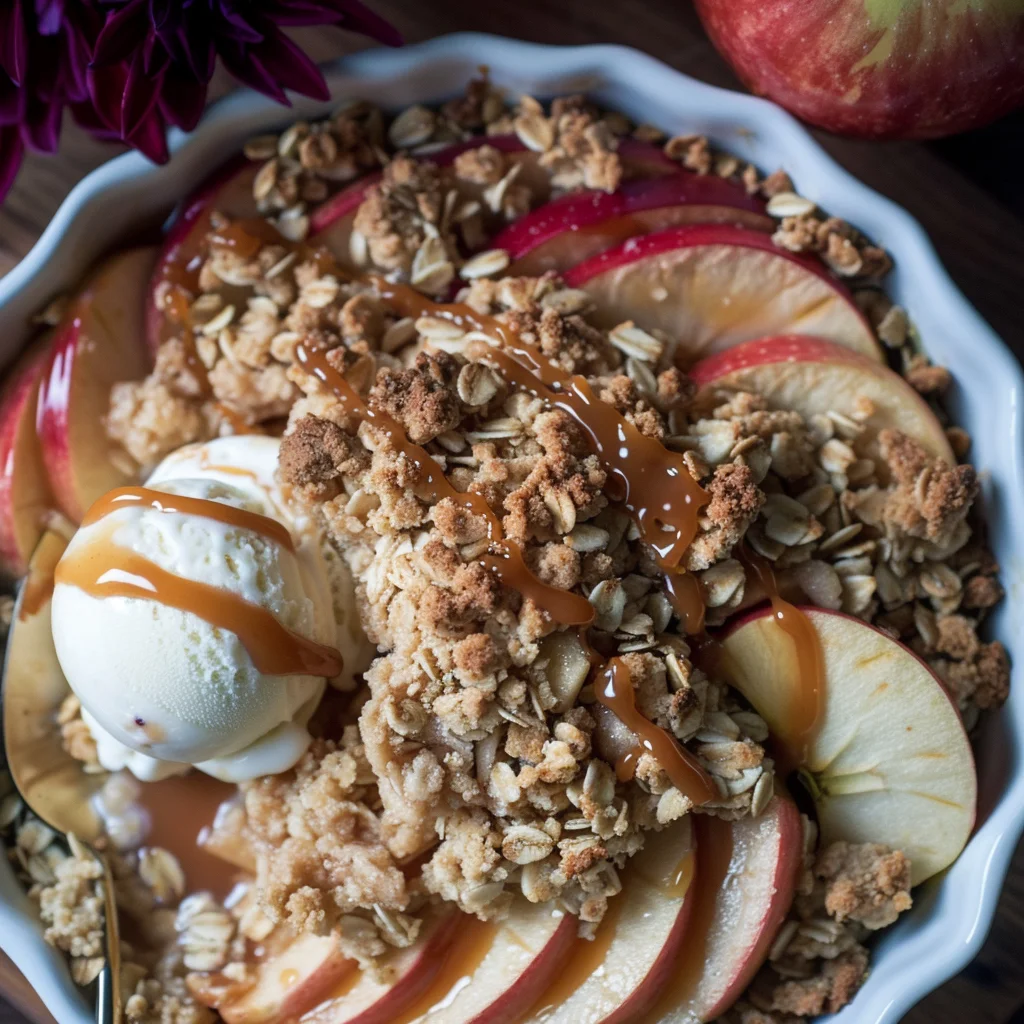
Baking a Classic Apple Crisp requires patience and attention to detail. As it bakes, keep an eye on the topping, ensuring it turns a beautiful golden brown without burning. The ideal bake time is around 45 minutes, but ovens vary, so check for bubbling fruit juices at the edges and a crisp topping. These indicators signal that your dessert is ready to enjoy.
Classic Apple Crisp
Once removed from the oven, allow your apple crisp to cool on a wire rack for at least five minutes. This resting period allows the flavors to meld and the filling to set slightly, making it easier to serve. The cooling time also ensures you won’t burn your tongue on the piping hot filling, allowing you to savor every bite.
Tips/tricks
To achieve the perfect Classic Apple Crisp, consider these tips. Always start with cold beef lard for the topping to ensure a flaky texture. If preferred, you can substitute with butter, but lard offers a unique richness. When mixing the filling, taste and adjust the spices to your preference, adding more cinnamon or nutmeg if desired.
For a twist, experiment with different apple varieties or a mix of apples for a complex flavor profile. If you have dietary restrictions, consider gluten-free flour alternatives and adjust baking times as needed. Finally, for a touch of indulgence, serve your apple crisp with a drizzle of salted caramel or a scoop of vanilla ice cream, enhancing the dessert’s comforting qualities.
Elevating Your Classic Apple Crisp
Perfecting results
To achieve an unforgettable Classic Apple Crisp, focus on balancing textures and flavors. The topping should be both crunchy and buttery, providing a contrast to the tender, juicy apples beneath. If your topping seems too dry, gently press it into the apples before baking, ensuring it adheres and bakes evenly.
Consider adding a handful of chopped nuts, like pecans or walnuts, to the topping for added crunch and a hint of earthiness. This addition not only enhances texture but also complements the warm spices and sweet apples. Remember, the key to the perfect apple crisp lies in the harmony of its components, ensuring each bite is a delightful experience.
Troubleshooting/variations
If your apple crisp turns out too runny, it’s often due to excessive apple juice release. Next time, try adding an extra tablespoon of flour to the filling to absorb more liquid. Should the topping become too brown before the apples are fully cooked, loosely cover the dish with foil halfway through baking to prevent burning.
For those who enjoy a sweeter topping, consider increasing the brown sugar by a couple of tablespoons. Alternatively, for a less sweet version, reduce the sugar in both the filling and topping slightly. Experimenting with these variations allows you to tailor the dessert to your taste, ensuring your Classic Apple Crisp becomes a personalized masterpiece.
Serving and Enjoying Your Classic Apple Crisp
Serving/presentation
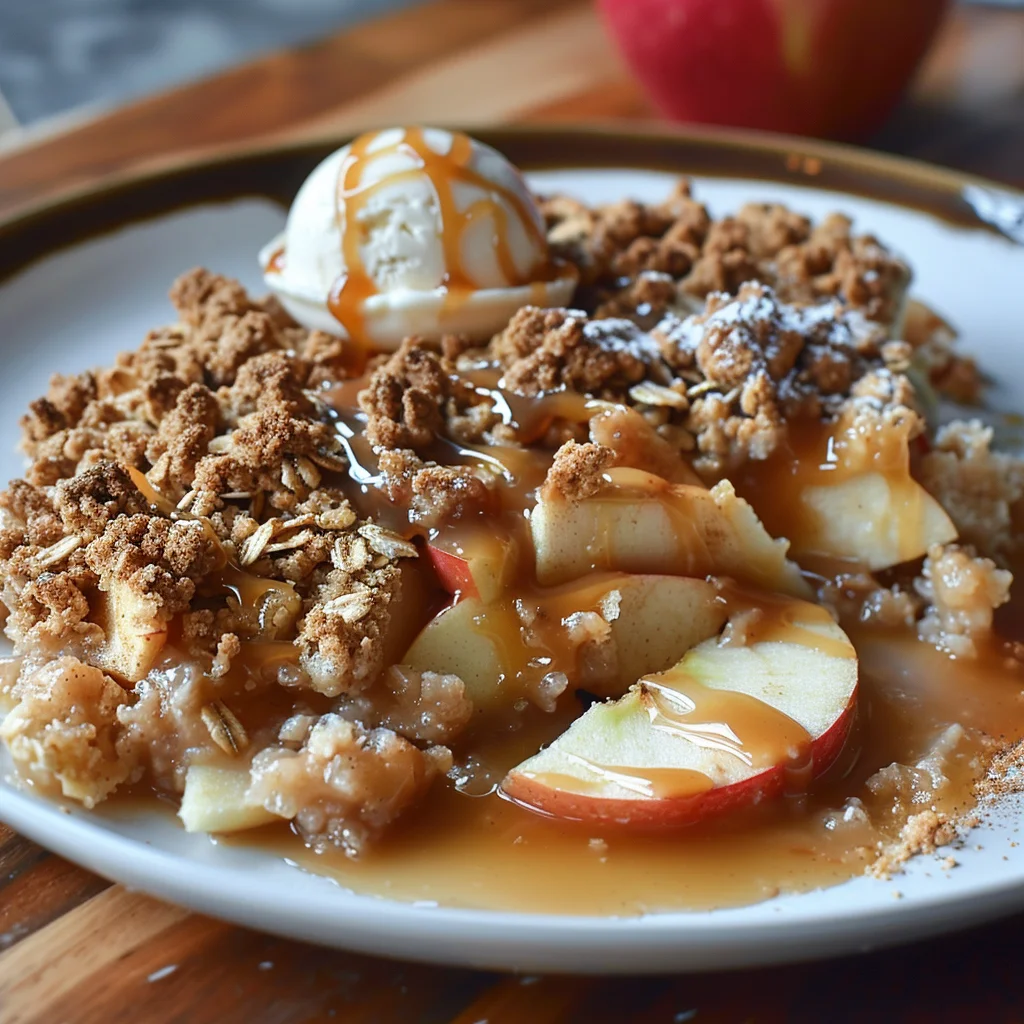
Presentation plays a vital role in the enjoyment of a Classic Apple Crisp. Serve warm for the best experience, allowing the flavors to shine. For an elegant touch, present it in individual ramekins, topped with a scoop of vanilla ice cream or a drizzle of salted caramel for added decadence.
This dessert is equally delightful at room temperature or chilled, offering versatility for any occasion. Whether served at a holiday feast or as a comforting weeknight treat, a Classic Apple Crisp always brings joy to the table with its rustic charm and irresistible aroma.
Classic Apple Crisp
Pairings/storage
When pairing, consider the flavors that complement the warm spices and sweet apples. A dollop of whipped cream or a scoop of creamy vanilla ice cream enhances the dessert’s richness, while a drizzle of salted caramel adds a touch of indulgence. Avoid pairing with beverages that overpower the subtle notes of cinnamon and nutmeg.
Store any leftover apple crisp covered in the refrigerator for up to five days. For a quick and comforting treat, reheat portions in the microwave or enjoy them cold, allowing the flavors to develop over time. This dessert is not only a testament to simplicity but also a versatile addition to any dessert repertoire.
Conclusion
The Classic Apple Crisp is a beloved dessert for its simplicity and comforting flavors. With a focus on quality ingredients and straightforward techniques, anyone can master this recipe. Its versatility allows for experimentation and personalization, making it a treasured addition to any gathering.
Whether served warm with a scoop of ice cream or as a chilled treat, this dessert captures the essence of home-cooked goodness. By understanding the fundamentals and perfecting your technique, you can create a Classic Apple Crisp that delights every time. Embrace the joy of baking and savor each delicious bite.
