
📑 Table of Contents ▶
Baked Sweet and Sour Chicken
Personal stories often revolve around food and the memories tied to it, especially when it comes to family dinners. Baked sweet and sour chicken holds a special place in my heart; it was a staple in our home growing up. My parents often prepared it for gatherings, bringing together friends and family around the dinner table, basking in the delightful aroma of sweet and tangy flavors wafting through the air.
Every bite delivers a satisfying crunch from the perfectly browned chicken, combined with the vibrant, zesty sauce that can brighten even the dullest day. Preparing this dish feels like embracing warm nostalgia while crafting new memories in the kitchen with loved ones. The process can seem daunting, but it saves you time on busy weeknights and transforms an ordinary evening into something truly special.
With its irresistible taste and straightforward steps, baked sweet and sour chicken is not just a meal; it’s an experience. Let’s dive into the essential details on how to create this beloved dish that will leave a lasting impression on everyone gathered at your table.
Baked Sweet and Sour Chicken
Fundamentals
Baked sweet and sour chicken combines tender, juicy chicken with a sticky, flavorful sauce. This dish boasts a delightful balance between savory and sweet, making it a favorite among many. Understanding the basics can elevate your cooking skills, ensuring that you prepare an irresistible meal every time.
The chicken needs to be seasoned well to enhance its natural flavor. A simple seasoning of salt and pepper is all it takes to prepare the chicken. Coating the chicken in cornstarch gives it a crispy texture when browned, making every bite satisfying.
This dish can easily adapt to various gatherings, whether it’s a cozy family dinner or a lively get-together with friends. The addition of fresh vegetables, like bell peppers and onions, adds beautiful color and texture, turning a simple chicken dish into a feast for the eyes.
Preparation/setup
Start by preheating your oven to 325°F (160°C). As the oven warms up, lightly grease a 9×13-inch baking dish to prevent the chicken from sticking. This crucial step ensures easy serving later on.
Next, prepare the chicken pieces. Season them generously with salt and pepper. This step might seem simple, but it’s essential for infusing flavor into the dish. Tossing the chicken pieces in cornstarch until evenly coated creates a crispy crust once browned.
Beat some eggs in a bowl and dip each cornstarch-coated chicken piece into the eggs, allowing the batter to cling better. This unique technique adds to the final crunchy texture that makes baked sweet and sour chicken so satisfying.
Ingredients
To create this delicious baked sweet and sour chicken, you will need the following ingredients:
- Chicken pieces (thighs, breasts, or a combination)
- Salt and pepper for seasoning
- Cornstarch for coating
- Eggs, beaten for the batter
- Vegetable oil for browning
- Sugar for sweetness
- Ketchup for the sauce base
- Vinegar for tanginess
- Soy sauce for depth of flavor
- Garlic powder for an aromatic touch
- Onion powder to enhance the overall taste
- Optional: bell peppers, onions, and pineapple chunks for added flavor and color
Directions
- Preheat your oven to 325°F (160°C) and lightly grease a 9×13-inch baking dish.
- Season the chicken pieces with salt and pepper, ensuring even coverage.
- Toss the chicken pieces in cornstarch until evenly coated. Dip each piece into the beaten eggs, letting the excess drip off.
- Heat vegetable oil in a large skillet over medium-high heat. Sear the chicken in batches for 1–2 minutes per side, until golden brown; do not cook through.
- Transfer the browned chicken pieces to the prepared baking dish.
- In a bowl, whisk together sugar, ketchup, vinegar, soy sauce, garlic powder, and onion powder until smooth.
- Pour the sauce evenly over the chicken and stir gently to coat each piece.
- Bake uncovered for 45–50 minutes, stirring halfway through, until the sauce thickens and the chicken is cooked through.
- If desired, during the last 15 minutes of baking, add bell peppers, onions, and pineapple chunks for an extra pop of flavor and texture.
Mastering Baked Sweet and Sour Chicken
Technique
Successfully mastering the art of baked sweet and sour chicken relies on the browning technique. Searing the chicken in a hot skillet locks in moisture while developing that appealing golden crust. Ensuring the oil is sufficiently heated before adding the chicken prevents the pieces from becoming greasy.
Avoid overcrowding the skillet; give the chicken enough space to brown properly. If necessary, work in batches to ensure each piece receives equal attention. This small yet pivotal step ensures a consistent texture and flavor throughout the dish.
Tips/tricks
To elevate your baked sweet and sour chicken further, consider these helpful tips. First, ensure that the chicken pieces are uniform in size to promote even cooking. Thicker pieces may require a longer baking time, so adjust accordingly.
Experiment with marinating the chicken in the sauce for a few hours before cooking. This method infuses more flavor, making each bite even more delicious. If you prefer a spicier twist, add chili sauce or fresh ginger to the sauce ingredients for an exciting kick.
Don’t forget to stir the sauce halfway through baking. This action ensures even coverage over the chicken as it cooks and allows the flavors to meld beautifully.
Perfecting Baked Sweet and Sour Chicken
Perfecting results
Achieving the perfect baked sweet and sour chicken requires attention to detail. The chicken should be fully cooked, with an internal temperature of 165°F (74°C) when measured with a meat thermometer. This precaution guarantees that the dish is safe to eat while ensuring that the chicken remains tender and moist.
If the sauce isn’t thickening as desired, consider using a cornstarch slurry as a thickening agent. Mix a tablespoon of cornstarch with a tablespoon of water, then stir it into the sauce during the last few minutes of baking for a rich consistency.
Troubleshooting/variations
If you encounter overly saucy baked sweet and sour chicken, consider baking for a bit longer to allow excess moisture to evaporate. Alternatively, if you prefer a thicker sauce from the start, you can reduce the amount of vinegar and soy sauce in the recipe for balance.
Feel free to get creative with the vegetables you add. Broccoli, snap peas, or carrots make excellent additions. They not only provide a nutritious boost but also add delightful colors to the dish.
Serving Baked Sweet and Sour Chicken
Serving/presentation
Presentation plays a key role in any meal. Once the baked sweet and sour chicken is out of the oven, allow it a brief moment to rest. This resting period makes serving easier and enhances the overall experience.
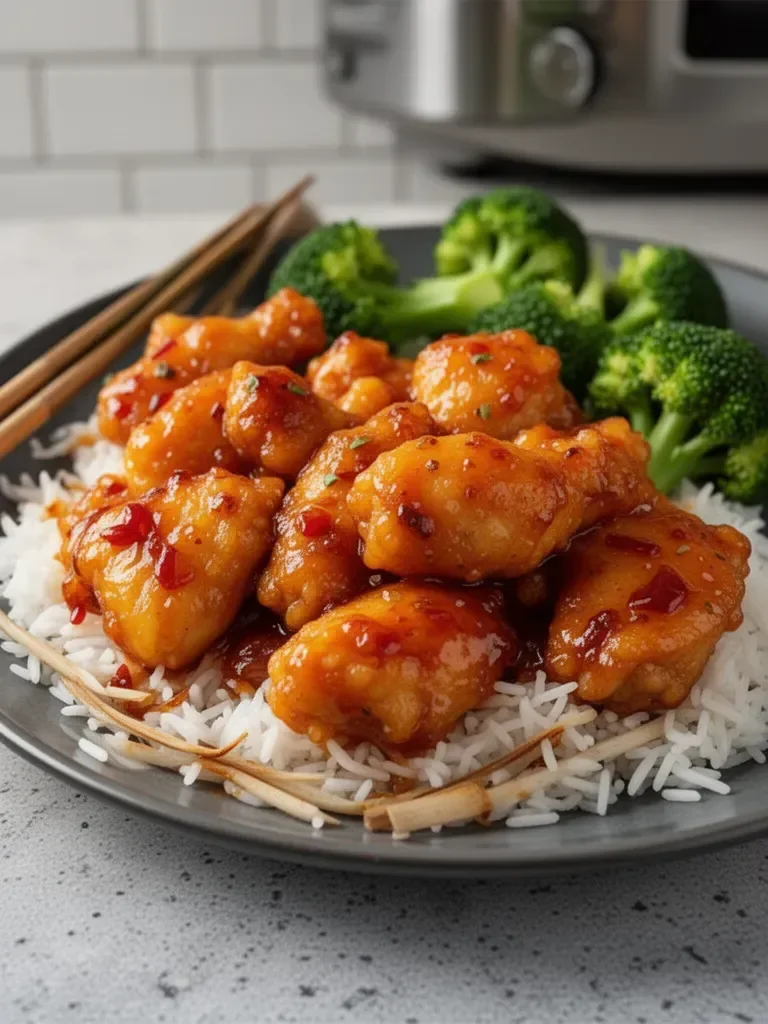
Garnish the dish with sesame seeds or finely chopped green onions to add a burst of flavor and appeal. Serve the chicken hot, ideally over a bed of fluffy steamed rice or alongside a serving of your favorite noodles. This combination balances the tangy chicken nicely and creates a hearty meal.
Pairings/storage
Pairs beautifully with various sides that complement the sweetness and acidity of the dish. Steamed broccoli or vibrant stir-fried vegetables like snap peas or carrots make excellent accompaniments. These sides not only add nutritional value but also enhance the dining experience.
For storage, place any leftovers in an airtight container in the refrigerator for up to 3 days. Reheat in the oven or microwave until warmed through. This baked sweet and sour chicken maintains its flavor, making it a practical choice for meal prep.
Baked sweet and sour chicken is more than just a meal; it’s an adventure in the kitchen that culminates in joyous sharing with friends and family.
Print
Baked Sweet and Sour Chicken
- Prep Time: 15 minutes
- Cook Time: 50 minutes
- Total Time: 65 minutes
- Yield: 4 servings
- Category: Main Course
- Method: Baking
- Cuisine: Asian
- Diet: None
Description
A family favorite, this Baked Sweet and Sour Chicken combines tender, juicy chicken with a sticky, flavorful sauce, bringing friends and family together around the dinner table.
Ingredients
- Chicken pieces (thighs, breasts, or a combination)
- Salt and pepper for seasoning
- Cornstarch for coating
- 2 Eggs, beaten for the batter
- Vegetable oil for browning
- 1/2 cup Sugar for sweetness
- 1/2 cup Ketchup for the sauce base
- 1/4 cup Vinegar for tanginess
- 1/4 cup Soy sauce for depth of flavor
- 1 teaspoon Garlic powder for an aromatic touch
- 1 teaspoon Onion powder to enhance the overall taste
- Optional: bell peppers, onions, and pineapple chunks for added flavor and color
Instructions
- Preheat your oven to 325°F (160°C) and lightly grease a 9×13-inch baking dish.
- Season the chicken pieces with salt and pepper, ensuring even coverage.
- Toss the chicken pieces in cornstarch until evenly coated. Dip each piece into the beaten eggs, letting the excess drip off.
- Heat vegetable oil in a large skillet over medium-high heat. Sear the chicken in batches for 1–2 minutes per side, until golden brown; do not cook through.
- Transfer the browned chicken pieces to the prepared baking dish.
- Whisk together sugar, ketchup, vinegar, soy sauce, garlic powder, and onion powder until smooth.
- Pour the sauce evenly over the chicken and stir gently to coat each piece.
- Bake uncovered for 45–50 minutes, stirring halfway through, until the sauce thickens and the chicken is cooked through.
- If desired, during the last 15 minutes of baking, add bell peppers, onions, and pineapple chunks for an extra pop of flavor and texture.
Notes
Ensure chicken pieces are uniform in size for even cooking. Marinating in the sauce adds more flavor. Stir the sauce halfway through baking for better coverage.
