
📑 Table of Contents ▶
- Chickfil-a At Home
- Chick-fil-a At Home: Mastering the Art
- Fundamentals
- Preparation/setup
- Cooking Chick-fil-a At Home Sandwiches
- Technique
- Tips/tricks
- Perfecting Your Chick-fil-a At Home Sandwich
- Perfecting results
- Troubleshooting/variations
- Serving Your Chick-fil-a At Home Creation
- Serving/presentation
- Pairings/storage
- Conclusion
- FAQs – Chickfil-a At Home
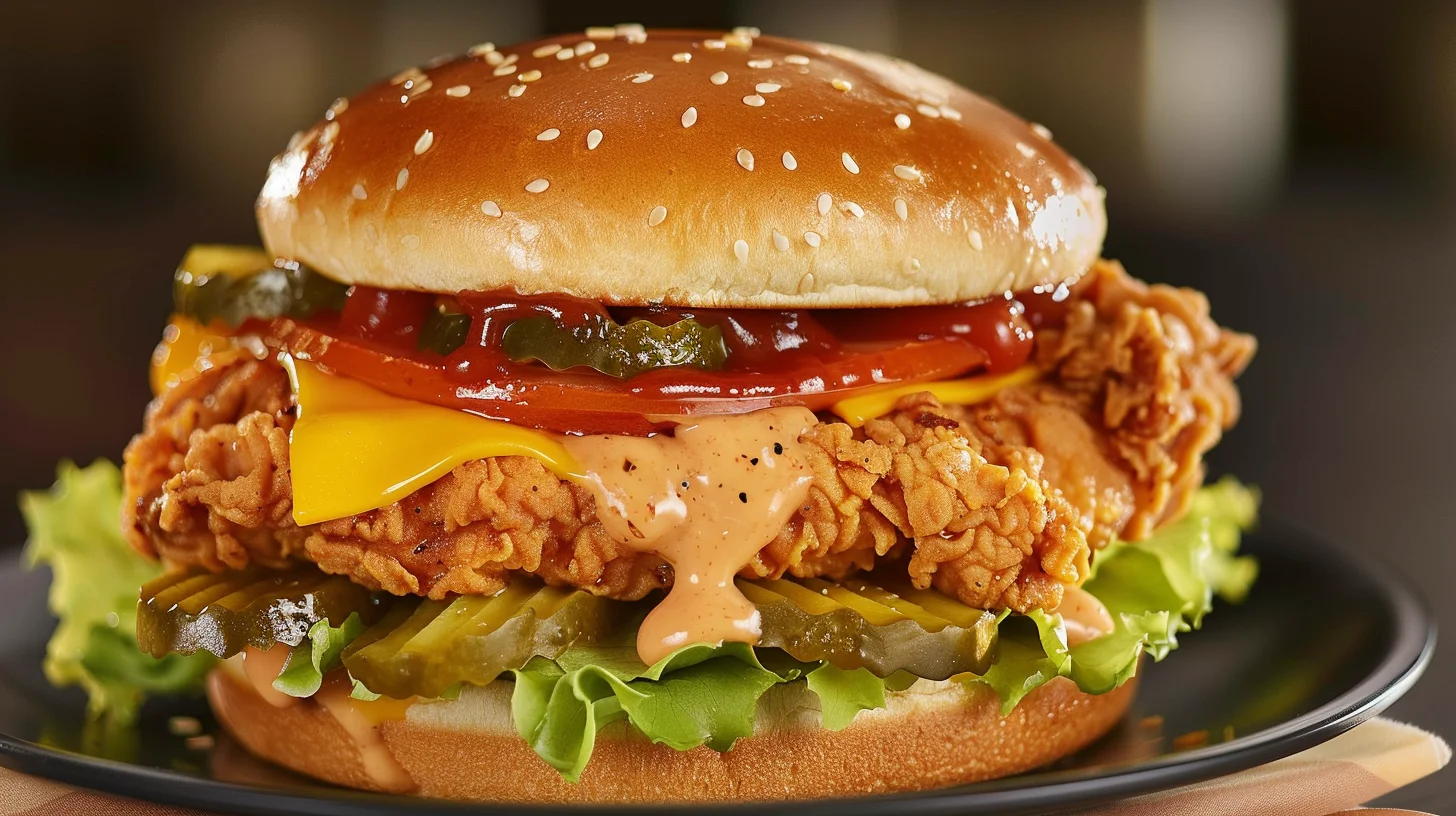
As a fan of crispy, flavorful chicken sandwiches, I’ve always been inspired by the iconic Chick-fil-a At Home experience. The joy of biting into a perfectly fried chicken breast, nestled between a buttery bun with the tang of pickles and the kick of Pepper Jack cheese, is unmatched. My love for recreating restaurant favorites at home led me to develop a recipe that captures the essence of Chick-fil-a At Home, ensuring that you can enjoy this delightful meal without leaving your kitchen.
My journey began when I realized the simplicity behind the deliciousness. The secret lies in marinating the chicken in pickle juice, which tenderizes and infuses it with flavor. The right combination of spices in the breading and the perfect fry create that signature crunch. Each step in the process brings me closer to the authentic Chick-fil-a At Home experience, and I’m excited to share this recipe with you.
Whether you’re hosting a family dinner or simply craving a comfort meal, this recipe is a surefire way to satisfy your taste buds. With straightforward ingredients and easy-to-follow steps, anyone can recreate the magic of Chick-fil-a At Home. The joy of making something delicious from scratch at home is truly rewarding, and I hope this recipe brings that experience to your table.

Chickfil-a At Home
- Prep Time: 45 minutes
- Cook Time: 20 minutes
- Total Time: 1 hour 5 minutes
- Yield: 4 servings
- Category: Main Course
- Method: Frying
- Cuisine: American
Description
Discover how to recreate the delicious flavors of Chick-fil-A at home with our easy-to-follow recipes. Elevate your cooking game and satisfy your cravings today!
Ingredients
- 4 chicken breasts (680g)
- 1/2 cup pickle juice (120ml)
- 1/2 cup milk (120ml)
- 1/3 cup mayonnaise (80g)
- 3 tablespoons (45 ml) smokey barbecue sauce
- 3 tablespoons (45 ml) yellow mustard
- 4 tablespoons honey (60ml)
- 1/2 teaspoon distilled white vinegar (2.5ml)
- 1/2 teaspoon lemon juice (2.5ml)
- 1 teaspoon (5 ml) sugar
- 1/4 teaspoon (1 ml) garlic powder
- 1/4 teaspoon (1 ml) onion powder
- 1 1/2 cup all-purpose flour (180g)
- 2 tablespoons (30 ml) powdered sugar
- 2 teaspoons (10 ml) chili powder or more to taste
- 1 1/2 teaspoon (8 ml) salt
- 1 teaspoon (5 ml) garlic powder
- 1–2 teaspoons (8 ml) cayenne pepper
- 1/2 teaspoon (3 ml) onion powder
- 1/2 teaspoon (3 ml) paprika
- 1/2 teaspoon (3 ml) black pepper
- 3/4 cup milk (180ml)
- 1 large egg
- 1 teaspoon (5 ml) salt
- 2 teaspoons (10 ml) chili powder
- 1 teaspoon (5 ml) garlic powder
- 4 sandwich buns
- vegetable oil for frying
- butter, to toast buns
- 4 slices Pepper Jack cheese
- 16 dill pickle slices
- 4 slices tomato
- 4 slices green leaf lettuce
Instructions
- Flatten the chicken breasts if they are too thick, ensuring each piece is slightly larger than the bun.
- Combine the pickle juice and milk in a big bowl, then submerge the chicken in this mixture to marinate for at least 30 minutes or up to a full day.
- For the sauce, mix together mayonnaise, barbecue sauce, mustard, honey, vinegar, lemon juice, sugar, and both garlic and onion powders until smooth. Set aside.
- Create two mixtures: a dry one by combining flour, powdered sugar, chili powder, salt, garlic powder, cayenne pepper, onion powder, paprika, and black pepper, and a wet one by mixing milk, egg, salt, chili powder, and garlic powder.
- Heat a deep pan with vegetable oil for frying.
- As the oil heats up, coat the chicken. First, dip the chicken in the wet mixture with one hand, letting any extra drip off. Transfer it to the dry mixture and coat it using the other hand. Repeat the process for a second coating. Do this for all four chicken breasts.
- Once the oil is hot, fry the chicken breasts until they are a dark golden brown on both sides. Remove from the oil and immediately place a slice of cheese on top.
- Spread butter inside the buns and toast them on a pan or griddle until golden and crispy on the edges.
- Spread the prepared sauce on both the top and bottom buns. Layer the pickles, tomatoes, lettuce, and finally the fried chicken with cheese. Relish the meal!
Notes
- Add a touch of extra chili powder to the coating for a spicier flavor.
- Ensure the chicken is evenly coated for a crispy crust.
- Toast the buns with butter for added crunch and flavor.
Chick-fil-a At Home: Mastering the Art
Fundamentals
Understanding the fundamentals of creating a Chick-fil-a At Home sandwich starts with the right ingredients. The key component is the marinade made with pickle juice and milk. This mixture not only tenderizes the chicken but also infuses it with a tangy flavor that sets the foundation for the sandwich. Ensuring that the chicken is slightly larger than the bun allows for the perfect bite every time.
The sauce is another critical element, combining mayonnaise, barbecue sauce, mustard, honey, vinegar, lemon juice, sugar, and spices for a balanced flavor profile. This sauce elevates the sandwich, providing both sweetness and tanginess. The breading, featuring flour, spices, and a touch of powdered sugar, creates the crispy outer layer that makes each bite satisfying.
Preparation/setup
Preparation begins with marinating the chicken in the pickle juice and milk mixture for at least 30 minutes. This step is crucial for infusing flavor and ensuring the chicken remains juicy. While the chicken marinates, prepare the sauce by mixing the ingredients until smooth and set it aside.
Next, organize your breading station by creating a dry mixture of flour and spices, and a wet mixture of milk, egg, and spices. Having everything set up efficiently will streamline the cooking process, allowing you to focus on achieving the perfect fry.
Cooking Chick-fil-a At Home Sandwiches
Technique
The technique for frying is essential to achieve the signature Chick-fil-a At Home texture. Begin by heating vegetable oil in a deep pan. Properly coated chicken is crucial, so dip each piece in the wet mixture, let the excess drip off, then coat it in the dry mixture. For extra crispiness, repeat the coating process.
Once the oil reaches the right temperature, carefully place the chicken in the pan. Fry until each piece turns a dark golden brown, ensuring the chicken is cooked through. Immediately place a slice of Pepper Jack cheese on top of the hot chicken to allow it to melt perfectly.
Chickfil-a At Home
Tips/tricks
For the best results, maintain a consistent oil temperature to avoid soggy or overcooked chicken. Use a thermometer to monitor the oil, and fry in batches if necessary to prevent overcrowding. To achieve even frying, flip the chicken halfway through the cooking time.
Enhance the flavor by experimenting with spice levels in the breading. If you prefer a spicier kick, increase the cayenne pepper or chili powder. Adjusting these elements allows you to customize the sandwich to your liking, ensuring a personalized Chick-fil-a At Home experience. For more chicken inspiration, check out this Creamy Sundried Tomato Chicken Recipe.
Perfecting Your Chick-fil-a At Home Sandwich
Perfecting results
Achieving the perfect Chick-fil-a At Home sandwich involves attention to detail in each step. From marinating to frying, each stage contributes to the final product. Ensuring the chicken is uniformly coated and fried to a golden perfection is key to replicating the restaurant’s quality.
Once the chicken is ready, focus on assembling the sandwich. Toast the buns with butter to achieve a crispy edge that complements the tender chicken. Spread the prepared sauce generously on both the top and bottom buns for a flavorful burst in every bite. For a different take on chicken, try this Lemon Garlic Chicken Recipe.
Troubleshooting/variations
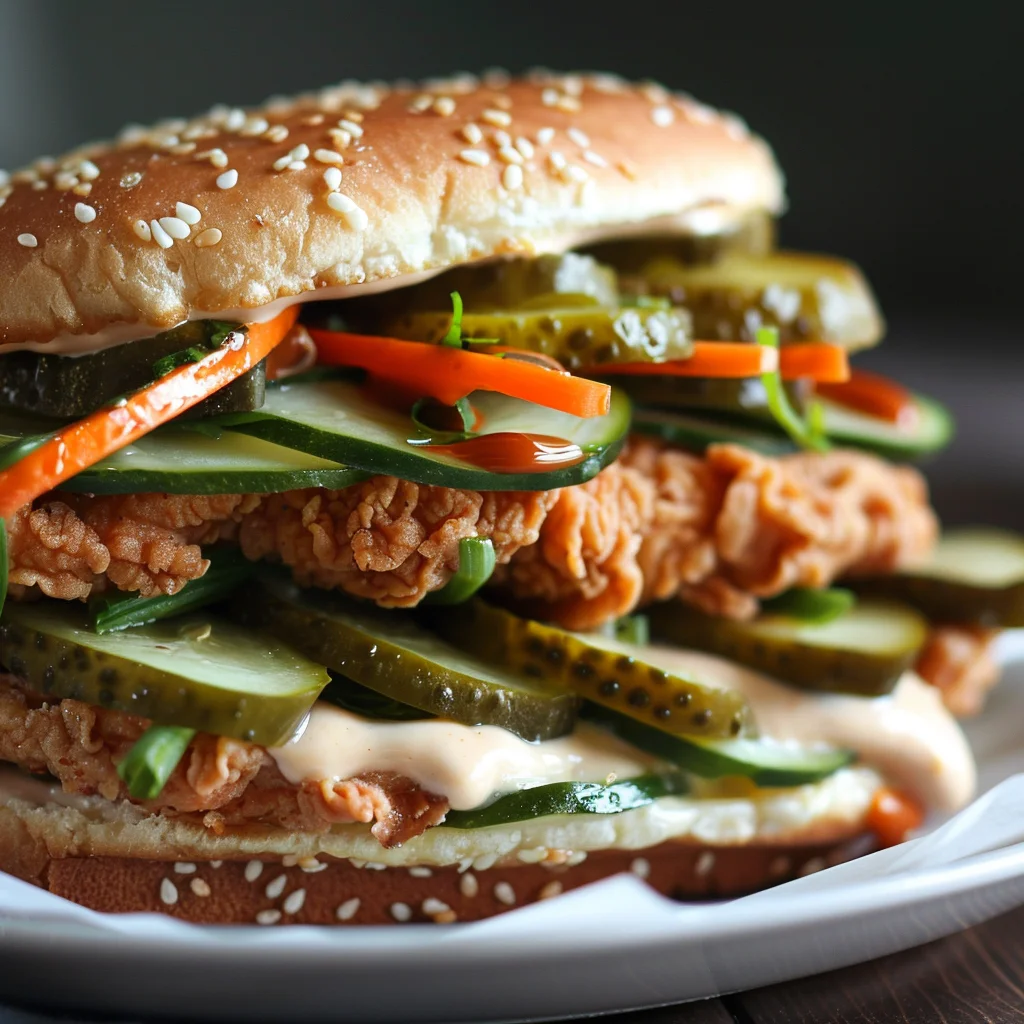
If the chicken isn’t as crispy as desired, check the oil temperature and ensure the coating is applied thoroughly. For variations, consider using different cheese types or adding more toppings like jalapeños for extra heat.
Experimenting with the sauce ingredients can lead to new flavor profiles. Try incorporating different kinds of mustard or adjusting the honey for varying levels of sweetness. Exploring these variations can lead to a personalized Chick-fil-a At Home experience that suits your preferences. For an exciting side dish, explore these Homemade Oatmeal Cream Pies.
Serving Your Chick-fil-a At Home Creation
Serving/presentation
Presentation enhances the Chick-fil-a At Home experience, making it as visually appealing as it is delicious. Once assembled, place the sandwich on a plate with a side of crispy fries or a light salad. The contrast of textures and flavors will delight your senses.
For an inviting table setting, consider serving your sandwiches with colorful napkins and a refreshing beverage. The thoughtful presentation makes the meal feel special, perfect for a family dinner or gathering with friends. Enhance your meal with these Copycat Starbucks Egg Bites for a brunch twist.
Chickfil-a At Home
Pairings/storage
Pair your Chick-fil-a At Home sandwich with classic sides like coleslaw or potato salad for a complete meal. For a lighter option, a fresh green salad complements the richness of the chicken. If you have leftovers, store the chicken separately from the bun and toppings to maintain freshness.
Reheat the chicken in the oven to retain its crispy texture. Avoid microwaving, which can make the breading soggy. Proper storage and reheating ensure that you can enjoy the Chick-fil-a At Home experience even the next day. For more storage tips, explore these No-Bake Peanut Butter Cheesecake Cups.
Conclusion
Creating a Chick-fil-a At Home sandwich is not only about replicating flavors but also about enjoying the process of cooking. The combination of tender chicken, flavorful sauce, and crispy breading delivers a delightful dining experience. Understanding the importance of each step ensures consistent, delicious results every time.
From marinating to perfecting the fry, each element plays a role in achieving the desired taste and texture. The ability to customize your sandwich with various spices and toppings adds a personal touch. This recipe highlights the joy of bringing restaurant-quality meals to your home kitchen, making it a staple for chicken lovers.
