
📑 Table of Contents ▶
Giada Chicken Milanese
Sharing a simple yet delightful dish like Giada Chicken Milanese often reminds me of family dinners at home. The aroma of freshly cooked chicken and the sound of laughter filling the air made every meal feel special. In those moments, a crispy, golden chicken cutlet turned into the star of our dining table. It brings a sense of comfort and warmth that every household craves.
Making Chicken Milanese at home is refreshing and satisfying. This dish combines juicy chicken cutlets with a crunchy gluten-free panko crust, leading to a delightful experience for the palate. Whether served with a side of crispy salad or over pasta, this meal satisfies taste buds and creates unforgettable moments around the table. With just a few basic ingredients, the chicken transforms into a luscious, flavorful delight that everyone loves, making it perfect for busy weeknights or laid-back weekends.
This Giada Chicken Milanese recipe highlights the beauty of simplicity in cooking. Every bite of this tender chicken bursting with flavor reminds us why dinnertime is a cherished family tradition. Here’s how to make this delicious chicken dish that will steal everyone’s heart at the table.
Giada Chicken Milanese
Fundamentals
Understanding the fundamentals of Chicken Milanese starts with knowing the quality of your ingredients. Fresh chicken cutlets are essential for achieving a juicy texture. The coating consists of rice flour, beaten eggs, and gluten-free panko breadcrumbs, which together create a crispy layer that celebrates each bite.
Many people are surprised to learn how easy it is to prepare this classic dish at home. The process involves pounding down chicken cutlets for even cooking, setting up your coating stations, and frying them to golden perfection. Familiarizing yourself with these steps empowers you to craft the perfect Chicken Milanese every time.
Preparation/setup
Preparation begins with laying out your ingredients. Assemble your rice flour, beaten eggs, gluten-free panko breadcrumbs, and seasonings in separate shallow bowls. This setup streamlines the cooking process, allowing you to coat your chicken seamlessly.
Take a meat mallet or a small pan and get ready to pound your cutlets. This technique not only ensures even cooking but also enriches the texture. After the cutlets are pounded to the desired thinness, they are seasoned generously with kosher salt to enhance the chicken’s natural flavors.
Ingredients
To create this delicious Giada Chicken Milanese, gather the following ingredients:
- 4 chicken cutlets (approximately 4 ounces each)
- 1¾ teaspoons kosher salt, divided
- ¼ cup rice flour
- 2 large eggs, beaten
- ¾ cup gluten-free panko breadcrumbs
- 3 tablespoons olive oil
- ¼ teaspoon freshly ground black pepper (optional)
- 1 lemon, cut into wedges
These ingredients form the base of the recipe, showcasing simplicity without compromising flavor. Each item plays a role in ensuring your Chicken Milanese is succulent and satisfying.
Directions
- Place each chicken cutlet between two pieces of plastic wrap. Using a meat mallet or the bottom of a pan, gently pound the cutlets until thin and evenly thick.
- Sprinkle both sides of the cutlets with ½ teaspoon of kosher salt.
- Set up three shallow bowls: one with rice flour, one with beaten eggs, and one with gluten-free panko. Season the rice flour with ¼ teaspoon salt, the beaten eggs with ¼ teaspoon salt, and the panko with ½ teaspoon salt.
- Coat each seasoned chicken cutlet in the rice flour, shaking off excess. Dip it in the beaten eggs, allowing extra egg to drip off. Press the cutlet into the panko, ensuring even coverage.
- Heat a large skillet over medium heat. Once hot, add olive oil and let it heat for about 10 seconds.
- Cook the breaded chicken cutlets in batches, avoiding overcrowding. Fry each cutlet for 4 to 5 minutes on one side until golden brown and crispy. Flip and cook for an additional 3 minutes until fully cooked and golden on both sides.
- Transfer cooked cutlets to a wire rack to drain excess oil. Sprinkle with the remaining ¼ teaspoon salt and black pepper, if desired.
- Serve immediately with lemon wedges for squeezing over the chicken.
Crafting the Perfect Giada Chicken Milanese
Technique
Achieving the perfect Giada Chicken Milanese requires a few essential techniques. Start with pounding the chicken cutlets to an even thickness, which helps them cook uniformly and stay juicy. Take your time while coating each piece to ensure they have a generous layer of panko.
Frying at the right temperature is crucial for creating that fantastic golden crust without drying out the chicken. Always preheat the skillet thoroughly before adding oil. Test the oil’s readiness by sprinkling a few breadcrumbs into the pan; they should sizzle immediately upon contact.
Tips/tricks
For consistently great results, follow these helpful tips. Use fresh chicken cutlets whenever possible; frozen ones can affect the dish’s overall texture. If you’re cooking multiple batches, keep the finished cutlets warm in an oven set on low while you fry the others.
For variations, experiment with different seasonings in the panko. Add dried herbs or grated cheese for an extra flavor kick. To maintain crispiness, avoid covering the chicken with aluminum foil after frying, as steam can dampen the coating.
Elevate Your Giada Chicken Milanese
Perfecting results
Perfecting your Giada Chicken Milanese takes practice but yields rewarding results. Check the chicken’s internal temperature with a meat thermometer; it should read 165°F. This guarantees your chicken is thoroughly cooked, ensuring every bite is safe and delicious.
Letting the cutlets rest briefly after frying helps retain moisture. This method allows juices to redistribute throughout the meat, leading to tender chicken. For the ultimate crispiness, serve your Chicken Milanese immediately after frying, as time can soften the crust.
Troubleshooting/variations
Encountering issues while preparing Chicken Milanese can occur, but troubleshooting is easy. If your cutlets do not brown adequately, ensure the oil is hot enough before adding the chicken. For those who prefer a flakier coating, consider switching to a coarser breadcrumb variety while maintaining gluten-free options.
Adjusting seasonings also allows for greater customization. Experiment with garlic powder or paprika mixed into the panko for a unique flavor profile. If frying is not an option, consider baking the cutlets in a preheated oven for an equally delicious twist.
Serving and Enjoying Giada Chicken Milanese
Serving/presentation
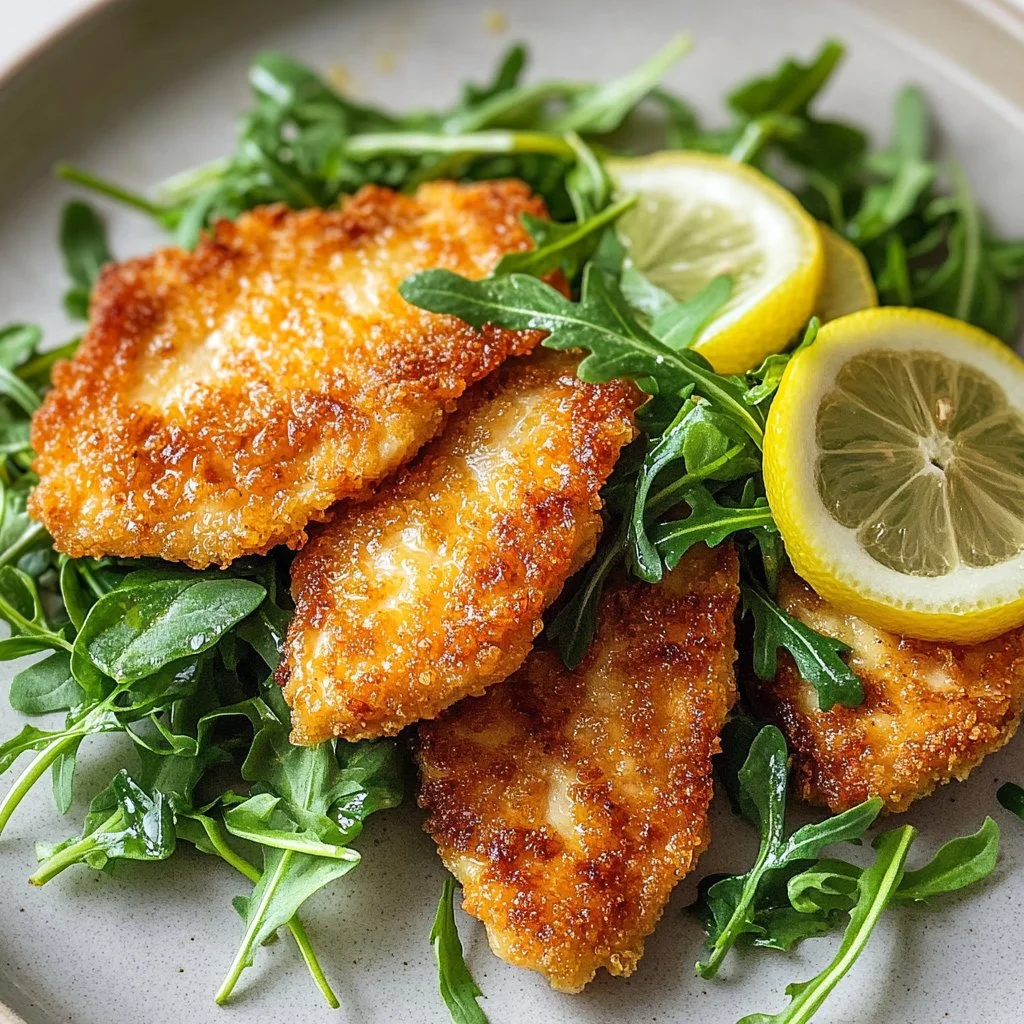
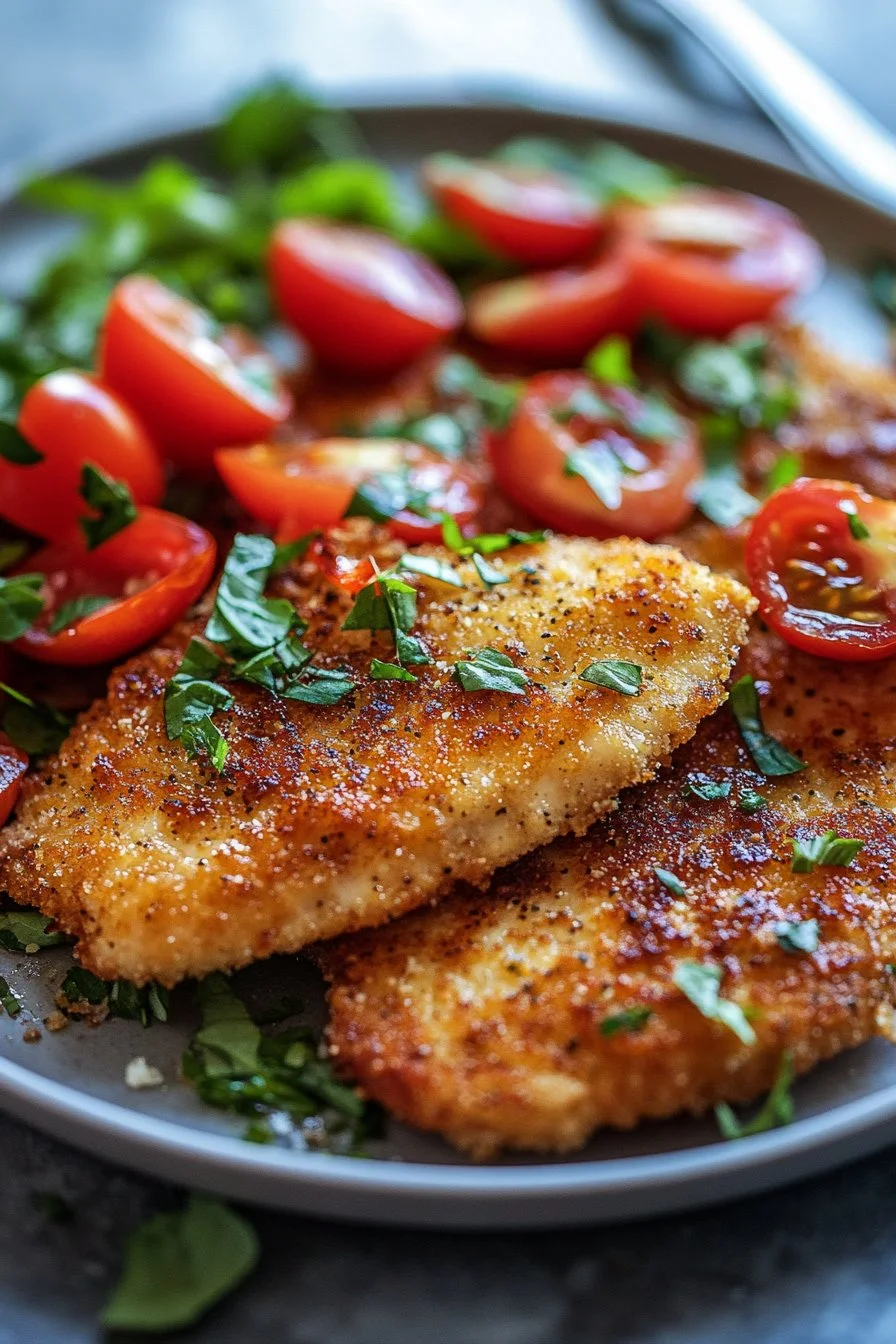
Presentation plays a key role in showcasing your Giada Chicken Milanese. For an elegant twist, plate the cutlets atop a bed of fresh arugula or alongside a vibrant tomato salad. The freshness of the salad complements the crunchy chicken beautifully.
Always include lemon wedges for a zesty squeeze over the chicken. The bright acidity elevates the dish, complementing the savory flavors. Arrange the coated cutlets on a serving platter, adding a vibrant pop of color to the table.
Pairings/storage
For side pairings, consider creamy mashed potatoes or roasted vegetables. These options enhance your meal without overwhelming the flavor of the chicken. If storing leftovers, place them in an airtight container in the refrigerator for up to three days.
To reheat and maintain that crispy texture, consider baking the cutlets in the oven at 375°F for about 10 minutes. This method helps refresh the crispiness while ensuring the chicken heats through. No matter how it’s served, Giada Chicken Milanese is a dish that brings comfort and satisfaction to any dining experience.
Giada Chicken Milanese combines simplicity and taste, making it a go-to choice for any occasion. The easy steps and straightforward ingredients come together to create an unforgettable experience. Drawing on traditional techniques, this dish proves that homemade meals can be both delicious and achievable in your kitchen. Enjoy savoring every bite while sharing joys and memories with family and friends.
Print
Giada Chicken Milanese
- Prep Time: 15 minutes
- Cook Time: 15 minutes
- Total Time: 30 minutes
- Yield: 4 servings
- Category: Main Course
- Method: Frying
- Cuisine: Italian
- Diet: Gluten-Free
Description
A crispy, golden chicken cutlet dish that combines juicy chicken with a crunchy gluten-free panko crust, perfect for family dinners.
Ingredients
- 4 chicken cutlets (approximately 4 ounces each)
- 1¾ teaspoons kosher salt, divided
- ¼ cup rice flour
- 2 large eggs, beaten
- ¾ cup gluten-free panko breadcrumbs
- 3 tablespoons olive oil
- ¼ teaspoon freshly ground black pepper (optional)
- 1 lemon, cut into wedges
Instructions
- Place each chicken cutlet between two pieces of plastic wrap and pound until thin.
- Sprinkle both sides of the cutlets with ½ teaspoon of kosher salt.
- Set up three shallow bowls: one with rice flour (seasoned with ¼ teaspoon of salt), one with beaten eggs (seasoned with ¼ teaspoon of salt), and one with gluten-free panko (seasoned with ½ teaspoon of salt).
- Coat each seasoned chicken cutlet in the rice flour, then dip in beaten eggs, and finally press into the panko.
- Heat a large skillet over medium heat and add olive oil.
- Cook the breaded chicken cutlets in batches for 4 to 5 minutes on one side until golden brown, then flip and cook for an additional 3 minutes.
- Transfer cooked cutlets to a wire rack, sprinkle with remaining salt and black pepper if desired.
- Serve immediately with lemon wedges for squeezing over the chicken.
Notes
For extra flavor, consider adding dried herbs or grated cheese to the panko. Avoid covering the chicken after frying to maintain crispiness.
