
📑 Table of Contents ▶
- Gluten-free Chicken Pot Pie
- Mastering the Gluten-Free Chicken Pot Pie
- Fundamentals
- Preparation/setup
- Crafting the Perfect Gluten-Free Chicken Pot Pie
- Technique
- Tips and tricks
- Elevating Your Gluten-Free Chicken Pot Pie
- Perfecting results
- Troubleshooting and variations
- Serving and Storing Your Gluten-Free Chicken Pot Pie
- Serving and presentation
- Pairings and storage
- Conclusion
- FAQs – Gluten-free Chicken Pot Pie
On a chilly evening, nothing warms the soul quite like a slice of homemade gluten-free chicken pot pie. I remember the first time I attempted this savory dish. My kitchen filled with the comforting aroma of cooked chicken and vegetables, and I was reminded of family dinners from my childhood. The beauty of a gluten-free chicken pot pie lies in its delicious simplicity—perfect for cozy gatherings or a solo treat.
The quest for the perfect gluten-free chicken pot pie began with a search for the right crust. Achieving a flaky, tender texture without gluten can be tricky, but it’s worth every effort. The joy of crafting a gluten-free chicken pot pie that satisfies both taste and dietary needs is unmatched. This recipe is not just a meal; it’s a testament to how food can bring people together, one slice at a time.
As the creator of ChickenDinnerIdeas, my goal is to make dinner both easy and delightful. The gluten-free chicken pot pie is a perfect example, with its hearty filling and flavorful crust. Whether you’re new to gluten-free baking or a seasoned pro, this dish is sure to impress. Let’s dive into the art of creating a gluten-free chicken pot pie that will make your mealtime unforgettable.

Gluten-free Chicken Pot Pie
- Prep Time: 20 minutes
- Cook Time: 50 minutes
- Total Time: 1 hour 10 minutes
- Yield: 1 pie (8 servings)
- Category: Main Course
- Method: Baking
- Cuisine: American
Description
Learn how to make a delicious gluten-free chicken pot pie with our easy recipe. Perfect for a comforting and hearty meal for any occasion!
Ingredients
- 3 cups all-purpose gluten-free flour blend (360g)
- 1/2 teaspoon (3 ml) salt (omit if using salted butter)
- 2 teaspoons (10 ml) xanthan gum (omit if you use a blend that has xanthan)
- 1 cup butter (2 sticks), cold – cut into small pieces (226g)
- 8–10 tablespoons milk, cold (120-150ml)
- 1 pound beef, cubed (450g)
- 1 cup sliced carrots (128g)
- 1 cup frozen green peas (134g)
- 1/3 cup vegetable oil (75g)
- 1/3 cup chopped fresh yellow or white onion (40g)
- 1/3 cup all-purpose gluten-free flour blend (or 3 tablespoons cornstarch) (40g)
- 1/2 teaspoon (3 ml) salt
- 1/4 teaspoon (1 ml) black pepper
- 1 3/4 cups chicken broth (414ml)
- 2/3 cup milk (158ml)
Instructions
- For the crust – Begin by heating your oven to 425°F (220°C). In a bowl, mix together the flour, salt, and xanthan gum.
- Use a pastry cutter or a combination of a knife and fork to incorporate the butter into the flour until it resembles small pea-sized pieces.
- Gradually add milk, mixing it in. If needed, add more milk. You may have to knead the dough by hand to ensure it is well combined.
- The dough should be damp and suitable for rolling.
- Split the dough into two parts and roll each portion on a floured surface until they form circles about 10 inches across. Alternatively, place the dough between wax paper sheets to roll.
- Position one dough circle in a pie dish and trim any overhang if required.
- For the filling – In a pot, bring together the beef, carrots, and peas. Cover them with water and boil for 15 minutes. Once done, drain the mixture and set it aside. If using pre-cooked beef, simply cook the vegetables and add the beef afterward.
- In the same pot, sauté the onions in oil over medium heat until they turn soft and clear.
- Blend in the flour, salt, and pepper, then gradually pour in the chicken broth and milk.
- Let the mixture simmer on a medium-low flame until it thickens. Once thickened, take it off the heat and put it aside.
- Spoon the beef and vegetable combination into the pie shell, filling it halfway. Pour the thickened sauce over the top until the filling reaches about three-quarters full.
- Top it with the second dough circle, sealing the edges and removing any extra dough. Make small cuts on the top layer to let the steam out.
- Place in the oven and bake for 30 to 35 minutes, or until the crust is a golden hue and the filling is bubbling.
- Allow it to cool for 15 minutes prior to serving.
Notes
- Ensure the butter is cold and cut into small pieces for a flakier crust.
- Gradually add more milk to the dough if it is too dry for rolling.
- Pre-cook the beef and vegetables to prevent a soggy bottom crust.
Mastering the Gluten-Free Chicken Pot Pie
Fundamentals
The foundation of any gluten-free chicken pot pie starts with its crust. Using a blend of all-purpose gluten-free flour ensures the right balance of texture and taste. Remember to incorporate xanthan gum if your flour blend lacks it, as this helps bind the crust ingredients.
Cold butter is crucial for a flaky crust. Cutting it into small pieces allows it to distribute evenly throughout the flour. The milk adds moisture, bringing the dough together without making it sticky. Rolling out the dough between wax paper helps prevent sticking and tearing, ensuring a smooth transfer to your pie dish.
Preparation/setup
Before starting, gather all your ingredients and ensure your oven is preheated to 425°F (220°C). Having everything ready makes the process smoother and more enjoyable. Begin by preparing your crust, as it requires chilling time to set properly.
Once the crust is ready, focus on the filling. Boil the beef, carrots, and peas together, then drain them to remove excess moisture. Sautéing onions in vegetable oil brings out their sweetness, enhancing the overall flavor of the filling. Gradually incorporating the chicken broth and milk creates a creamy sauce that ties the dish together.
Crafting the Perfect Gluten-Free Chicken Pot Pie
Technique
The secret to a successful gluten-free chicken pot pie lies in the technique. When mixing the crust ingredients, achieve a consistency that resembles small pea-sized pieces. This ensures that the butter melts evenly during baking, creating those desirable flaky layers.
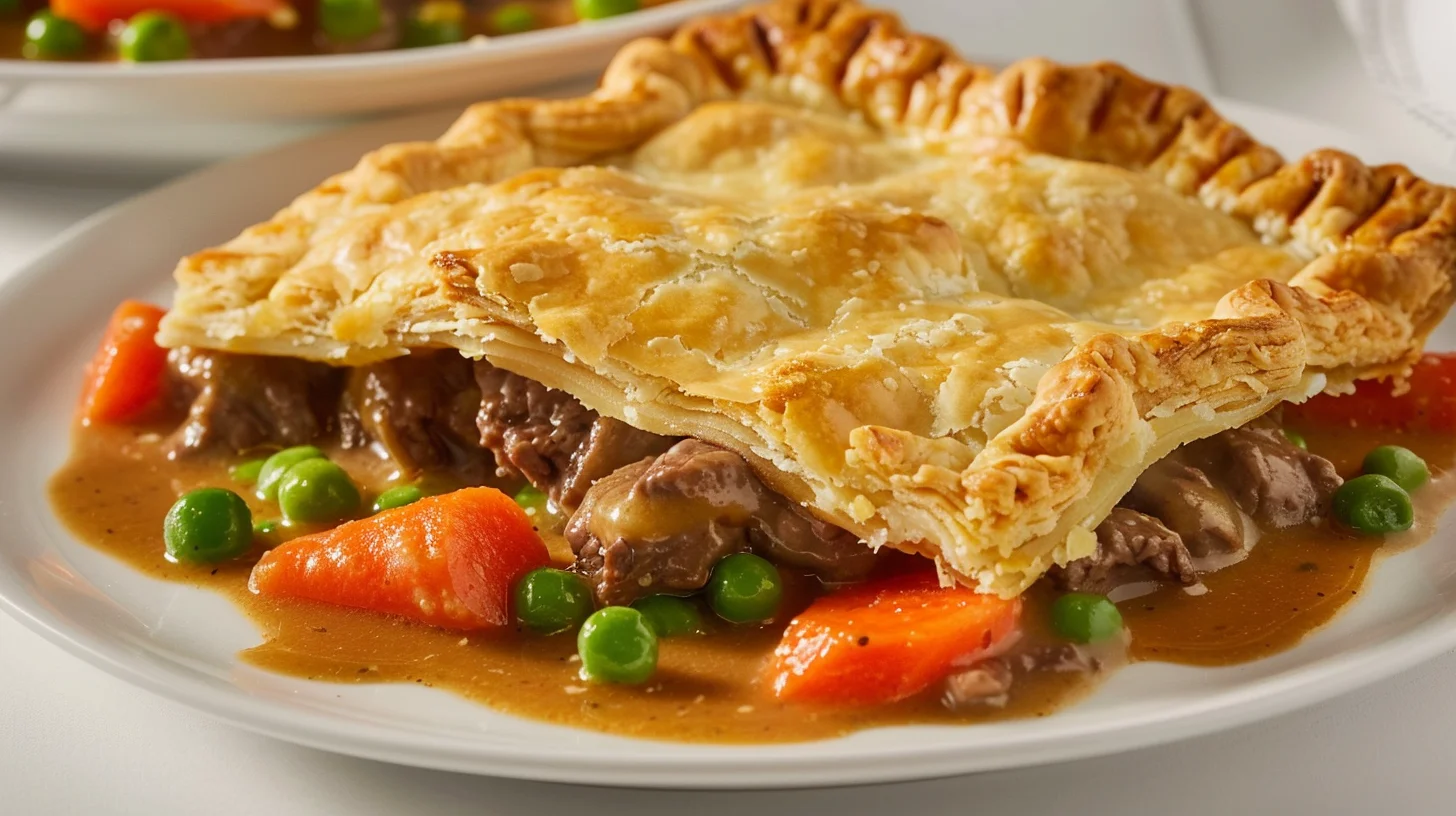
Layering the pie with the right order of ingredients is also crucial. Fill the pie shell halfway with the beef and vegetable mixture before pouring the thickened sauce over it. This method ensures that each slice is packed with flavor and the filling is distributed evenly.
Gluten-free Chicken Pot Pie
Tips and tricks
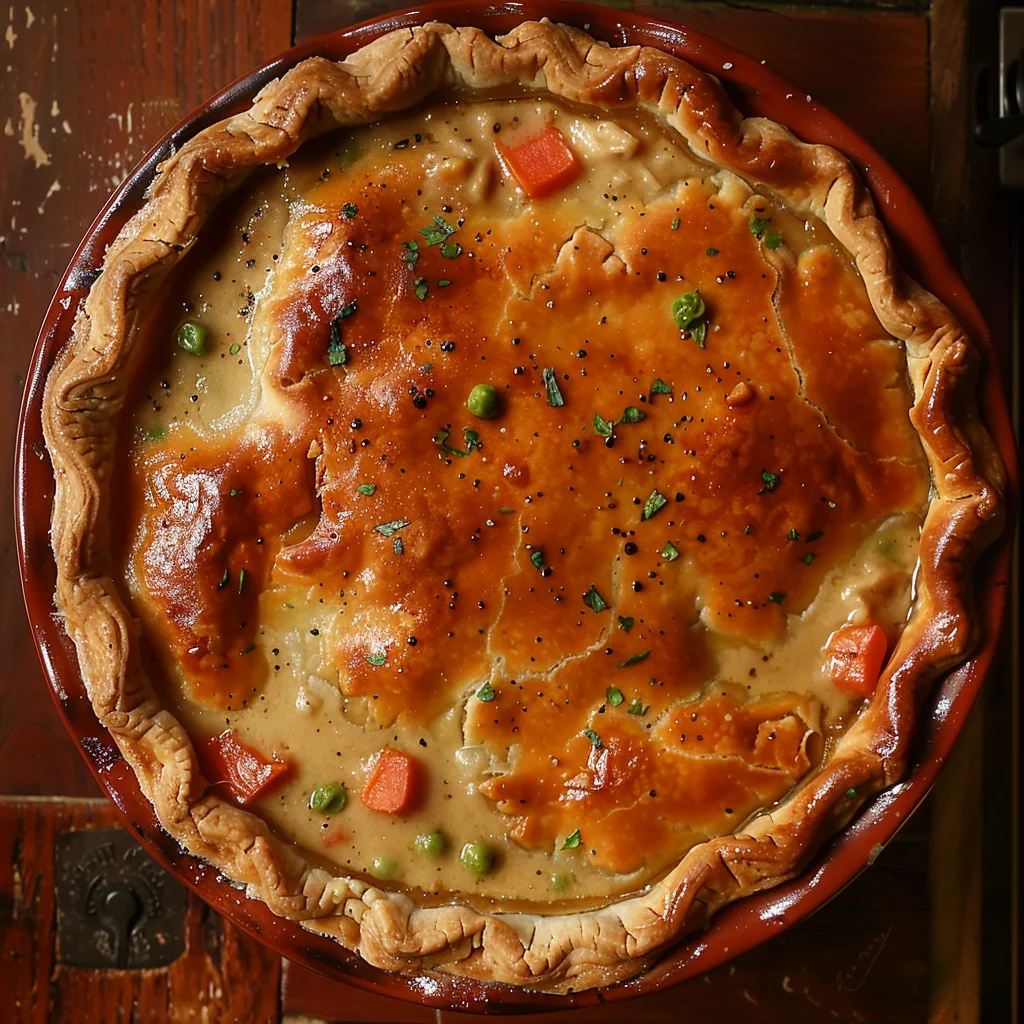
For a golden crust, brush it lightly with milk before placing it in the oven. This extra step enhances the crust’s color and encourages even browning. Venting the top crust with small cuts allows steam to escape, preventing a soggy pie.
If you’re looking for more inspiration, explore our Chicken Pot Pie Pasta or the delightful Crockpot White Chicken Chili. Each offers a unique spin on comforting flavors, perfect for any dinner table.
Elevating Your Gluten-Free Chicken Pot Pie
Perfecting results
Achieving the perfect gluten-free chicken pot pie means combining technique with attention to detail. Ensure your ingredients are fresh and your workspace is organized. The result is a pie with a crisp crust and a flavorful, hearty filling.
Experiment with variations by adding different herbs or spices to the filling. A pinch of thyme or a dash of garlic powder can elevate the taste, making each bite a new experience. For more delicious comfort food ideas, check out this Creamy Chicken Pot Pie Pasta Skillet.
Troubleshooting and variations
If your crust is too dry, gradually add more milk until it reaches the desired consistency. Conversely, if it’s too sticky, incorporate more flour as needed. Remember, practice makes perfect, and adjustments are part of the process.
For a vegetarian twist, substitute the beef with your choice of protein-rich alternatives like chickpeas or lentils. This variation maintains the pie’s hearty nature while accommodating different dietary preferences. Discover more creative ideas with this Sous Vide Chicken Breasts recipe.
Serving and Storing Your Gluten-Free Chicken Pot Pie
Serving and presentation
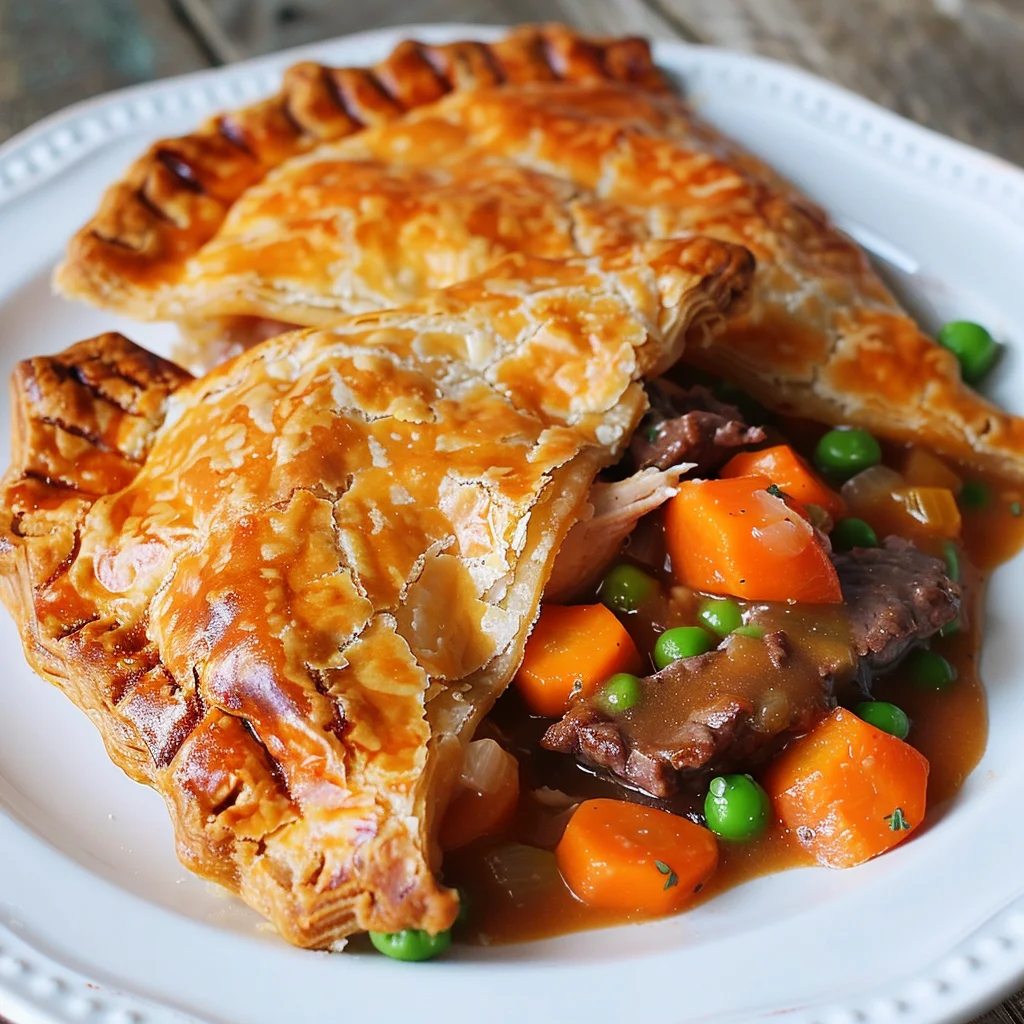
Serve your gluten-free chicken pot pie warm, allowing it to sit for 15 minutes after baking. This resting period helps the filling set, making it easier to slice and serve. A side salad or steamed vegetables complements the rich flavors of the pie.
Consider using a decorative pie dish for an added touch of elegance. The golden crust and vibrant filling create an inviting presentation that’s sure to impress family and guests alike. For more serving ideas, explore our One Pot Chicken and Rice Casserole Recipe.
Pairings and storage
Pair your pie with a refreshing beverage or a light dessert to complete the meal. If you have leftovers, store them in the refrigerator for up to three days. To reheat, cover the pie with foil and bake at a low temperature until warmed through.
Gluten-free Chicken Pot Pie
For longer storage, consider freezing individual slices. Wrap them tightly in plastic wrap and place them in a freezer-safe container. When you’re ready to enjoy, thaw the slices overnight in the fridge and reheat as needed. Discover more storage tips with Creamy Crock Pot Chicken Pierogi Stew.
Conclusion
Creating a gluten-free chicken pot pie is a rewarding culinary adventure. From mastering the crust to perfecting the filling, each step contributes to the delicious final product. This dish showcases the strength of simple ingredients and careful preparation.
Whether you’re serving it for a family dinner or a special occasion, the gluten-free chicken pot pie stands out for its hearty flavors and satisfying texture. It’s a testament to how good food can bring people together, offering both nourishment and joy.
By following these tips and techniques, you’ll have a gluten-free chicken pot pie that’s sure to become a staple in your recipe collection. Embrace the process, and enjoy the delightful results that come from homemade goodness.
