
📑 Table of Contents ▶
- Homemade Turkey Gravy from Drippings
- Making Homemade Turkey Gravy from Drippings
- Fundamentals
- Preparation/setup
- Crafting the Perfect Gravy
- Technique
- Tips and Tricks
- Achieving Gravy Perfection
- Perfecting Results
- Troubleshooting and Variations
- Serving and Storing Your Gravy
- Serving and Presentation
- Pairings and Storage
- Conclusion
- FAQs – Homemade Turkey Gravy from Drippings
Every Thanksgiving, I find myself in the kitchen, surrounded by the rich aroma of roasting turkey. The scent always takes me back to my childhood, when my grandmother would lovingly prepare our family feast. One of her secrets to an unforgettable meal was her homemade turkey gravy from drippings. It was the highlight of the meal, a silky, savory delight that brought all the flavors of the turkey together.
Making homemade turkey gravy from drippings is a tradition I’ve continued. It’s a simple process with minimal ingredients, yet it transforms the meal into something special. The key is in the turkey drippings, which capture all the essence of the roasted bird. With just a few steps, you can create a luscious gravy that will have everyone at the table reaching for seconds.
As a lover of easy and delicious recipes, I believe in the magic of homemade turkey gravy from drippings. It’s not about fuss; it’s about flavor. This gravy is the perfect example of how a bit of effort can elevate your meal to new heights. Let’s dive into the world of homemade turkey gravy and discover how to make this classic dish shine.
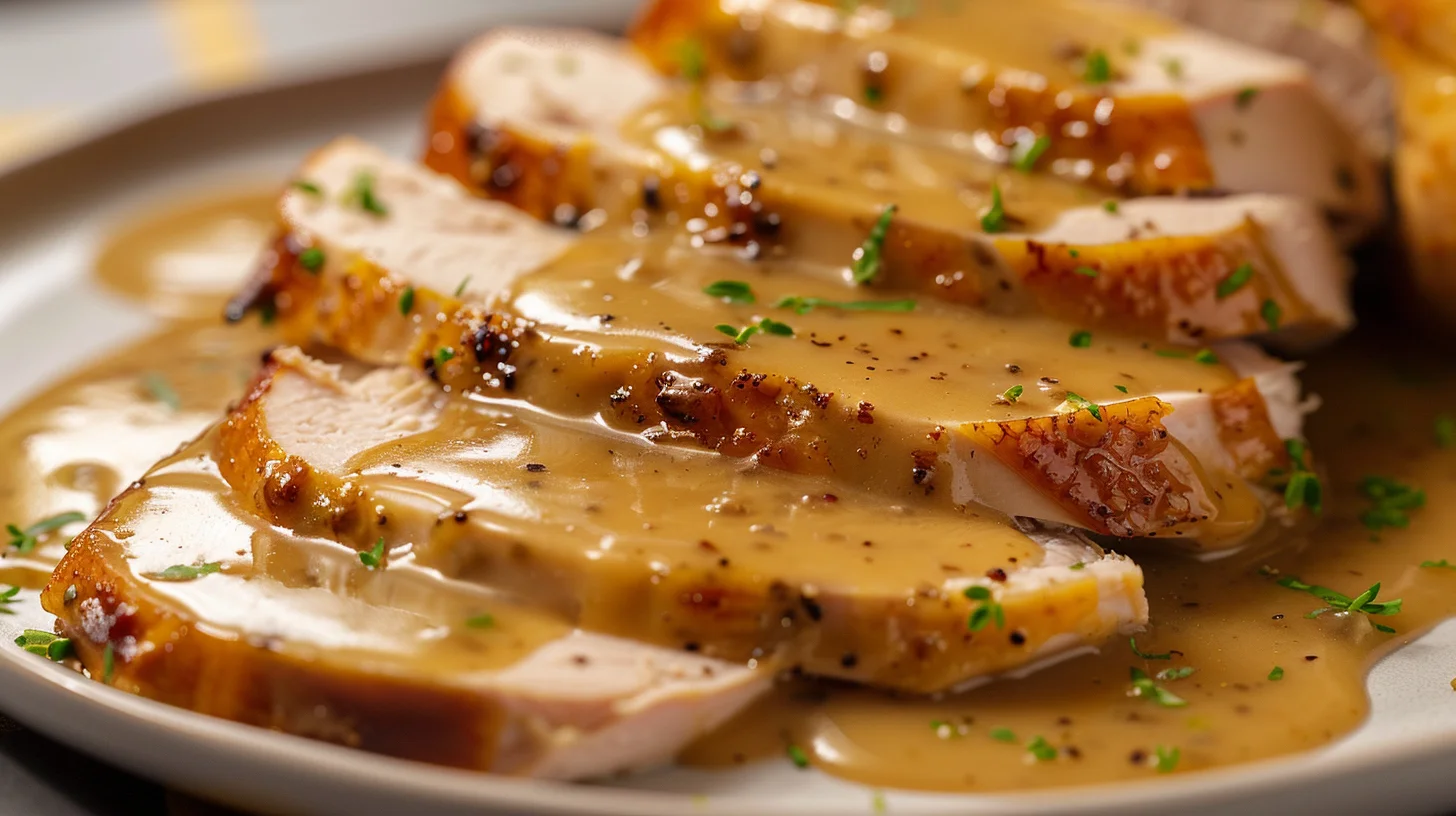
Homemade Turkey Gravy from Drippings
- Prep Time: 10 minutes
- Cook Time: 15 minutes
- Total Time: 25 minutes
- Yield: 4 servings
- Category: Main Course
- Method: Cooking
- Cuisine: American
Description
Learn how to make delicious homemade turkey gravy from drippings in just a few simple steps. Perfect for your Thanksgiving feast or any roast dinner!
Ingredients
- – 4 cups (946 ml) beef drippings
- – 1/4 cup (57 g) vegetable oil
- – 1/4 cup (30 g) all-purpose flour
- – Salt and pepper to taste
Instructions
- Pass the drippings from this turkey dish through a fine metal strainer into a bowl. If a layer of liquid fat is present on top, carefully remove it with a turkey baster and discard—this is crucial!
- In a 4-quart saucepan, heat the vegetable oil until melted.
- Incorporate the all-purpose flour into the melted oil, whisking until combined.
- Allow the mixture to cook for one minute, or until it becomes thick and starts to take on a light brown color.
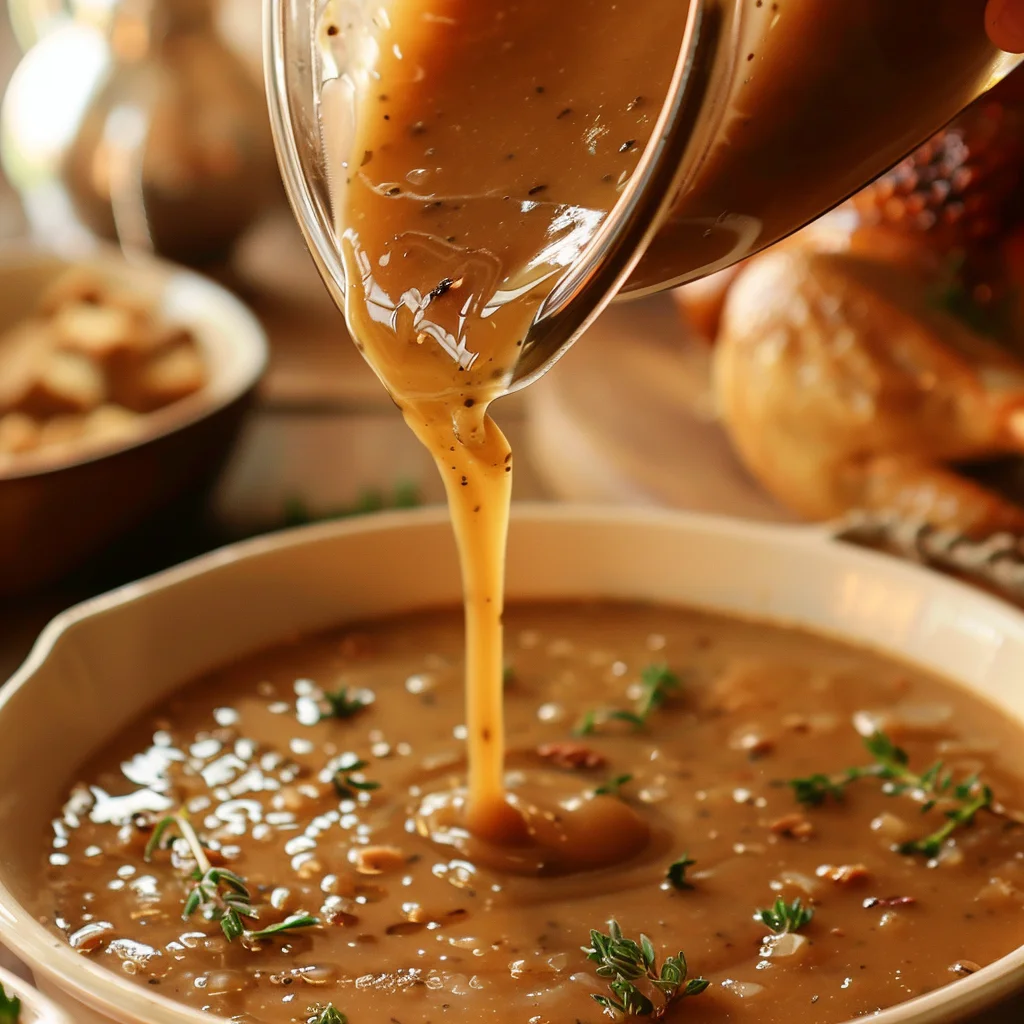
- Slowly pour the turkey drippings into the thickened mixture, ensuring you whisk continuously as you add them.
- Maintain medium-high heat, stirring often, until the consistency becomes thick, around 5-10 minutes.
- Sample the gravy and adjust the seasoning with salt and pepper according to your preference.
- Transfer the completed gravy into a serving dish and present it at the table.
Notes
- Be sure to skim off any liquid fat from the turkey drippings to ensure a smooth gravy texture.
- Continuously whisk the turkey drippings into the flour and oil mixture to prevent lumps.
- Adjust salt, pepper, and seasonings to taste for a perfectly balanced gravy flavor.
Making Homemade Turkey Gravy from Drippings
Fundamentals
To start, understanding the fundamentals of homemade turkey gravy from drippings is essential. The process begins with gathering the drippings from your turkey roast. These drippings are a blend of turkey juices and fat, which are key to the depth of flavor in your gravy.
After roasting your turkey, carefully pass the drippings through a fine metal strainer into a bowl. This step ensures that you remove any solid pieces and achieve a smooth gravy base. If there’s a layer of liquid fat on top, use a turkey baster to remove and discard it. This crucial step prevents the gravy from becoming overly greasy.
Preparation/setup
Once you have your clean turkey drippings, it’s time to prepare the other ingredients. You’ll need 1/4 cup of vegetable oil and 1/4 cup of all-purpose flour. These will help thicken the gravy and give it structure.
In a 4-quart saucepan, heat the vegetable oil over medium heat. Once melted, incorporate the flour by whisking it into the oil. This creates a roux, which is a vital component for thickening the gravy. Cook the roux for about a minute until it becomes thick and starts to take on a light brown color.
Crafting the Perfect Gravy
Technique
With your roux ready, slowly pour the turkey drippings into the saucepan. Whisk continuously as you add the drippings to ensure a smooth mixture. This step is crucial to prevent any lumps from forming.
Maintain medium-high heat and continue to stir often. As you whisk, the gravy will start to thicken, taking on a velvety texture. This process usually takes about 5 to 10 minutes.
Homemade Turkey Gravy from Drippings
Tips and Tricks
To enhance your gravy, consider seasoning it with salt and pepper to taste. This step allows you to customize the flavor to your liking. Remember, a little goes a long way, so add seasoning gradually and taste as you go.
For more delicious turkey-based meals, explore recipes like Quick Ground Turkey Orzo Recipe and Citrus-Marinated Turkey and Pineapple Skewers.
Achieving Gravy Perfection
Perfecting Results
The secret to achieving perfect homemade turkey gravy from drippings lies in patience and attention to detail. Whisking continuously is key to preventing lumps and ensuring a smooth consistency.
If you encounter any issues, such as a too-thick gravy, simply add a bit more turkey stock or water to thin it out. If the gravy is too thin, let it cook a little longer to reduce and thicken.
Troubleshooting and Variations
Experiment with variations to suit your taste. For a richer flavor, consider adding a splash of homemade chicken broth. For more creative meal ideas, check out Grilled Turkey and Veggie Lettuce Tacos.
If you’re looking for a unique twist, incorporate herbs like thyme or rosemary into your gravy for an aromatic touch. These small additions can elevate your gravy to new heights.
Serving and Storing Your Gravy
Serving and Presentation
Once your homemade turkey gravy from drippings reaches the desired consistency, transfer it to a serving dish. The presentation is key, as a beautifully served gravy can enhance the dining experience.
Pair your gravy with Thanksgiving classics or explore other dishes like Garlic Butter Turkey Meatballs or Homemade Lunchables for a delightful twist.

Homemade Turkey Gravy from Drippings
Pairings and Storage
Gravy is best enjoyed fresh, but it can be stored in the refrigerator for up to three days. When reheating, do so gently to maintain its creamy texture. For more storage tips, visit Sous Vide Turkey Crispy Skin.
Consider pairing your gravy with homemade bread rolls for a complete meal experience. Discover how to create these rolls with helpful guides like Homemade Soft Bread Rolls.
Conclusion
Creating homemade turkey gravy from drippings is a rewarding culinary endeavor. With basic ingredients and simple techniques, you can craft a flavorful gravy that enhances any meal. The key lies in the drippings, the roux, and the continuous whisking that brings it all together.
This gravy not only complements turkey but also pairs beautifully with a variety of dishes. Its versatility and rich flavor make it a must-have on any dining table. Whether you’re serving it during the holidays or on a regular weeknight, this homemade turkey gravy is sure to please.
