📑 Table of Contents ▶
- Irresistibly Crispy Karaage
- Fundamentals
- Preparation/setup
- Directions
- Techniques to Achieve Perfect Karaage
- Technique
- Tips/tricks
- Perfecting Your Karaage Experience
- Perfecting results
- Troubleshooting/variations
- Presenting Your Irresistible Karaage
- Serving/presentation
- Pairings/storage
- Irresistibly Crispy Karaage
Irresistibly Crispy Karaage: Your New Favorite Fried Chicken!
It was a rainy Saturday afternoon when I first tried making karaage. The scent of ginger and garlic wafted through the air, filling my kitchen with a warm and inviting aroma. My family gathered around the stove, curious about the deliciousness in progress. As I dropped the first piece of chicken into hot oil, the sizzle brought smiles to everyone’s faces. That crispy, golden crust paired with tender, juicy chicken thighs was an instant hit!
Karaage quickly became our family’s go-to dish for gatherings. Everyone eagerly anticipated that first bite. The blend of soy sauce and sake took the chicken to new heights, making each piece absolutely unforgettable. It’s a dish that brings comfort and joy, and I’m excited to share my easy recipe with you.
Using just a few simple ingredients, you can create this crunchy delight right in your kitchen. Whether you’re serving it with rice, in a bento box, or as an appetizer, this crispy karaage will undoubtedly become your new favorite fried chicken!
Irresistibly Crispy Karaage
Fundamentals
Karaage is a Japanese style of frying, which results in a flavor-rich, delectable dish. The traditional method involves marinating chicken, coating it, and then frying it at high temperatures, ensuring that it remains juicy on the inside while developing a perfect crunch on the outside. The key to great karaage lies in choosing the right ingredients and technique.
The marinade is essential for infusing your chicken with flavor. Using boneless skinless chicken thighs is ideal. They remain moist during the cooking process and absorb the spices beautifully. The addition of soy sauce and sake adds depth, creating a dish that will have your taste buds dancing.
Preparation/setup
Start by gathering all your ingredients. You need boneless skinless chicken thighs, ginger, garlic, soy sauce, sake, kosher salt, black pepper, corn starch, all-purpose flour, an egg, neutral frying oil, Kewpie mayo or regular mayo, lemon juice, and fine sea salt. Having everything in one spot will streamline your cooking process.
Prepare your chicken by cutting it into bite-sized pieces, ensuring even cooking. You want to make sure each piece is coated in the marinade for maximum flavor. Grate the ginger and garlic finely to release their robust aromas, then mix them with soy sauce, sake, and seasoning. Let it marinate for at least 30 minutes to an hour. This is a crucial step, as it allows the flavors to penetrate the chicken.
Ingredients
- 1 kg boneless skinless chicken thighs
- 2 tbsp ginger, finely grated
- 2 tbsp garlic, finely grated
- 1/4 cup soy sauce
- 2 tbsp sake
- 1 tsp kosher salt
- 1/2 tsp black pepper
- 1/2 cup corn starch
- 1/2 cup all-purpose flour
- 1 large egg
- 2 cups neutral frying oil
- 1/2 cup Kewpie mayo or regular mayo
- 1 tbsp lemon juice
- 1 clove garlic, finely grated
- 1/4 tsp fine sea salt
Directions
- Cut the chicken thighs into bite-sized pieces and place them in a bowl.
- Mix in the grated ginger, garlic, soy sauce, sake, kosher salt, and black pepper. Ensure the chicken is well coated in this marinade.
- Cover and chill in the refrigerator for 30 minutes to an hour.
- After marinating, prepare your coating station. Set up one bowl with the corn starch, another with the all-purpose flour, and a whisked egg in a third bowl.
- Remove the chicken from the marinade. Divide each piece into the corn starch, then the egg, and finish with the flour to create a nice, even coating.
- Heat the neutral oil in a deep frying pan over medium-high heat. Ensure the oil is hot enough before frying.
- Carefully drop the coated chicken pieces into the oil. Fry in batches to avoid overcrowding.
- Fry for 4-5 minutes or until golden brown, then remove and let drain on paper towels.
- For added deliciousness, mix the Kewpie mayo with lemon juice and extra garlic while the chicken cooks.
- Serve with the creamy mayo on the side.

Techniques to Achieve Perfect Karaage
Technique
To achieve perfectly crispy karaage, maintaining the right oil temperature is crucial. If the oil is too cold, the chicken will absorb excess oil, becoming greasy instead of crispy. Heat the oil to around 350°F (175°C) before adding your chicken. A thermometer can be particularly handy in achieving the right temperature consistently.
Frying in batches also plays a significant role. Overcrowding the pan causes a drop in oil temperature, leading to soggy results. Aim to fry just a few pieces at a time, allowing each piece to cook evenly.
Tips/tricks
To elevate your karaage, consider double-frying your chicken. This technique involves frying once to cook the chicken, letting it rest for a few minutes, and then frying again to enhance the crispiness. Additionally, using a mixture of corn starch and flour provides the ideal balance for that crave-worthy texture.
Experiment with the marinade too! While the basic recipe is phenomenal, you can try adding a touch of mirin or even some chili flakes if you enjoy a little heat. Adjusting the amount of soy sauce can also alter the flavor.
Perfecting Your Karaage Experience
Perfecting results
Achieving the ideal karaage is about patience and practice. The first time might not match your expectations, but don’t be discouraged. Taste-test each batch, and by the end of your cooking, you will understand how to adjust flavors and cooking times to suit your preferences.
Additionally, letting your chicken cool on a wire rack rather than paper towels will help maintain that crispy texture as it cools. This allows air circulation around the chicken, preventing it from becoming soggy.
Troubleshooting/variations
If your chicken turns out too oily, it likely means that the oil temperature was too low during frying. Adjust your heat settings based on your stovetop’s performance. On the other hand, if your chicken is overcooked, decrease frying time slightly on your next attempt.
For variations, try adding herbs or spices to the flour mixture before coating the chicken. Adding a hint of cumin or paprika can introduce exciting new flavors. Don’t hesitate to experiment!
Presenting Your Irresistible Karaage
Serving/presentation
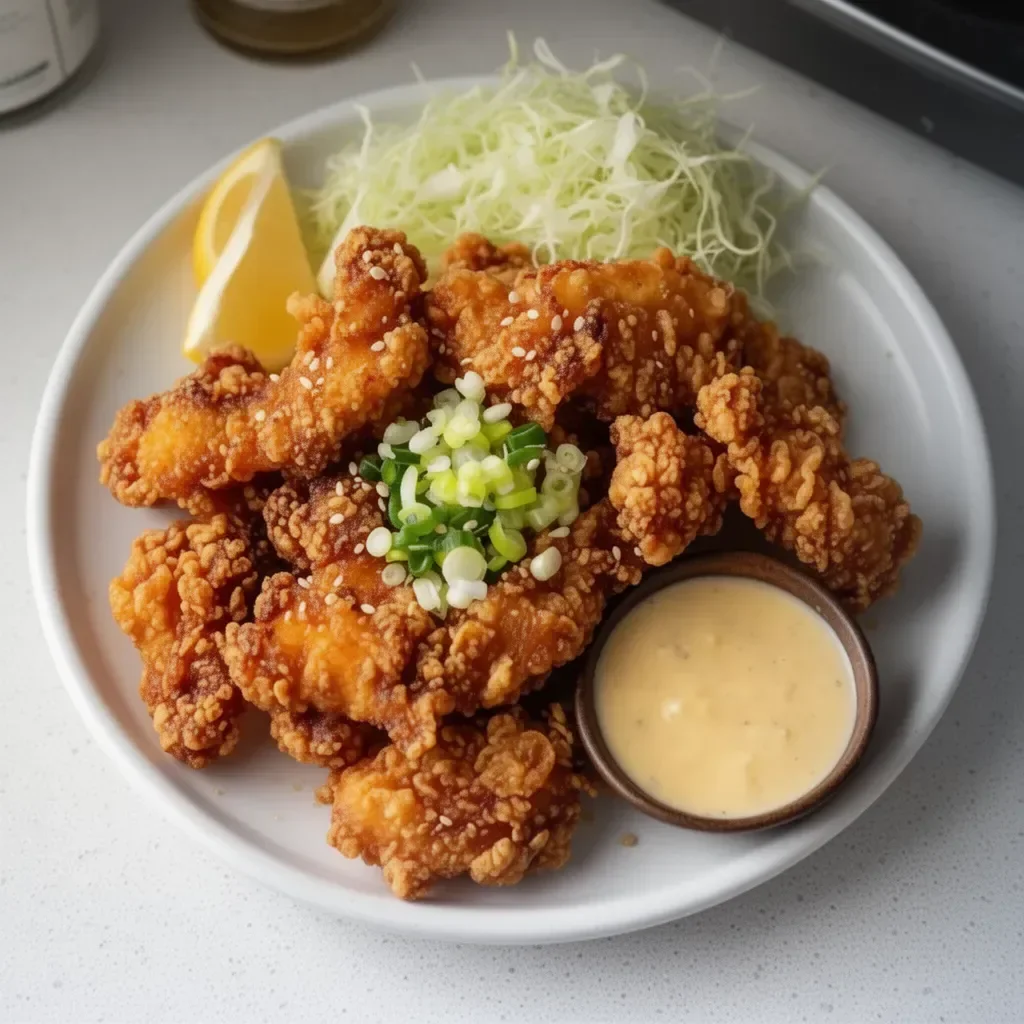
Once your karaage is beautifully fried to perfection, presenting it well is half the fun. Serve it with fresh lemon wedges on the side, allowing guests to squeeze some brightness over their portions. A simple salad or steamed rice pairs well, balancing the rich flavors of the fried chicken.
You can also serve karaage as a part of a bento box, pairing it with pickled vegetables and rice for a delightful meal. The crunch of the chicken alongside other textures will entice everyone at the table.
Pairings/storage
Karaage stands up well against various sides. Pair it with a refreshing cucumber salad or some steamed bok choy, providing a great contrast to the crispy chicken. If you have leftovers, store them in an airtight container in the refrigerator for up to three days.
Reheating leftover karaage in an air fryer restores its crunch, ensuring you still enjoy that tasty crispy coating even on day two. You can also use leftovers in sandwiches or salads, offering an extra layer of flavor and texture.
Crispy karaage becomes a favorite that never disappoints. Through careful preparation and the right techniques, you can create mouthwatering fried chicken that brings joy to every table. Enjoy the journey of crafting this succulent dish, and share it with your loved ones.
Print
Irresistibly Crispy Karaage
- Prep Time: 30 minutes
- Cook Time: 20 minutes
- Total Time: 50 minutes
- Yield: 4 servings
- Category: Main Course
- Method: Frying
- Cuisine: Japanese
- Diet: Paleo
Description
A delicious and crispy Japanese fried chicken recipe that is perfect for gatherings or as a comforting meal.
Ingredients
- 1 kg boneless skinless chicken thighs
- 2 tbsp ginger, finely grated
- 2 tbsp garlic, finely grated
- 1/4 cup soy sauce
- 2 tbsp sake
- 1 tsp kosher salt
- 1/2 tsp black pepper
- 1/2 cup corn starch
- 1/2 cup all-purpose flour
- 1 large egg
- 2 cups neutral frying oil
- 1/2 cup Kewpie mayo or regular mayo
- 1 tbsp lemon juice
- 1 clove garlic, finely grated
- 1/4 tsp fine sea salt
Instructions
- Cut the chicken thighs into bite-sized pieces and place them in a bowl.
- Mix in the grated ginger, garlic, soy sauce, sake, kosher salt, and black pepper. Ensure the chicken is well coated in this marinade.
- Cover and chill in the refrigerator for 30 minutes to an hour.
- Prepare your coating station. Set up one bowl with the corn starch, another with the all-purpose flour, and a whisked egg in a third bowl.
- Remove the chicken from the marinade. Divide each piece into the corn starch, then the egg, and finish with the flour to create a nice, even coating.
- Heat the neutral oil in a deep frying pan over medium-high heat. Ensure the oil is hot enough before frying.
- Carefully drop the coated chicken pieces into the oil. Fry in batches to avoid overcrowding.
- Fry for 4-5 minutes or until golden brown, then remove and let drain on paper towels.
- Mix the Kewpie mayo with lemon juice and extra garlic while the chicken cooks.
- Serve with the creamy mayo on the side.
Notes
For double-crispy karaage, fry once to cook the chicken, let it rest briefly, and fry again for extra crunch.
