
📑 Table of Contents ▶
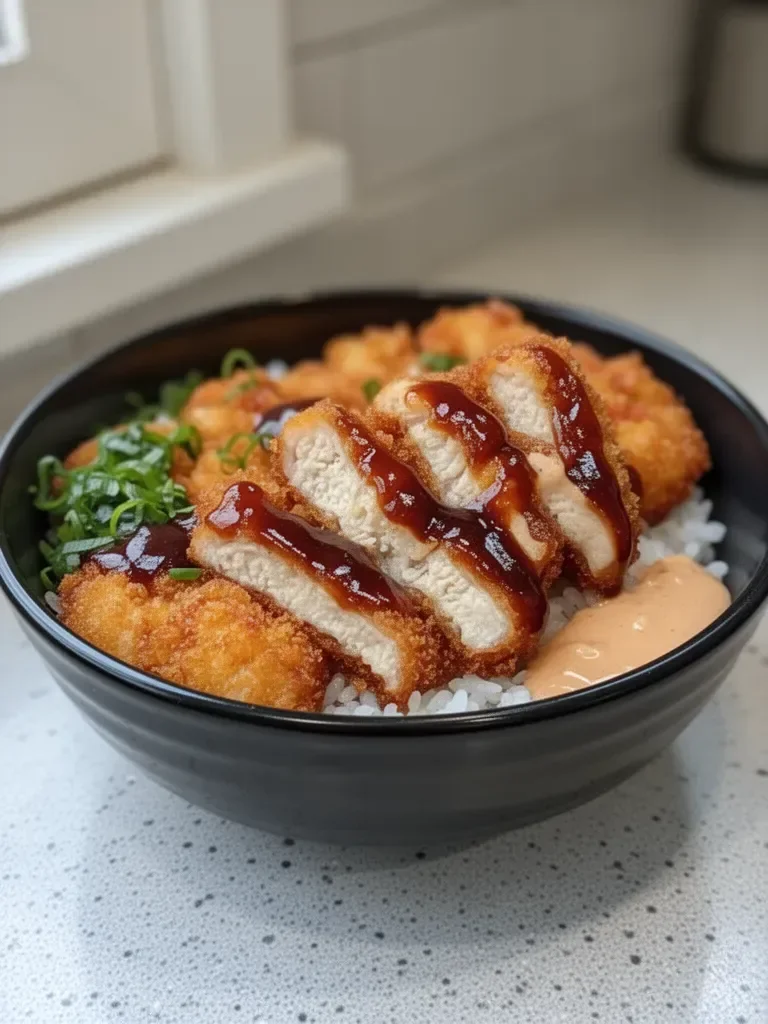
Japanese Katsu Bowls with Tonkatsu Sauce
Creating a delicious meal can often feel like a daunting task, but Japanese Katsu bowls make everything simpler and more enjoyable. The crispy, golden-brown cutlet served over rice transforms an ordinary dinner into a delightful culinary experience. With every bite, the richness of the tonkatsu sauce elevates the dish, making it comforting and memorable. Katsu bowls hold a special place in my heart because they are not just about satisfying hunger; they bring families together around the table.
Incorporating the right techniques and ingredients can help replicate those restaurant-quality Katsu bowls right in your kitchen. Using a combination of fresh ingredients and simple preparations, you can achieve crispy cutlets that pair perfectly with the delightful tang of the sauce. The fusion of textures—crispy outside, tender inside—means that every forkful brings joy. By mastering this dish, you open the door to endless possibilities for family dinners and casual get-togethers.
This Katsu bowl is not only easy to make but also incredibly versatile. You can adjust the serving sizes, experiment with the rice type, or even incorporate various vegetables if you desire. The essence remains the same: a delicious, crispy centerpiece of the bowl that satisfies both taste and presentation. Let’s dive deeper into the fundamentals of creating the perfect Japanese Katsu bowls.
Mastering the Katsu Bowl
Fundamentals
To create the ultimate Katsu bowl, understanding the fundamentals is key. The crispy cutlet takes center stage, while a bed of fluffy cooked rice serves as its foundation. Tonkatsu sauce adds the finishing touch, enveloping the dish with rich flavor. Using fresh ingredients ensures that every bite is delicious and authentic.
Choosing the right cutlet is crucial. Look for quality cuts that provide tenderness and flavorfulness. The process of dredging, breading, and frying the cutlets will create that iconic crunch that’s so satisfying. Achieving the perfect katsu bowl is all about mastering the balance between crunchy and juicy.
Preparation/setup
Preparation is the first step to executing this recipe successfully. Begin by gathering all your ingredients: cutlets, salt, pepper, flour, eggs, panko breadcrumbs, vegetable oil, cooked rice, tonkatsu sauce, and green onions for garnish. Having everything within reach will streamline the cooking process.
Before you start frying, set up your station. Place one dish each for the flour, beaten eggs, and panko breadcrumbs. This dredging station will speed up the breading process and minimize mess. Ensure your oil is preheated, as this not only cooks the cutlets evenly but also gives that desired golden-brown finish.
Ingredients
- Pork cutlets
- Salt
- Pepper
- Flour
- Eggs
- Panko breadcrumbs
- Vegetable oil
- Cooked rice
- Tonkatsu sauce
- Green onions (for garnish)
Directions
- Season the cutlets generously with salt and pepper.
- Dredge each cutlet in flour, dip it in beaten eggs, and then coat it with panko breadcrumbs.
- Heat vegetable oil in a pan over medium heat.
- Fry the cutlets until golden brown and cooked through, about 4-5 minutes per side.
- Remove from the pan and let them drain on paper towels.
- Slice the cutlets and serve over a bed of cooked rice.
- Drizzle with tonkatsu sauce and garnish with sliced green onions.
Techniques for Perfecting Katsu Bowls
Technique
The technique involved in frying cutlets is essential for achieving that authentic crunch. Ensure the oil is hot enough before placing the cutlets in the pan; you can test it by throwing a small piece of bread or leftover breadcrumb into the oil. If it sizzles immediately, you’re ready to go.
Maintain the temperature throughout the cooking process for the best results. Adjust the heat if necessary to prevent burning while ensuring the cutlet cooks through completely. This careful attention to temperature will yield that crispy outer layer and tender inside.
Tips/tricks
For an even crispier cutlet, consider double-dredging. Repeat the process of flour, egg, and panko for each cutlet. Another great tip is to let the cutlets rest for a few minutes after coating them in panko before frying. This allows the breadcrumbs to adhere better and creates a thicker, crunchier coating.
Experiment with the amount of salt and pepper during seasoning; adjust it to your taste. Additionally, if you are feeling adventurous, try spicing up the tonkatsu sauce by adding a touch of garlic or a splash of soy sauce for added flavor complexity.
Achieving Perfect Results
Perfecting results
To ensure your Katsu bowl is perfect, pay attention to the frying process. The cutlets should be golden brown and crispy, and slicing them should reveal a juicy interior. For extra assurance, using a meat thermometer to check doneness can be very beneficial; aim for an internal temperature of 145°F.
The presentation of the bowl contributes significantly to its appeal. Serving it neatly over a bed of rice, topped with garnishes, can elevate the dish’s visual impact. The colors will excite diners and make the meal all the more enjoyable.
Troubleshooting/variations
If your cutlets turn out soggy instead of crispy, your oil may not have been hot enough. Conversely, if they burn quickly, the heat might have been too high. Regularly check the temperature to ensure consistency while frying.
Feel free to add variants to your Katsu bowl. Introducing vegetables like steamed broccoli or sautéed carrots can enhance both the nutrition and presentation. You can also mix different sauces to complement the tonkatsu, such as a tangy teriyaki drizzle, giving it a unique twist.
Presenting Your Katsu Bowl
Serving/presentation
Presentation can elevate an everyday meal into something extraordinary. Arrange the sliced cutlets on a bed of rice and drizzle tonkatsu sauce generously over the top. A sprinkle of sliced green onions adds color and freshness, enhancing the visual appeal.
For added flair, you can even serve the bowls in colorful dishes that complement the contents, creating a vibrant dinner experience. This simple addition makes the dish tantalizing even before the first bite.
Pairings/storage
For sides, consider serving with a simple salad or pickled vegetables, which balance the richness of the Katsu. Store any leftovers in an airtight container; they can last in the refrigerator for about 2-3 days. Reheat gently to maintain the crispy texture, especially when warming the cutlets.
The cooked rice can be easily reheated and served again, making it versatile for meal prep or leftovers. You will find that each component of the Katsu bowl works harmoniously together, allowing for a satisfying and delicious meal.
Crafting the perfect Katsu bowl is an enjoyable culinary adventure. From mastering the basic techniques to presenting a visually stunning dish, you’ll find that each aspect enhances the overall dining experience. Enjoy exploring this delicious journey!
Print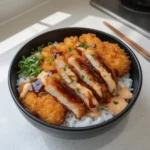
Japanese Katsu Bowls with Tonkatsu Sauce
- Prep Time: 15 minutes
- Cook Time: 20 minutes
- Total Time: 35 minutes
- Yield: 4 servings
- Category: Main Course
- Method: Frying
- Cuisine: Japanese
- Diet: Non-Vegetarian
Description
Crispy, golden-brown cutlet served over rice topped with rich tonkatsu sauce for a comforting and memorable meal.
Ingredients
- Pork cutlets
- Salt
- Pepper
- Flour
- Eggs
- Panko breadcrumbs
- Vegetable oil
- Cooked rice
- Tonkatsu sauce
- Green onions (for garnish)
Instructions
- Season the cutlets generously with salt and pepper.
- Dredge each cutlet in flour, dip it in beaten eggs, and then coat it with panko breadcrumbs.
- Heat vegetable oil in a pan over medium heat.
- Fry the cutlets until golden brown and cooked through, about 4-5 minutes per side.
- Remove from the pan and let them drain on paper towels.
- Slice the cutlets and serve over a bed of cooked rice.
- Drizzle with tonkatsu sauce and garnish with sliced green onions.
Notes
For extra crispiness, consider double-dredging the cutlets. Adjust the seasoning to your taste, and feel free to experiment with additional sauces.
