
📑 Table of Contents ▶
- Part 1 — Nashville Hot Chicken Basics
- Fundamentals
- Preparation/setup
- Directions
- Part 2 — Mastering Nashville Hot Chicken
- Technique
- Tips/tricks
- Part 3 — Perfecting Nashville Hot Chicken
- Perfecting results
- Troubleshooting/variations
- Part 4 — Serving Nashville Hot Chicken
- Serving/presentation
- Pairings/storage
- Conclusion
Nashville Hot Chicken Recipe (Inspired by Prince’s Hot Chicken)
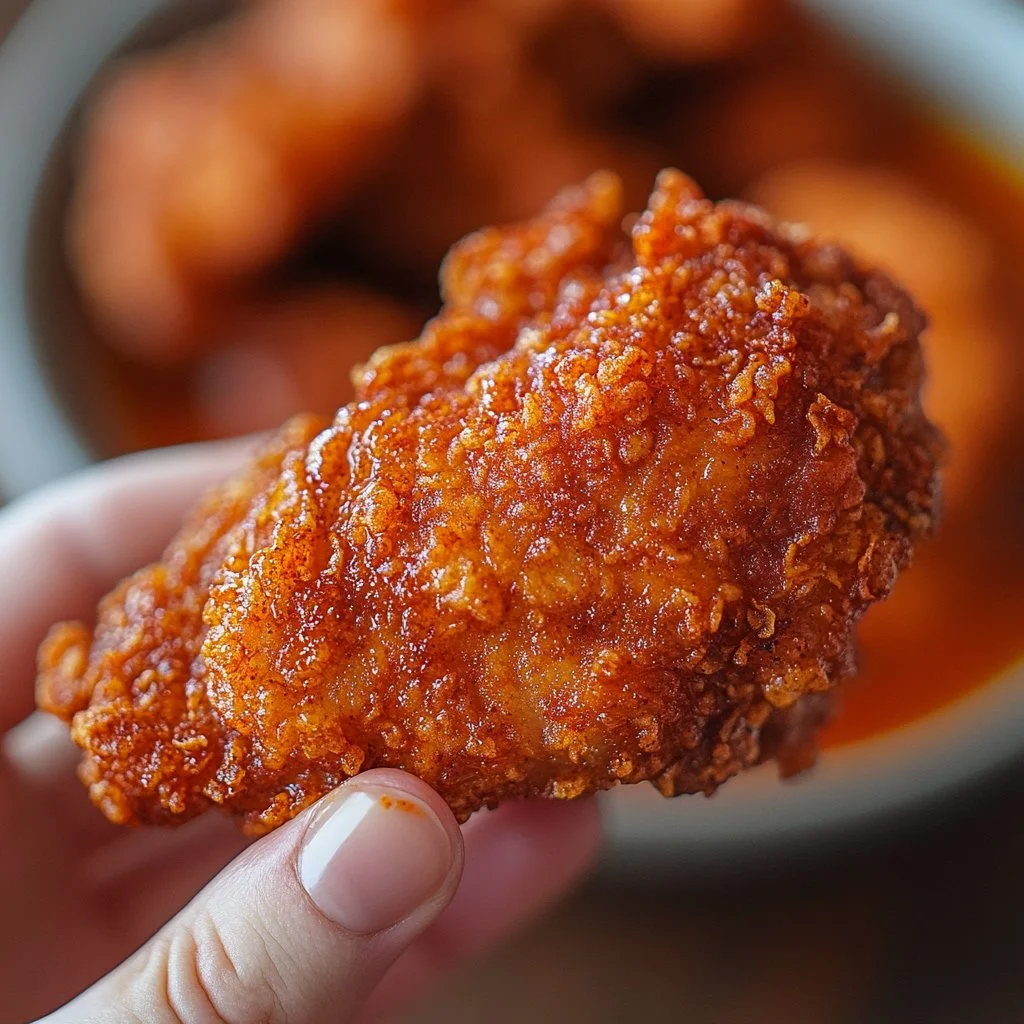
The first time I discovered Nashville Hot Chicken, I felt like I had unearthed a hidden gem of flavor. The fiery spice followed by mouthwatering crunch made it an unforgettable experience. This iconic dish brings together the heat of cayenne pepper, the smokiness of paprika, and the juiciness of perfectly fried chicken. Every bite is an explosion of flavor that dances across your palate, offering a delicious thrill.
Walking into a local joint in Nashville, I was enveloped by the aroma of fried chicken and spices. My order arrived, accompanied by soft white bread and zesty pickle slices. Pairing these elements with the hot chicken created a balanced meal that introduced my taste buds to a whole new world. This culinary adventure ignited a passion for recreating that spicy goodness at home.
Today, I’m excited to share a Nashville Hot Chicken recipe that captures those vibrant flavors. Each step in this recipe invites you to explore the art of making this dish from scratch, ensuring that your dinner becomes a memorable feast. Dive in and prepare your taste buds for a lively ride!
Part 1 — Nashville Hot Chicken Basics
Fundamentals
Nashville Hot Chicken excels at combining heat and crunch. The fundamental aspects lie in the marination, dredging, and frying techniques. Start with quality chicken tenders or bone-in pieces for the best results. Spices play a crucial role in infusing flavor both during marination and in the hot coating. Master these fundamentals for an authentic Nashville experience.
Preparation/setup
Begin by prepping the chicken. Rinse it under cold water and pat it dry with paper towels. This step ensures that the seasoning adheres well to the surface. Salt plays a vital role in drawing moisture out of the chicken, enhancing flavor. Use one tablespoon of kosher salt to season the chicken evenly, allowing it to marinate for at least an hour. This marination will intensify the flavors.
Ingredients
Gathering your ingredients makes all the difference. Look for 8–16 pieces of chicken tenders or bone-in chicken, one tablespoon of kosher salt, smoked paprika, and cayenne pepper. You’ll also need garlic powder, freshly ground black pepper, and ground white pepper. For the coating, prepare all-purpose flour, cornstarch, and hot sauce. Don’t forget whole milk or buttermilk, egg whites, and cooking oil for frying. This collection of ingredients sets the stage for a mouthwatering dish.
Directions
- Begin by marinating your chicken pieces in a mixture of salt, smoked paprika, cayenne pepper, garlic powder, black pepper, and white pepper for at least one hour.
- Combine all-purpose flour and cornstarch in a separate bowl. Whisk egg whites and milk in another bowl, adding hot sauce for flavor.
- Overview your setup: a cooling rack over a baking sheet for fried chicken, and prepare a deep pot with about 2 quarts of oil heated to 350°F.
- Dredge each chicken piece in the flour mixture, dip it in the egg mixture, and coat it again in the flour.
- Fry the chicken in batches until golden brown, about 15-18 minutes.
- Meanwhile, prepare the Nashville Hot Coating with heated oil, cayenne, brown sugar, salt, black pepper, garlic powder, paprika, onion powder, and chili powder.
- Once fried, brush the hot coating onto the chicken for an authentic taste.
- Let it rest on the cooling rack before serving.
Part 2 — Mastering Nashville Hot Chicken
Technique
To achieve crispy, golden chicken, maintain the frying oil at a consistent temperature. Use a thermometer for accuracy. A common mistake is overcrowding the pan, which can lower the temperature and lead to soggy chicken. Fry in smaller batches, ensuring even cooking and crispiness.
Tips/tricks
Use a neutral oil like peanut or vegetable oil for frying. These oils handle high temperatures well without burning. If you’re sensitive to spicy heat, adjust the cayenne pepper in the hot coating. Start with minimal amounts and increase according to your preference. Let the chick sit in the hot coating for a few minutes before serving to let the flavors meld.
Part 3 — Perfecting Nashville Hot Chicken
Perfecting results
Practice makes perfect. Don’t be discouraged if the first batch isn’t exactly what you envisioned. The key is to refine each step, from marination to frying. Experiment with the ratio of spices until you find your ideal blend. For crunchier chicken, consider using a separate bowl for additional flour before frying.
Troubleshooting/variations
If you find the chicken not as spicy as you desire, increase the cayenne in the hot coating next time. If it’s too spicy, try diluting the heat with a bit more sugar in the coating mixture. For a twist, consider adding smoked paprika for an even deeper flavor or using different parts of the chicken to alter texture and juiciness.
Part 4 — Serving Nashville Hot Chicken
Serving/presentation
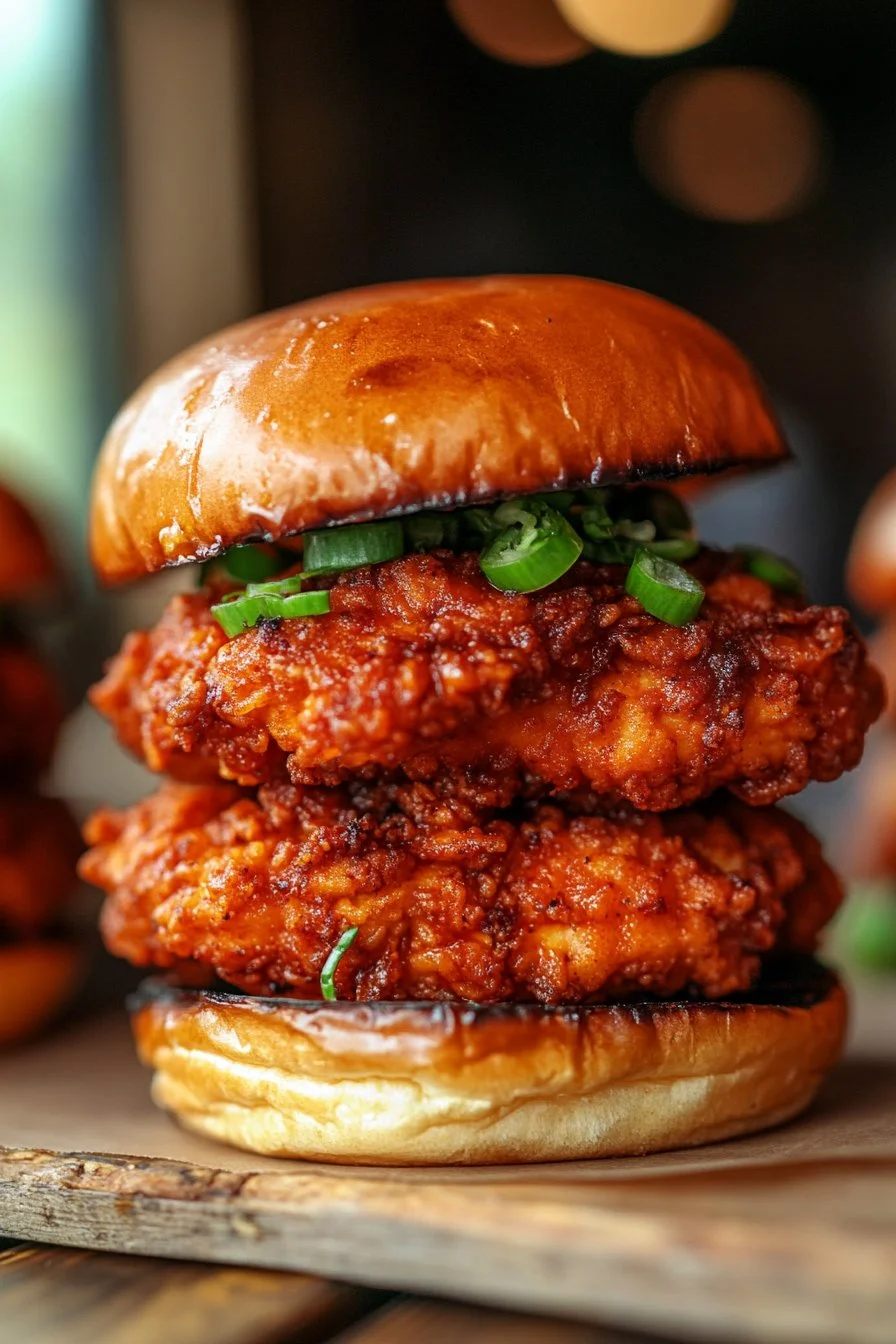
Nashville Hot Chicken shines when served as a generous platter. Layer the chicken on sliced white bread and top with pickle slices for a classic presentation. Consider adding coleslaw for a refreshing crunch, balancing the spice with creaminess.
Pairings/storage
Serve your Nashville Hot Chicken with sides like macaroni and cheese or a refreshing cucumber salad. Store leftovers in an airtight container in the refrigerator for up to three days. Reheat in an oven to maintain crispiness or use an air fryer for a quick refresh without sacrificing texture.
Conclusion
Bringing the flavors of Nashville Hot Chicken to your kitchen creates an unforgettable meal experience. With a blend of spice, crunch, and juicy chicken, this dish offers a delightful adventure for your taste buds. It’s time to explore, fry, and savor every bite of this Nashville classic.
Print
Nashville Hot Chicken
- Prep Time: 60 minutes
- Cook Time: 18 minutes
- Total Time: 78 minutes
- Yield: 4 servings
- Category: Main Course
- Method: Frying
- Cuisine: American
- Diet: None
Description
A spicy, crunchy fried chicken recipe inspired by the famous Nashville Hot Chicken, featuring a fiery coating and irresistible flavors.
Ingredients
- 8-16 pieces of chicken tenders or bone-in chicken
- 1 tablespoon kosher salt
- 1 tablespoon smoked paprika
- 1 tablespoon cayenne pepper
- 1 teaspoon garlic powder
- 1 teaspoon freshly ground black pepper
- 1 teaspoon ground white pepper
- 1 cup all-purpose flour
- 1/2 cup cornstarch
- 1/2 cup hot sauce
- 1 cup whole milk or buttermilk
- 2 egg whites
- Cooking oil for frying
Instructions
- Marinate the chicken with kosher salt, smoked paprika, cayenne pepper, garlic powder, black pepper, and white pepper for at least one hour.
- In a separate bowl, combine all-purpose flour and cornstarch. In another bowl, whisk egg whites and milk, adding hot sauce.
- Set up a cooling rack over a baking sheet and heat about 2 quarts of oil in a deep pot to 350°F.
- Dredge each chicken piece in the flour mixture, dip in the egg mixture, and coat again with flour.
- Fry the chicken in batches until golden brown, about 15-18 minutes.
- Prepare the Nashville Hot Coating by mixing hot oil, cayenne, brown sugar, salt, black pepper, garlic powder, paprika, onion powder, and chili powder.
- Brush the hot coating onto the fried chicken and let it rest on the cooling rack before serving.
Notes
Serve with sliced white bread and pickles. Adjust cayenne for desired spiciness.
