
📑 Table of Contents ▶
- Spatchcock Chicken: Fundamentals of the Perfect Roast
- Fundamentals
- Preparation/setup
- Directions
- Crispy Skin and Juicy Meat: Technique is Key
- Technique
- Tips/tricks
- Elevating Flavor: Perfecting Results
- Perfecting results
- Troubleshooting/variations
- Serving Spatchcock Chicken: Presentation Matters
- Serving/presentation
- Pairings/storage
- Spatchcock Chicken
Spatchcock Chicken Recipe for Crispy Skin and Juicy Meat
Preparing a spatchcock chicken brings back memories of family gatherings around the dinner table, where the enticing aroma of juicy roast chicken filled the air. Every time I could smell that beautiful mix of spices and citrus, my mouth would water in anticipation. The thought of crispy skin and tender, moist meat is simply irresistible.
The best part is how simple and satisfying cooking a spatchcock chicken can be. By removing the backbone and flattening the chicken, you create a dish that cooks evenly and saves time. This method not only produces perfectly succulent meat but also ensures that you enjoy a deliciously crispy skin.
Good food connects us, and spatchcock chicken offers an uncomplicated yet flavorful way to celebrate any occasion. It’s a dish that can easily turn an ordinary weeknight into something special without requiring hours in the kitchen. When you season it just right, you’ll achieve a mouthwatering experience that’s both impressive and memorable.
Let’s dive into the process of creating this culinary delight.
Spatchcock Chicken: Fundamentals of the Perfect Roast
Fundamentals
Understanding how to spatchcock a chicken is the cornerstone of achieving that enviable crispy skin and juicy meat. This technique involves removing the backbone of the chicken and flattening it, which not only speeds up cooking time but also promotes even heat distribution.
The star ingredients in this recipe enhance the flavor profile of the chicken tremendously. The combination of olive oil or melted butter, lemon, and a carefully balanced mix of spices guarantees a deep infusion of taste. Moreover, spatchcocking gives the chicken a larger surface area to absorb those flavors, ensuring each bite is a delight.
Preparation/setup
Start by gathering all your tools and ingredients. You’ll need sharp kitchen shears, a cutting board, and a spacious baking sheet or cast-iron skillet for roasting. Prepping beforehand makes the process smooth and efficient. Be sure to have your fresh herbs and spices neatly arranged.
Pat the chicken dry before beginning, as moisture will hinder your quest for crispy skin. Lay the chicken breast-side down on your cutting board, holding it steady with one hand while you carefully cut along both sides of the backbone with your sharp kitchen shears. Once you’ve removed the backbone, don’t forget to save it for making stock later. Flip the bird over and press down on the breastbone until it cracks, lying flat for even roasting.
Ingredients
For this creamy, flavorful spatchcock chicken, you’ll need:
- 1 whole chicken (3-4 pounds), backbone removed
- 2 tablespoons olive oil or melted butter
- 1 teaspoon kosher salt
- 1/2 teaspoon black pepper
- 2 teaspoons garlic powder
- 1 teaspoon smoked paprika
- 1/2 teaspoon dried thyme
- 1/2 teaspoon onion powder
- 1/4 teaspoon cayenne pepper (optional)
- 2 lemons (juiced and zested)
- 3 garlic cloves, minced
- 2 tablespoons fresh herbs (rosemary, thyme, or sage)
The spice combination is robust yet balanced, allowing the chicken to shine through. You can adjust the seasonings to fit your flavor preference, whether you want it herby, smoky, or even a little spicy.
Directions
-
Prepare Your Spatchcock Chicken:
Place the whole chicken breast-side down on a cutting board. Cut along both sides of the backbone. Flip the chicken over and press on the breastbone until it cracks. Pat the chicken dry with paper towels. -
Create Your Flavor Base:
In a small bowl, whisk together olive oil, minced garlic, lemon zest, and lemon juice. Loosen the skin over the breast and thighs, spreading half of the oil mixture directly on the meat under the skin. -
Season Generously:
Combine salt, pepper, garlic powder, smoked paprika, thyme, onion powder, and cayenne in a bowl. Rub the remaining oil mixture over the chicken’s surface and sprinkle the seasoning blend liberally on both sides. -
Rest and Preheat:
Let the chicken rest at room temperature for 15-20 minutes while your oven preheats to 450°F. This step enhances the flavors and ensures even cooking. -
Roast to Perfection:
Place the chicken skin-side up on a baking sheet or cast-iron skillet. Roast for 45-50 minutes until the skin is golden and the internal temperature reaches 165°F in the thigh. -
Rest and Serve:
Remove the chicken from the oven and let it rest for 10 minutes before carving. This cooling period helps maintain moisture. Garnish with fresh herbs and serve with lemon wedges.
Crispy Skin and Juicy Meat: Technique is Key
Technique
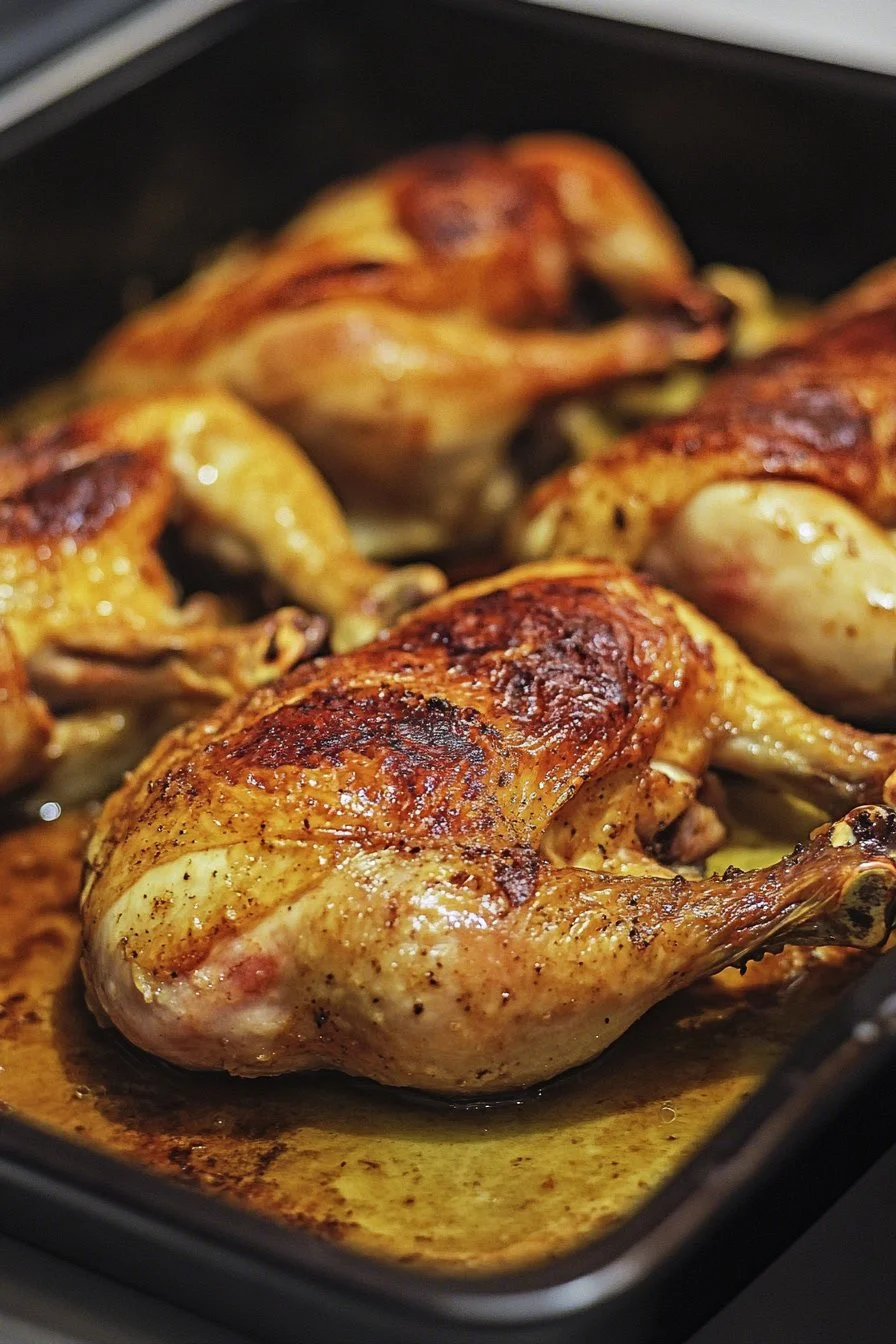
The secret to achieving that perfect crispy skin lies in the combination of drying the chicken and using high heat. By ensuring that the chicken is as dry as possible, you allow the skin to crisp up beautifully. Likewise, roasting at a high temperature promotes browning while sealing in moisture.
Remember the importance of loosening the skin before applying the seasoning and oil mixture. This technique guarantees that flavor penetrates the meat, resulting in juicy, tasty bites every time.
Tips/tricks
Several tricks can enhance your spatchcock chicken experience. One effective method is to use a cast-iron skillet, which retains heat exceptionally well. This helps in generating that sought-after crunch.
If you’re looking to amp up the zing, consider adding fragrant herbs like rosemary or sage to your seasoning blend. You can also play with spices such as cumin or coriander for a different culinary experience.
Stay attentive while roasting. Keep an instant-read thermometer handy to check for doneness without cutting into the chicken prematurely. This tool is invaluable in ensuring perfect results every time.
Elevating Flavor: Perfecting Results
Perfecting results
Once you have the hang of the spatchcock chicken method, you’ll want to experiment with various flavors. Citrus and herbs work beautifully together, offering a refreshing brightness alongside the savory spices. Since you can adjust the spice level, feel free to increase the cayenne for a fiery kick or omit it for a milder taste.
To achieve an even more succulent outcome, consider brining the chicken prior to roasting. A simple brine of salt and water can work wonders in enhancing the flavor and moisture content.
Troubleshooting/variations
If your chicken isn’t browning as desired, ensure that the oven rack is positioned correctly. Generally, placing it in the upper third of the oven maximizes exposure to direct heat.
Should you not have fresh herbs on hand, you can substitute with double the dried herbs in the seasoning blend. Additional flavor alternatives are using Mediterranean, Indian, or Mexican spices to give your chicken an exciting twist.
Always remember the importance of resting your chicken after roasting. This brief pause is crucial, as it allows the juices to redistribute, ensuring a mouthwatering result when you finally slice into it.
Serving Spatchcock Chicken: Presentation Matters
Serving/presentation
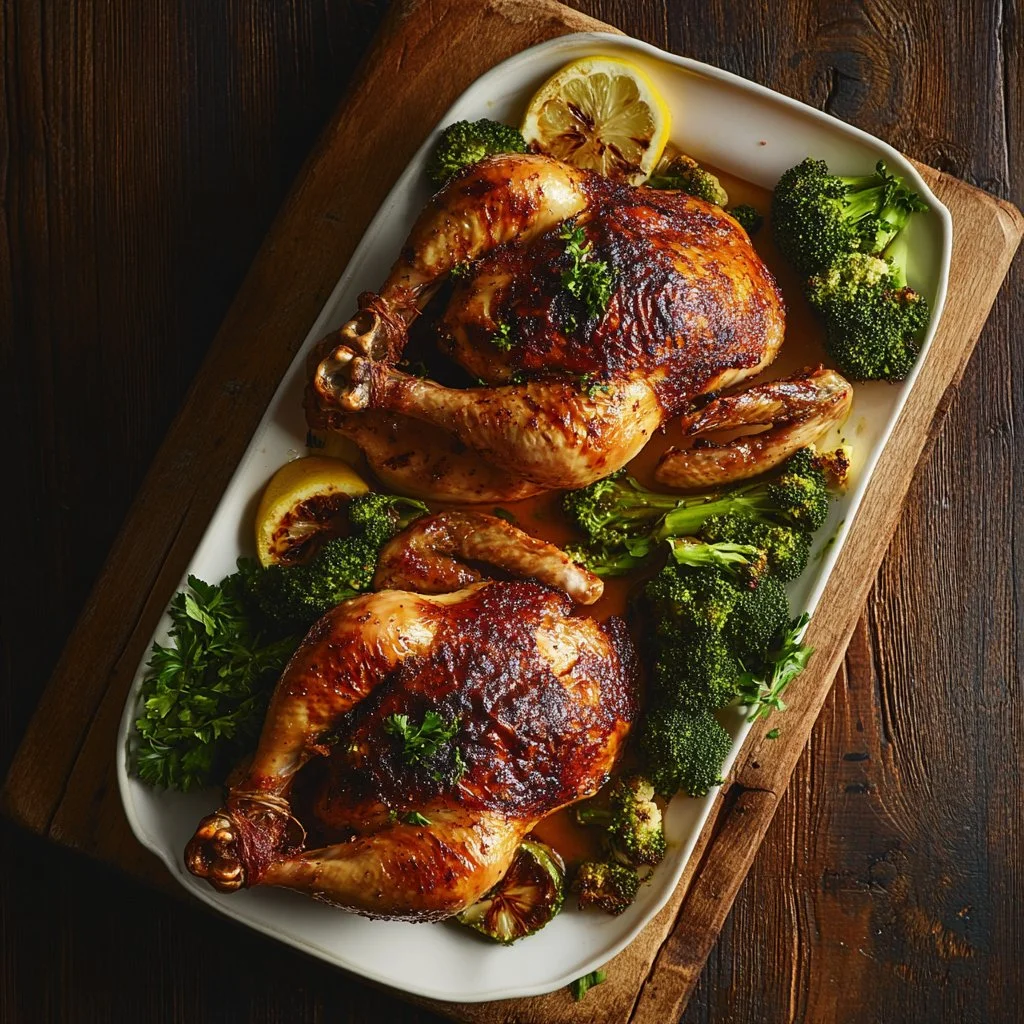
Once your spatchcock chicken is beautifully roasted and rested, presentation is a vital part of enjoying the meal. Carve the chicken into portions, and serve on a large platter for a family-style dinner. To make it visually appealing, add sprigs of fresh herbs or lemon wedges beside the chicken.
This roast chicken not only satisfies the taste buds but also delights the eyes. The golden-brown color, especially against the green herbs and yellow lemons, makes the dish a centerpiece worthy of any table.
Pairings/storage
Pair your spatchcock chicken with a variety of side dishes. Consider fresh salads, roasted vegetables, or comforting grains like quinoa or rice. These sides complement the rich flavors of the chicken while adding nutritious value.
For storage, allow any leftovers to cool before transferring them to an airtight container. Properly stored, your roasted spatchcock chicken can last in the refrigerator for up to four days. You can also freeze leftovers for easy meals later on, making it a versatile choice for meal prep.
The process of making spatchcock chicken not only fosters a love for cooking but also creates memorable moments with family and friends. Dive into this culinary adventure and enjoy the delightful results, with crispy skin and juicy meat taking center stage.
Print
Spatchcock Chicken
- Prep Time: 15 minutes
- Cook Time: 50 minutes
- Total Time: 65 minutes
- Yield: 4 servings
- Category: Main Course
- Method: Roasting
- Cuisine: American
- Diet: None
Description
A juicy and flavorful spatchcock chicken with crispy skin, perfect for family gatherings and special occasions.
Ingredients
- 1 whole chicken (3-4 pounds), backbone removed
- 2 tablespoons olive oil or melted butter
- 1 teaspoon kosher salt
- 1/2 teaspoon black pepper
- 2 teaspoons garlic powder
- 1 teaspoon smoked paprika
- 1/2 teaspoon dried thyme
- 1/2 teaspoon onion powder
- 1/4 teaspoon cayenne pepper (optional)
- 2 lemons (juiced and zested)
- 3 garlic cloves, minced
- 2 tablespoons fresh herbs (rosemary, thyme, or sage)
Instructions
- Place the whole chicken breast-side down on a cutting board. Cut along both sides of the backbone. Flip the chicken over and press on the breastbone until it cracks. Pat the chicken dry with paper towels.
- In a small bowl, whisk together olive oil, minced garlic, lemon zest, and lemon juice. Loosen the skin over the breast and thighs, spreading half of the oil mixture directly on the meat under the skin.
- Combine salt, pepper, garlic powder, smoked paprika, thyme, onion powder, and cayenne in a bowl. Rub the remaining oil mixture over the chicken’s surface and sprinkle the seasoning blend liberally on both sides.
- Let the chicken rest at room temperature for 15-20 minutes while your oven preheats to 450°F.
- Place the chicken skin-side up on a baking sheet or cast-iron skillet. Roast for 45-50 minutes until the skin is golden and the internal temperature reaches 165°F in the thigh.
- Remove the chicken from the oven and let it rest for 10 minutes before carving. Garnish with fresh herbs and serve with lemon wedges.
Notes
Consider brining the chicken prior to roasting for added flavor and moisture. Use a cast-iron skillet for better heat retention.
