

📑 Table of Contents ▶
- Perfectly Baked Chicken Breast
- Fundamentals
- Preparation/setup
- Directions
- Techniques for Perfectly Baked Chicken Breast
- Technique
- Tips and Tricks
- Achieving Perfect Results with Baked Chicken Breast
- Perfecting Results
- Troubleshooting and Variations
- Serving and Presentation of Baked Chicken Breast
- Serving and Presentation
- Pairings and Storage
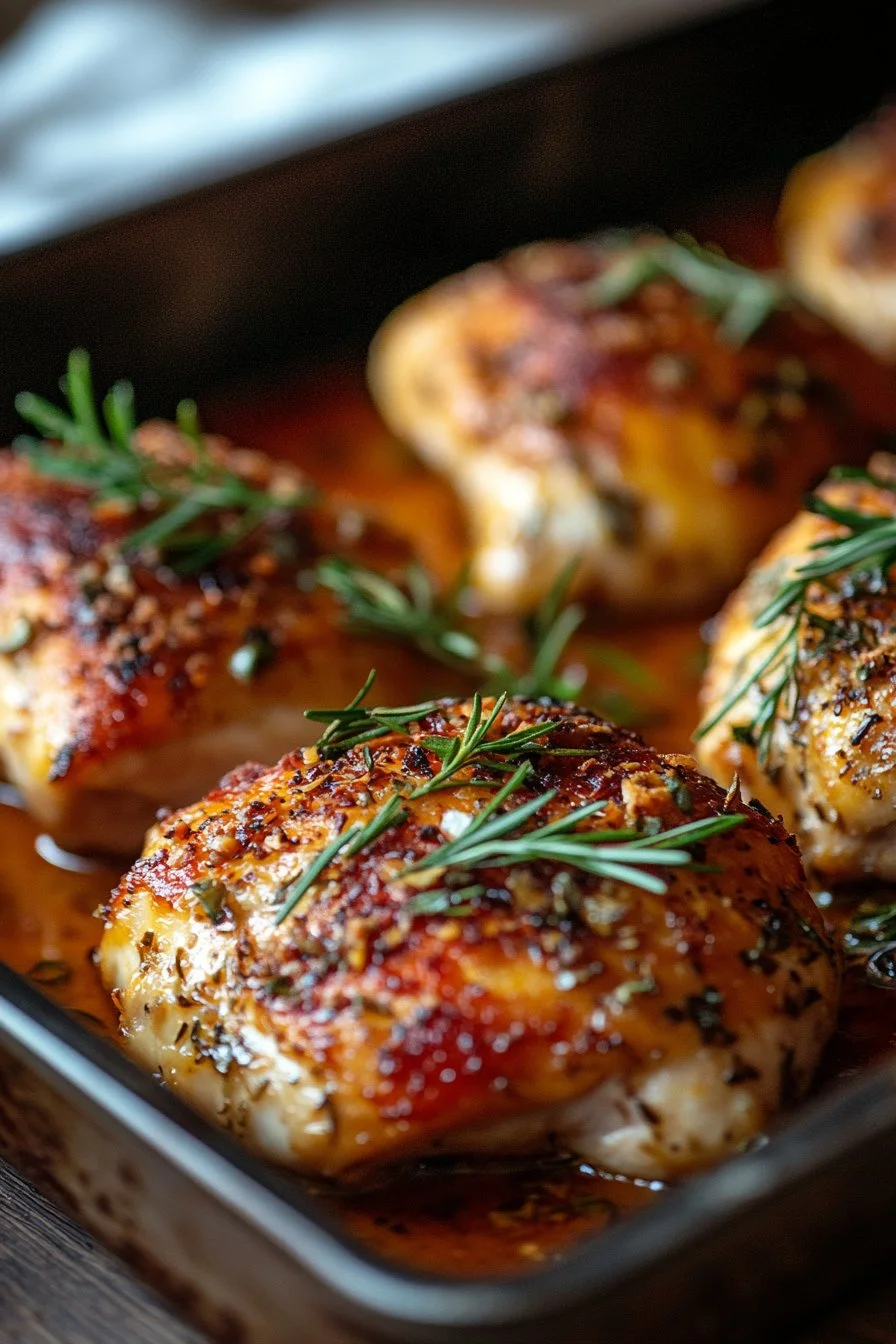
Two-Stage Perfectly Baked Chicken Breast
The inspiration for this recipe stems from my own kitchen adventures. There was a time when baked chicken breast meant dry and flavorless meals. I would watch friends effortlessly whip up juicy chicken, and I envied their skills. After countless trials, I discovered the secret to making perfectly baked chicken breasts that stay moist and tender.
With just a few simple ingredients, you can transform ordinary chicken breasts into a flavorful feast. Chicken tends to take center stage during family dinners, and this recipe ensures it shines. Cooking doesn’t have to be complicated; a few tweaks can make all the difference. This two-stage method helps lock in moisture while infusing an incredible flavor, turning chicken into the star of the meal.
If you want to impress your family or guests without the fuss, this recipe offers a straightforward approach. Let’s explore the steps together and elevate your chicken dishes. Once you master this method, you won’t dread cooking chicken again.
Perfectly Baked Chicken Breast
Fundamentals
Baked chicken breast can be a challenge for home cooks. Many encounter the dry, rubbery texture that makes eating chicken a chore rather than a delight. The key to achieving perfectly baked chicken lies in the method and preparation. When you break down the technique into manageable steps, it becomes a simple, rewarding task.
The two-stage baking process is what sets this recipe apart. First, you give the chicken a short blast of high heat to start locking in the juices. Then, you lower the temperature for a longer, gentle cooking phase. This contrast not only helps retain moisture but also promotes even cooking, ensuring you achieve that beautiful, tender result.
Preparation/setup
Start by removing the chicken breasts from the fridge at least 30 minutes before you cook. This helps them reach room temperature, which promotes more even cooking. Next, preheat your oven to 425°F. A well-preheated oven is essential for creating the initial blast of heat that will help seal the juices in.
Pounding the chicken breasts to an even thickness of 3/4 inch ensures they cook uniformly. Using a meat mallet or the bottom of a heavy skillet can achieve this. Once pounded, pat each breast dry with paper towels. This step is critical for achieving a nice sear and locking in flavor.
Ingredients
For this dish, simplicity rules the day. You will need:
- 4 boneless, skinless chicken breasts (6-8 oz each)
- 4 tablespoons olive oil (1 tablespoon per breast)
- 4 teaspoons salt (1 teaspoon per breast)
- 2 teaspoons black pepper (1/2 teaspoon per breast)
- 4 teaspoons garlic powder (1 teaspoon per breast)
- Optional: 1 teaspoon dried thyme or rosemary for added flavor
Having these ingredients ready ensures a smooth cooking experience. With just a handful of pantry staples, you can elevate your chicken game significantly.
Directions
- Remove chicken from the refrigerator and let it sit at room temperature for 30 minutes.
- Preheat the oven to 425°F.
- Pound the chicken breasts to an even 3/4-inch thickness using a meat mallet or a heavy skillet.
- Pat the chicken completely dry with paper towels.
- Rub each breast with 1 tablespoon of olive oil, ensuring all surfaces are coated.
- Season each breast with 1 teaspoon of salt, 1/2 teaspoon of black pepper, and 1 teaspoon of garlic powder. If desired, add 1 teaspoon of thyme or rosemary for extra flavor.
- Place the chicken on a rimmed baking sheet.
- Bake in the preheated oven at 425°F for 5 minutes.
- After 5 minutes, reduce the oven temperature to 375°F without opening the door.
- Continue baking for an additional 15-20 minutes.
- Check the internal temperature at the thickest part after 18 minutes. The chicken should reach 165°F.
- Allow the chicken to rest for 5 minutes before slicing and serving.
Techniques for Perfectly Baked Chicken Breast
Technique
Mastering the two-stage baking method can change the way you approach chicken. The initial high heat creates a quick searing effect that locks in juices. This technique is vital if you want to avoid the dreaded dry chicken syndrome.
Once the temperature drops, the chicken cooks more evenly, continuing to absorb flavor from the seasonings. Be sure not to open the oven door during the temperature reduction phase, as this can drop the heat and interfere with the cooking process.
Tips and Tricks
Use a meat thermometer for the best results. It takes the guesswork out of cooking and ensures your chicken is always perfectly done. Look for a reading of 165°F at the thickest part of the breast.
Consider marinating the chicken in olive oil and spices for a few hours before cooking if you have the time. This step enhances flavor and moisture even more, making for an even tastier dish. If you want to add variety, don’t shy away from experimenting with different herbs and spices.
Achieving Perfect Results with Baked Chicken Breast
Perfecting Results
After perfecting technique and preparation, the key to consistent success lies in knowing your oven and chicken. Ovens can vary significantly in temperature calibration, affecting cooking time. Investing in an oven thermometer can help ensure your settings match actual temperatures.
Another tip is to ensure even spacing on your baking sheet to allow air circulation. This ensures that all chicken breasts cook evenly. An overcrowded baking sheet can lead to uneven cooking and a less desirable texture.
Troubleshooting and Variations
If you find your chicken isn’t cooking evenly, check the thickness once more. Some breasts may need more pounding than others to reach that perfect 3/4-inch thickness.
If you prefer different flavor profiles, don’t hesitate to try varying the seasonings. Curry powder, paprika, or lemon zest can provide exciting twists. Opt for fresh herbs if you want brighter, fresher notes in your dish; just adjust the quantity accordingly.
Serving and Presentation of Baked Chicken Breast
Serving and Presentation
Serving your perfectly baked chicken breast can elevate the dining experience. Consider slicing the breasts at a slight diagonal for an appealing presentation. A sprinkle of fresh herbs, such as parsley or oregano, adds a pop of color and freshness to the plate.
Accompany your chicken with a generous serving of seasonal vegetables or a light salad. These sides not only complement the chicken but also enhance the meal visually.
Pairings and Storage
To enhance the meal experience, serve baked chicken breasts alongside steamed vegetables or fluffy rice. If you’re feeling adventurous, consider making a simple sauce to complement the chicken – a drizzle of olive oil with lemon juice works wonders.
For storage, allow any leftovers to cool completely, then place them in an airtight container. They can last in the fridge for up to four days. Reheat gently in the oven to maintain the moisture and tenderness.
Once you master this two-stage method, every dinner can feel like a special occasion. The possibilities are endless, and your love for cooking chicken will grow exponentially.
The journey towards cooking juicy, flavorful chicken breast can transform your mealtime routine. Secrets lie in simple techniques that yield extraordinary results. Embrace the process, enjoy the flavors, and let chicken make a grand appearance at your dining table.
Print
Two-Stage Perfectly Baked Chicken Breast
- Prep Time: 30 minutes
- Cook Time: 25 minutes
- Total Time: 55 minutes
- Yield: 4 servings
- Category: Main Course
- Method: Baking
- Cuisine: American
- Diet: Paleo
Description
A simple yet effective two-stage method to achieve juicy, flavorful baked chicken breasts that impress at the dinner table.
Ingredients
- 4 boneless, skinless chicken breasts (6-8 oz each)
- 4 tablespoons olive oil
- 4 teaspoons salt
- 2 teaspoons black pepper
- 4 teaspoons garlic powder
- 1 teaspoon dried thyme or rosemary (optional)
Instructions
- Remove chicken from the refrigerator and let it sit at room temperature for 30 minutes.
- Preheat the oven to 425°F (220°C).
- Pound the chicken breasts to an even 3/4-inch thickness using a meat mallet or a heavy skillet.
- Pat the chicken completely dry with paper towels.
- Rub each breast with 1 tablespoon of olive oil, ensuring all surfaces are coated.
- Season each breast with 1 teaspoon of salt, 1/2 teaspoon of black pepper, and 1 teaspoon of garlic powder. If desired, add 1 teaspoon of thyme or rosemary for extra flavor.
- Place the chicken on a rimmed baking sheet.
- Bake in the preheated oven at 425°F for 5 minutes.
- After 5 minutes, reduce the oven temperature to 375°F (190°C) without opening the door.
- Continue baking for an additional 15-20 minutes.
- Check the internal temperature at the thickest part after 18 minutes. The chicken should reach 165°F (75°C).
- Allow the chicken to rest for 5 minutes before slicing and serving.
Notes
Use a meat thermometer for the best results and consider marinating the chicken for enhanced flavor and moisture.
