📑 Table of Contents ▶
- Perfecting Homemade Fried Chicken Strips
- Fundamentals
- Preparation/Setup
- Directions
- Mastering Techniques for Fried Chicken Strips
- Technique
- Tips and Tricks
- Variations and Perfecting Results
- Perfecting Results
- Troubleshooting and Variations
- Serving and Storing Homemade Fried Chicken Strips
- Serving and Presentation
- Pairings and Storage
- Conclusion
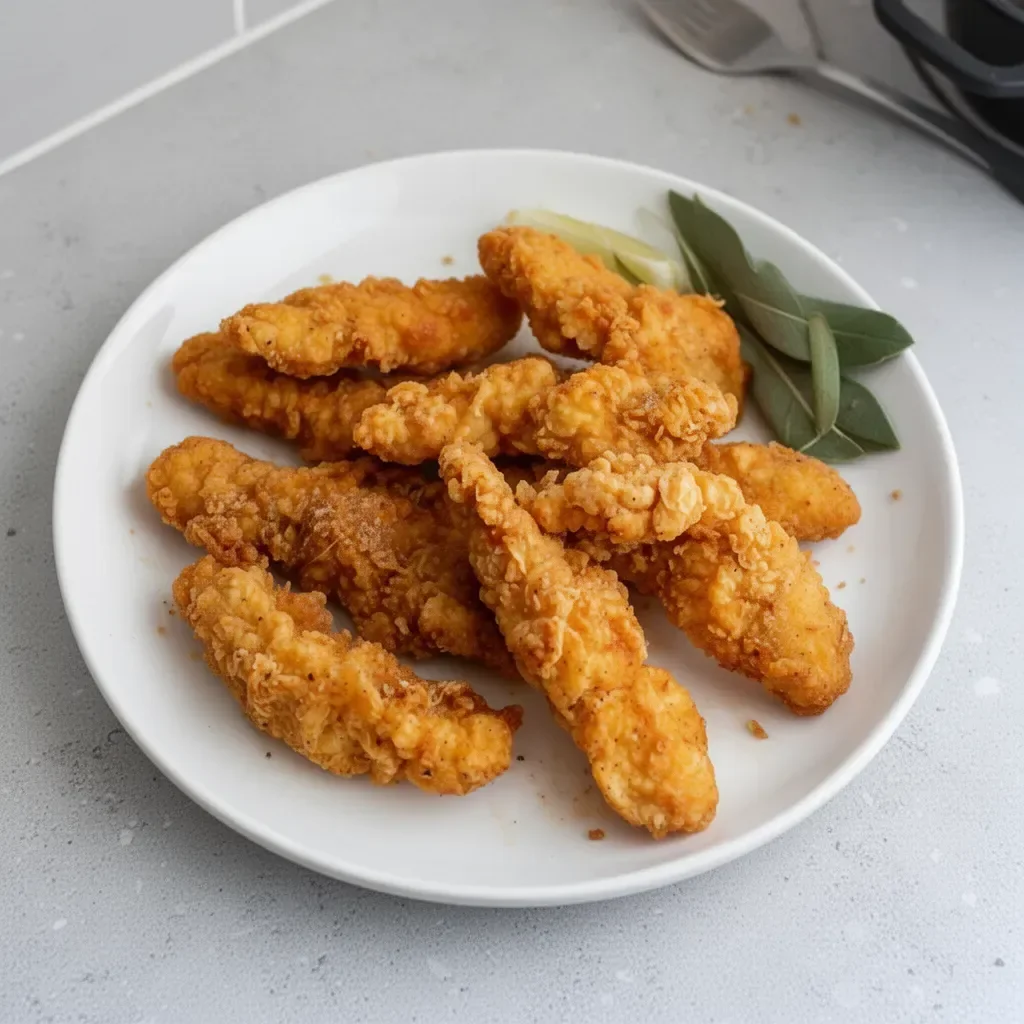
Homemade Fried Chicken Strips
Creating homemade fried chicken strips can turn an ordinary meal into an extraordinary one. It brings back fond memories of family dinners, where golden, crispy chicken strips always steal the show. The enticing aroma wafting through the kitchen keeps everyone eager to gather around the table, ready to dive into some flavorful goodness.
These crunchy delights remind us of cozy weekends. Whether it’s a movie night or a casual lunch, everyone loves homemade fried chicken strips. The crispy coating and juicy chicken inside provide the perfect bite. Plus, making them at home means you can customize your spices to match your family’s taste.
Let’s dive into how to create these satisfying homemade fried chicken strips that’ll leave taste buds dancing. With a simple list of ingredients and straightforward techniques, anyone can make a batch of these crunchy sensations.
Perfecting Homemade Fried Chicken Strips
Fundamentals
Understanding the basics of making fried chicken strips sets the foundation for a delicious result. The beauty of this dish lies in its simplicity. Fried chicken strips require just a few ingredients that combine seamlessly to create a crispy outer layer that tantalizes the taste buds. You need chicken breasts, seasoning, buttermilk, and flour — that’s it.
This recipe is versatile enough to accommodate various tastes. You can experiment with spice levels or choose your favorite dipping sauces to complement the chicken. The idea here is to keep it straightforward, focusing on perfecting that crispy coating while ensuring the chicken remains juicy and flavorful inside.
Preparation/Setup
Before starting, gather all ingredients and tools. Prepare your frying station by filling a large, heavy-bottomed frying pan with oil. This allows the chicken strips to fry evenly. Having everything ready minimizes mess and ensures a smooth cooking experience.
Start by cutting the chicken breasts into strips. This gives you the perfect bite-sized pieces to cook quickly. Set up a bowl for the buttermilk and another for the seasoned flour mixture. Keeping these elements organized helps streamline the dipping process, ensuring each chicken strip gets coated perfectly.
Ingredients
For this recipe, you will need:
- 1 pound chicken breasts, cut into strips
- 1 cup all-purpose flour
- 1 teaspoon salt
- 1 teaspoon pepper
- 1 teaspoon garlic powder
- 1 teaspoon paprika
- 1 cup buttermilk
- Oil for frying
Each ingredient works in harmony to create not just a meal, but a delectable experience that hits every flavor note.
Directions
- In a bowl, mix flour, salt, pepper, garlic powder, and paprika.
- Dip the chicken strips in buttermilk, then coat with the flour mixture.
- Heat oil in a frying pan over medium heat.
- Fry the chicken strips for 5-7 minutes on each side, or until golden brown and cooked through.
- Drain on paper towels and serve with your favorite dipping sauce.
Mastering Techniques for Fried Chicken Strips
Technique
Frying chicken strips correctly ensures that they turn out crispy and golden. Using the right technique is essential. First, ensure the oil is hot enough before adding the chicken. A temperature of around 350°F works best. This prevents the chicken from absorbing too much oil and becoming greasy.
Consider pan-frying in batches. Overcrowding the pan lowers the oil temperature, resulting in less crispy chicken. Frying in small portions allows for even cooking, producing consistently crunchy strips that everyone will love.
Tips and Tricks
A few handy tips can elevate your homemade fried chicken strips from good to great. First, marinate the chicken in buttermilk for a few hours or even overnight for incredibly tender meat. This step enhances the flavor while adding moisture.
Don’t skip on seasoning. The flour mixture packs a punch when it comes to flavor; adjust according to your preferences. Adding pepper flakes can give it an extra kick if you like a bit of heat.
When frying, monitor the color of the strips closely. They should be golden brown, signaling readiness. If you’re unsure, check the internal temperature using a meat thermometer. It should reach 165°F for safe eating.
Variations and Perfecting Results
Perfecting Results
Consistency is key when crafting homemade fried chicken strips. One way to achieve this is by keeping the thickness of the chicken strips uniform. This ensures even cooking throughout. Additionally, maintaining the oil temperature will yield the crispy texture everyone craves.
Experiment with different spices or herbs in your flour mixture. Adding cayenne for heat or Italian seasoning can alter the flavor profile. This way, you can create a personalized version of chicken strips that suits your taste buds.
Troubleshooting and Variations
If your chicken strips don’t turn out as expected, observe a few common troubleshooting points. If they are soggy, check oil temperature before frying. If the strips are too dry, consider adjusting cooking time or increasing marinating time with buttermilk.
For variations, consider adding different coat mixtures like panko breadcrumbs for crunchier textures or subbing in almond flour for a gluten-free alternative. Each alteration permits creativity in the kitchen while still delivering delicious results.
Serving and Storing Homemade Fried Chicken Strips
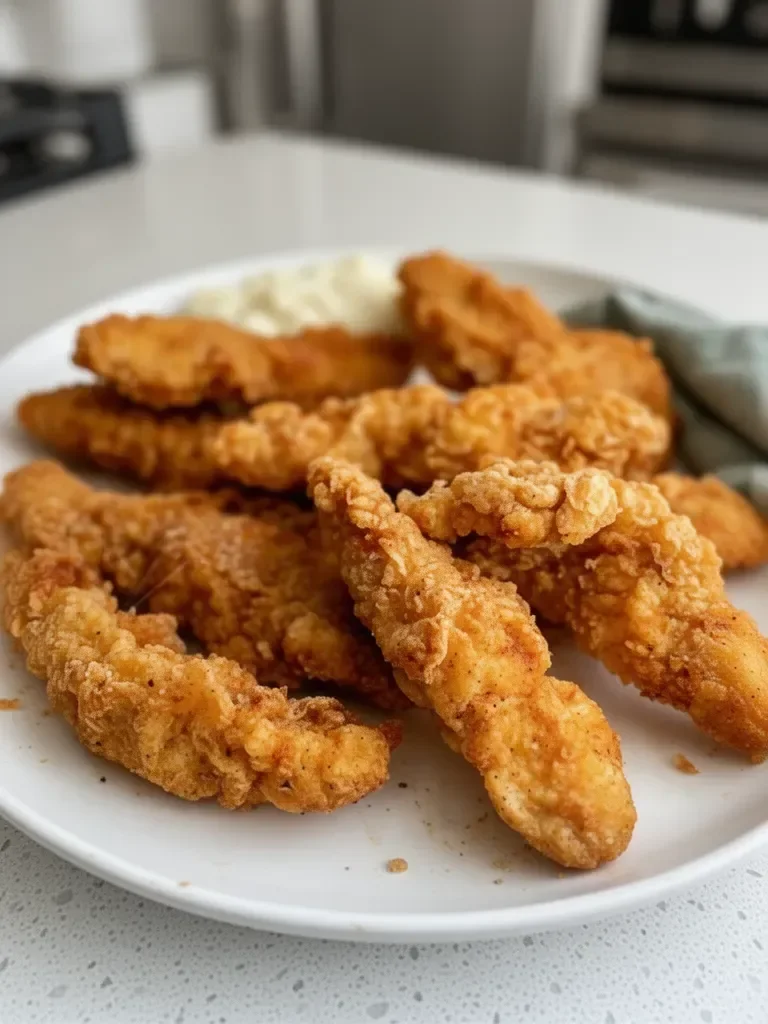
Serving and Presentation
Serving homemade fried chicken strips can be as much an art as it is about the food itself. Present them on a rustic wooden board or in a basket lined with parchment paper for an inviting display. Pair them with various dipping sauces like honey mustard, ranch, or sriracha for an exciting flavor adventure.
You can also serve alongside fresh veggies or fries to make it a complete meal. This presentation not only highlights the chicken strips but also creates a feast for the eyes.
Pairings and Storage
While enjoying these homemade fried chicken strips, consider serving them alongside a fresh side salad or potato wedges for a satisfying meal. The crispiness of the chicken pairs perfectly with creamy or tangy sauces.
If you have leftovers, store them in an airtight container in the refrigerator. They will stay fresh for up to 3 days. To reheat, place the strips in the oven or air fryer to maintain their crispiness. Avoid microwaving them, as it can make the coating soggy.
Conclusion
Creating homemade fried chicken strips not only serves up a delicious meal but also brings joy and satisfaction to any table. With straightforward steps and easily attainable ingredients, anyone can master this comforting recipe. From the moment those strips hit the oil until they reach your plate, the experience is beyond delightful. Enjoy every crispy bite and relish in the flavors that make homemade cooking so worthwhile.
Print
Homemade Fried Chicken Strips
- Prep Time: 15 minutes
- Cook Time: 15 minutes
- Total Time: 30 minutes
- Yield: 4 servings
- Category: Main Course
- Method: Frying
- Cuisine: American
- Diet: Gluten-free (if using gluten-free flour)
Description
Crispy and juicy homemade fried chicken strips, perfect for any occasion.
Ingredients
- 1 pound chicken breasts, cut into strips
- 1 cup all-purpose flour
- 1 teaspoon salt
- 1 teaspoon pepper
- 1 teaspoon garlic powder
- 1 teaspoon paprika
- 1 cup buttermilk
- Oil for frying
Instructions
- Mix flour, salt, pepper, garlic powder, and paprika in a bowl.
- Dip the chicken strips in buttermilk, then coat with the flour mixture.
- Heat oil in a frying pan over medium heat.
- Fry the chicken strips for 5-7 minutes on each side, or until golden brown and cooked through.
- Drain on paper towels and serve with your favorite dipping sauce.
Notes
For extra tender chicken, marinate in buttermilk for a few hours or overnight. Keep the oil temperature consistent for the best crispiness.
