
📑 Table of Contents ▶
- Creamed Corn Casserole
- Crafting the Perfect Creamed Corn Casserole
- Fundamentals
- Preparation/setup
- Mastering Your Creamed Corn Casserole
- Technique
- Tips/tricks
- Enhancing Your Creamed Corn Casserole
- Perfecting results
- Troubleshooting/variations
- Serving and Storing Your Creamed Corn Casserole
- Serving/presentation
- Pairings/storage
- Conclusion
- FAQs – Creamed Corn Casserole
There’s something about a creamed corn casserole that instantly brings me back to my grandmother’s kitchen. The sweet and savory aroma would fill the room, creating a welcoming atmosphere for family gatherings. We’d all gather around, eagerly waiting for that first bite of creamy, golden corn goodness. It wasn’t just a dish; it was a tradition, a staple in our family that connected generations through flavor.
One of the things I love most about a creamed corn casserole is its simplicity. It requires minimal ingredients but delivers maximum comfort. With ingredients like whole kernel sweet corn, cream-style corn, and a touch of butter, this dish is both easy to prepare and rich in taste. The magic happens when everything blends together in the oven, creating a dish that’s as delightful to eat as it is to make.
In our busy lives, having a recipe that’s both quick to assemble and deeply satisfying is invaluable. This creamed corn casserole fits the bill perfectly. It’s a testament to the idea that good food doesn’t always need to be complicated. It’s about using what you have to create something that brings joy and comfort to those around you. Let’s dive into the basics of making this timeless dish.

Creamed Corn Casserole
- Prep Time: 15 minutes
- Cook Time: 1 hour and 15 minutes
- Total Time: 1 hour and 30 minutes
- Yield: 6 servings
- Category: Side Dish
- Method: Baking
- Cuisine: American
Description
Discover the ultimate Creamed Corn Casserole recipe that’s creamy, comforting, and perfect for any gathering. Learn how to make this delicious side dish today!
Ingredients
- – 1/2 cup (113 g) unsalted butter
- – 1/4 cup (30 g) all-purpose flour
- – 1/4 cup (50 g) sugar
- – 2 eggs – well beaten
- – 1 cup (240 ml) whole milk
- – 1 can (432 g) whole kernel sweet corn – drained
- – 1 can (420 g) cream-style sweet corn
- – 1/2 teaspoon (3 ml) salt
- – 1/2 teaspoon (3 ml) ground black pepper
Instructions
- Preheat the oven to 350°F.
- In a saucepan, gently warm the butter over medium-low heat, swirling the pan until it melts completely. Set it aside as you prepare the other ingredients.
- Combine the flour with the melted butter, ensuring it is thoroughly mixed. Next, add the sugar, eggs, and milk, stirring until smooth.
- Incorporate the cream-style corn into the butter mixture, followed by the drained whole kernel corn. Add salt and pepper to taste.
- Transfer the mixture into an 8×8″ baking dish.
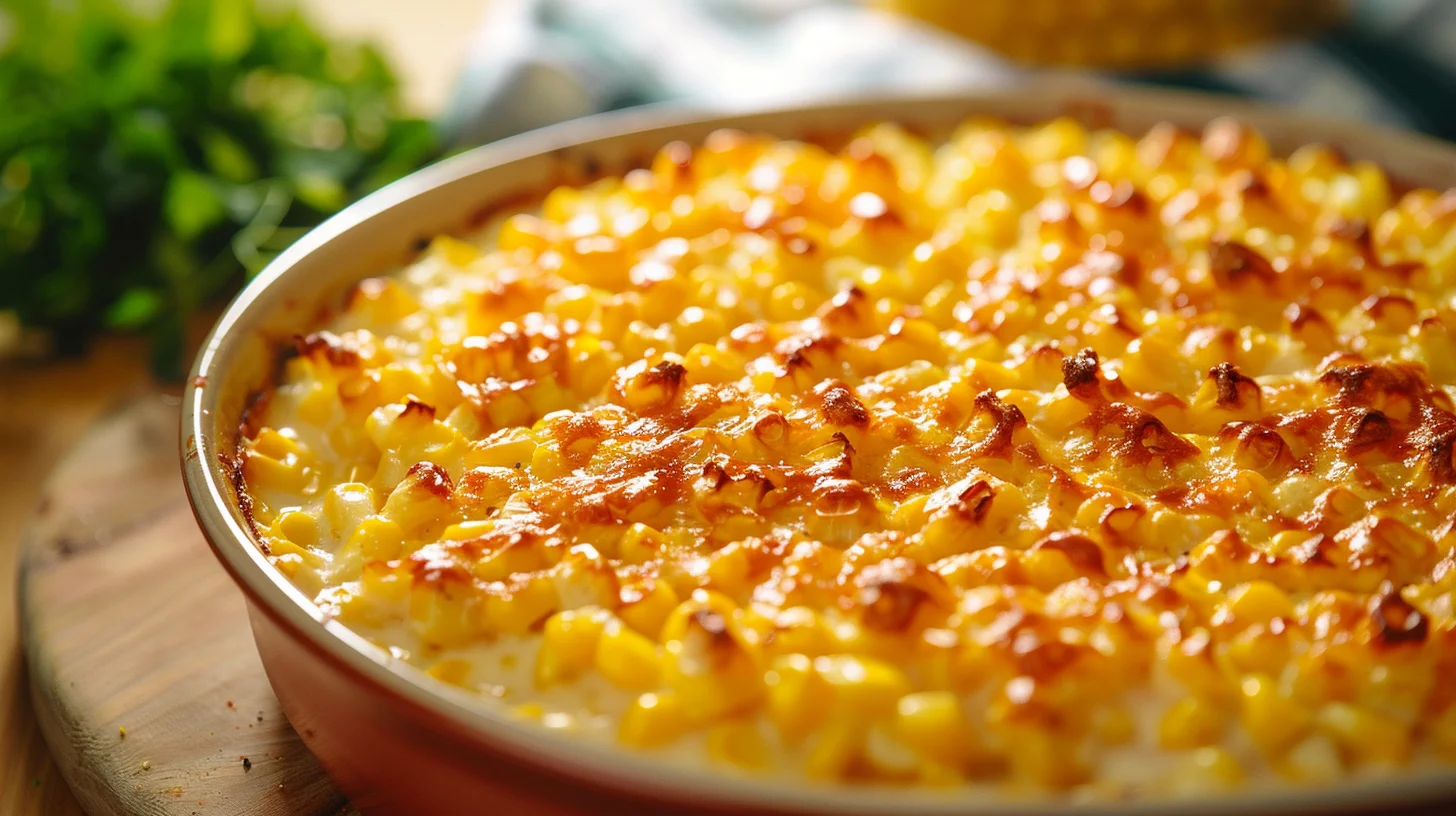
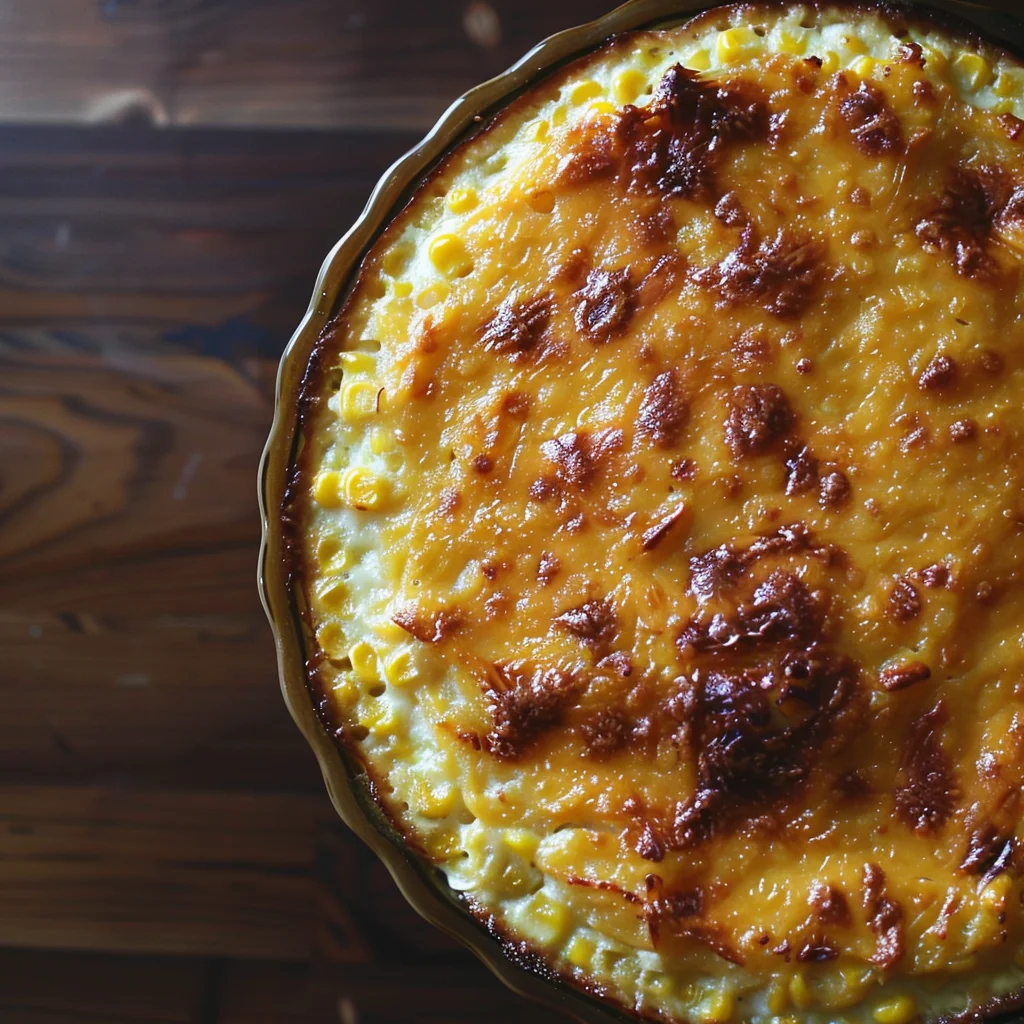
- Place the dish on the middle rack of the oven and bake uncovered for about 1 hour and 15 minutes, until the center is firm and the top is golden brown and caramelized. For additional browning, you may move it to the top rack near the end of the baking time. Allow it to rest for 5 minutes before serving warm.
Notes
- Consider using salted butter for a richer flavor.
- Sprinkle cayenne pepper for a hint of spice.
- Add grated cheddar cheese on top for a cheesy twist.
Crafting the Perfect Creamed Corn Casserole
Fundamentals
Creating a delicious creamed corn casserole begins with understanding its essential components. This dish relies on the creaminess of the cream-style corn and the texture provided by the whole kernel corn. The unsalted butter and sugar add depth and sweetness, balancing the savory elements provided by the salt and ground black pepper.
The key to a successful casserole lies in the seamless integration of these ingredients. The eggs play a crucial role as they bind the mixture, ensuring the casserole holds its shape once baked. Meanwhile, the flour helps thicken the mixture, giving it the hearty consistency that defines a good creamed corn casserole.
Preparation/setup
Begin by preheating your oven to 350°F. This temperature is essential for achieving the perfect bake, allowing the casserole to cook evenly and the top to caramelize beautifully. While the oven heats, melt the butter in a saucepan over medium-low heat. This gentle warming prevents the butter from burning, preserving its creamy taste.
Once the butter is melted, combine it with the flour, mixing thoroughly to avoid lumps. Then, integrate the sugar, well-beaten eggs, and milk into the mixture, stirring until smooth. This step is crucial for achieving the rich, creamy texture that characterizes this dish. Finally, fold in the cream-style corn, drained whole kernel corn, salt, and pepper. This blend of flavors and textures forms the heart of your casserole.
Mastering Your Creamed Corn Casserole
Technique
The technique for making a creamed corn casserole is straightforward yet requires a few considerations to perfect. After preparing the mixture, transfer it to an 8×8″ baking dish. This size ensures the casserole cooks evenly, with the right balance of crispy edges and a soft, creamy center.
Place the dish on the middle rack of your oven. This positioning allows the casserole to cook evenly, avoiding any burnt edges or undercooked centers. Bake for about 1 hour and 15 minutes. This time allows the flavors to meld, and the top to reach a delightful golden brown. For those who fancy a bit more crispiness, moving the dish to the top rack near the end of the baking time can enhance the caramelization.
Creamed Corn Casserole
Tips/tricks
To ensure the best results, avoid overmixing the batter once the corn is added. Overmixing can break down the corn, affecting the texture. Additionally, letting the casserole rest for five minutes after baking helps the flavors settle, making each bite more flavorful.
If you love creative comfort food, you’ll definitely want to try these Mexican Street Corn White Chicken Chili and One Pot Chicken and Rice Casserole Recipe for more inspiration. The flavors in these dishes complement the rich taste of the creamed corn casserole, offering a delightful culinary experience.
Enhancing Your Creamed Corn Casserole
Perfecting results
To perfect your creamed corn casserole, focus on achieving the right texture. The balance between creamy and firm is crucial. A perfectly baked casserole should have a golden, slightly crisp top with a soft, creamy interior. If you notice the top browning too quickly, cover it with foil midway through baking to prevent burning.
Experimenting with the cooking time can help you find your perfect consistency. If you prefer a softer center, reduce the baking time slightly. Conversely, if you like a firmer texture, extend the baking time by a few minutes.
Troubleshooting/variations
If your casserole turns out too runny, it could be due to insufficient baking time or an inaccurate oven temperature. Always ensure your oven is fully preheated before baking. Consider using a thermometer to verify your oven’s accuracy. For a thicker casserole, you might add a touch more flour or reduce the milk slightly.
For those interested in variations, consider adding a sprinkle of cheese on top before baking. This adds a delightful layer of flavor and texture. Other variations include incorporating diced bell peppers or jalapeños for a bit of heat. For more inspiration, explore this Cream Cheese Corn Casserole for a creamy twist on the classic.
Serving and Storing Your Creamed Corn Casserole
Serving/presentation
When it comes to serving your creamed corn casserole, presentation is key. Allow the casserole to rest for about five minutes after baking. This resting time helps the casserole set, making it easier to slice and serve. For a touch of color, garnish with freshly chopped parsley or chives.
This dish pairs wonderfully with a variety of main courses. For a complete meal, consider serving it alongside these Creamy Chicken Broccoli Rice Cheese Casserole or a Crockpot Chicken Broccoli and Rice Casserole. These dishes offer complementary flavors that enhance the rich, creamy taste of the casserole.

Creamed Corn Casserole
Pairings/storage
For storing leftovers, cover the casserole tightly with foil or transfer it to an airtight container. It will keep in the refrigerator for up to three days. When reheating, cover with foil and warm in the oven to maintain its texture and flavor. If you’re interested in more creative casserole ideas, the Simple Low Carb Chicken Casserole offers another delightful option.
For those looking to explore further, the Paula Deen’s Corn Casserole provides a classic take on this beloved dish. And for a unique twist, the Sous Vide Corned Beef in Package offers an interesting method of preparation.
Conclusion
The creamed corn casserole is a delightful dish that brings warmth and comfort to any meal. Its simplicity and rich flavors make it a versatile addition to your culinary repertoire. By mastering the basics and experimenting with variations, you can create a dish that’s tailored to your taste and preferences.
Whether served as a side dish or a main attraction, this casserole is sure to impress. Its creamy texture and sweet corn flavor are universally loved, making it a perfect choice for family gatherings and casual dinners alike. Embrace the joy of cooking with this timeless recipe, and let it become a cherished part of your own family traditions.
