
📑 Table of Contents ▶
Crispy Chicken Tenders
The first time I made crispy chicken tenders, I was nervous. I stood in my kitchen, surrounded by ingredients, and wondered if I could recreate that golden delight I loved from my favorite diner. As the chicken sizzled in the pan, I felt excitement and hunger build in the air. The aroma engulfed the kitchen, making it hard to resist the urge to sneak a bite.
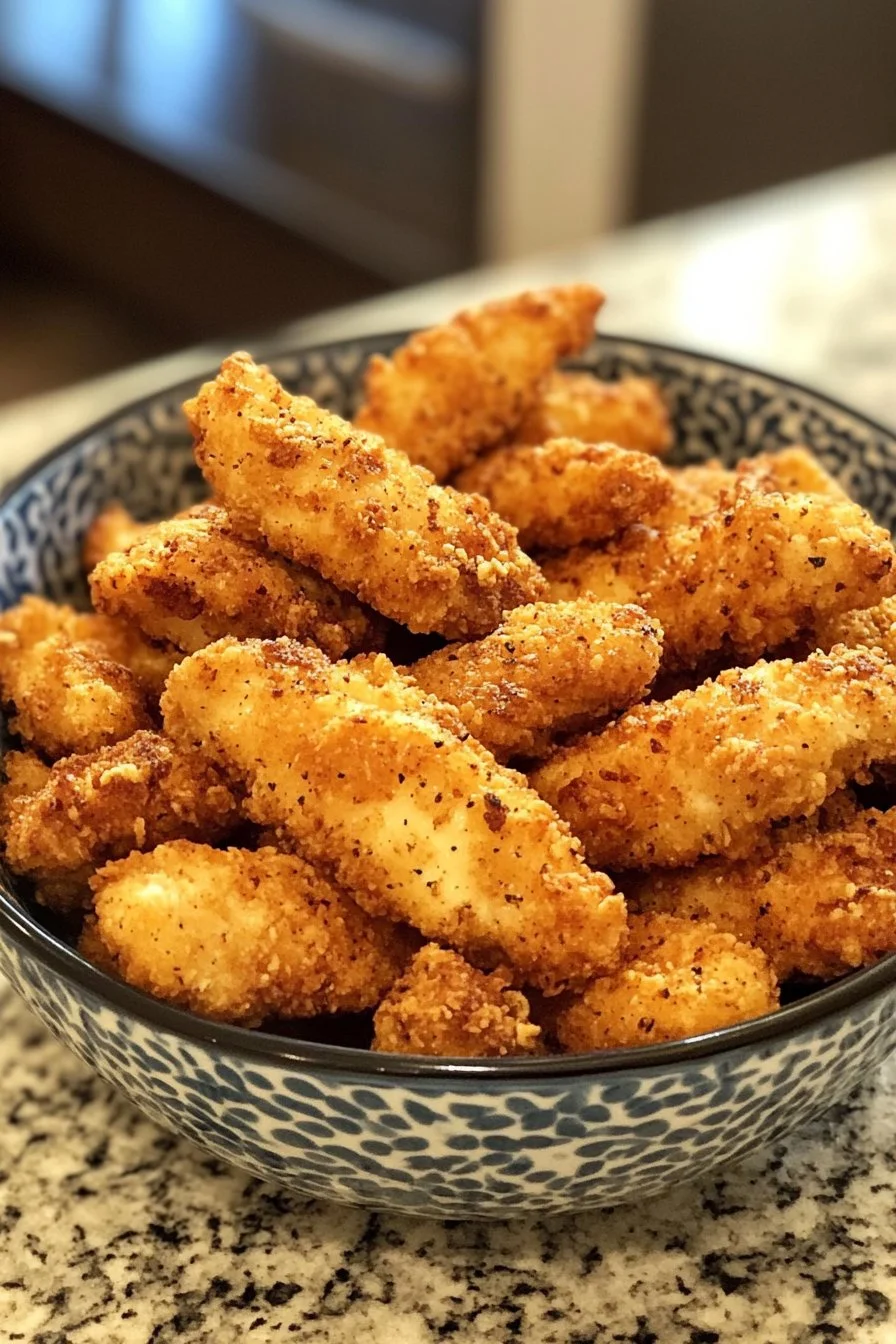
Now, crispy chicken tenders have become a staple in my home, loved by both kids and adults alike. There’s something about the crispy coating accentuating the juicy chicken that makes every bite unforgettable. Even on busy weeknights, these tenders bring a sense of comfort.
Whether it’s a quick dinner for one or a family gathering, crispy chicken tenders make every meal an occasion. Let’s dive into how you can whip these up at home. With the right ingredients and steps, you too can enjoy this classic dish that never fails to impress.
Crispy Chicken Tenders Fundamentals
Preparation/setup
To achieve the best crispy chicken tenders, start with proper preparation. Gather your ingredients, including a pound of chicken breast, a cup of all-purpose flour, and spices like garlic powder, onion powder, and paprika. Make your cooking space tidy and efficient. This minimizes distraction and allows for a smoother cooking experience.
Once your workspace is ready, set up three bowls for the coating process. One will hold the seasoned flour, the second for the beaten eggs, and the last for the breadcrumbs. This method creates an organized workflow and maximizes your efficiency in the kitchen.
Ingredients
The star ingredient here is 1 pound of chicken breast, sliced into strips. This provides a tender and juicy base for your crispy coating. You’ll need 1 cup of all-purpose flour, which forms the first layer of the coating, ensuring that the spices adhere well.
Include 2 beaten eggs to help bind the flour and breadcrumbs together. For the crunchy exterior, prepare 1 cup of breadcrumbs. Add flavor with 1 teaspoon each of garlic powder, onion powder, and paprika, and season with salt and pepper to taste.
Finally, don’t forget the oil for frying. This is crucial for achieving that tantalizing golden brown crust that makes crispy chicken tenders irresistible.
Directions
Start by mixing the flour, garlic powder, onion powder, paprika, salt, and pepper in a large bowl. Stir these ingredients together until well combined. The mixture should be fragrant and inviting.
Next, take each chicken strip and dredge it in the seasoned flour, ensuring it’s evenly coated. Dip the flour-coated chicken into the beaten eggs, letting any excess drip off. Finally, coat each strip with breadcrumbs, pressing lightly to ensure an even layer adheres.
Heat oil in a frying pan over medium heat. Ensure the oil is hot enough before adding the chicken strips to fry. Cook in batches to prevent overcrowding. Fry the chicken tenders until golden brown and cooked through, about 5-7 minutes per side.
Once cooked, remove the tenders and let them drain on paper towels. This removes excess oil, keeping your tenders crispy. Serve hot, and watch as everyone enjoys their golden goodness.
Crispy Chicken Tenders Technique
Technique
Mastering the technique of frying chicken tenders comes down to handling the heat. A well-heated pan results in properly cooked chicken with a crunchy crust. Test the oil’s readiness by dropping a small piece of bread; if it sizzles and bubbles, it’s time to fry.
Fry the chicken tenders in batches, ensuring that they have enough space. Crowding the pan can lower the temperature of the oil, resulting in soggy tenders. Keep an eye on the cooking process to adjust the heat if necessary, allowing for even cooking without burning.
Tips/tricks
To elevate your crispy chicken tenders, consider seasoning the breadcrumbs with additional spices like cayenne for heat or herbs for extra flavor. You can also use seasoned breadcrumbs for an added kick.
If you want extra crunch, double-dip your chicken strips. After the first coating of breadcrumbs, return the chicken to the egg and then coat it with breadcrumbs again. This creates a thicker, crispier layer.
Always use tongs when handling the chicken. This keeps your coating intact and allows for a cleaner cooking process.
Crispy Chicken Tenders Perfecting Results
Perfecting results
Achieving perfection with crispy chicken tenders involves attention to detail. Ensure even slicing of the chicken strips, making them uniform in size. This helps in cooking consistently, preventing some pieces from being undercooked while others are overdone.
Another key factor is monitoring the frying time. A timer can keep track, ensuring you don’t over-fry or under-fry your chicken. Use a meat thermometer if needed; the internal temperature should reach 165°F for safe consumption.
Always let the chicken tenders rest for a moment after frying. This helps maintain their juiciness and makes for a more enjoyable eating experience.
Troubleshooting/variations
If your chicken tenders don’t come out as crispy as desired, consider the oil temperature. Too cool oil can lead to greasy, heavy coatings. Maintain a stable frying temperature for the best results.
If you experience uneven browning, check that you’re not overcrowding the pan. Replace the oil if it becomes dark or starts smoking to ensure a clean frying medium.
For variations, try different spices in your flour mixture or customize the breadcrumbs. You can experiment with panko for a lighter crunch or even add grated cheese to the mix for a cheesy flavor.
Crispy Chicken Tenders Serving/Presentation
Serving/presentation
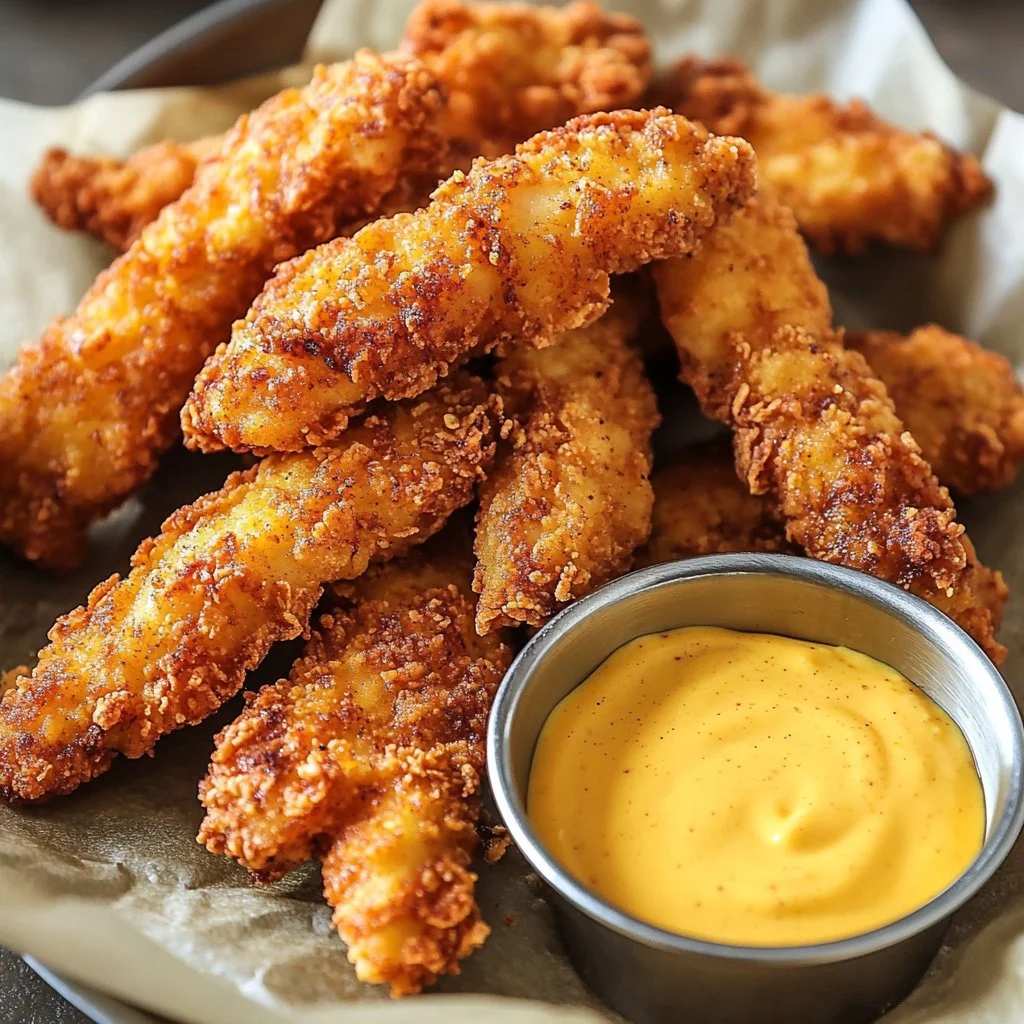
The presentation of crispy chicken tenders can enhance the dining experience. Serve them on a large platter with parchment paper underneath for a rustic look. Adding fresh herbs as a garnish can brighten the dish and provide an appealing contrast.
Pair your crispy chicken tenders with various dipping sauces like barbecue, honey mustard, or ranch. Each sauce complements the crispy texture and adds flavors that enhance your meal further.
Pairings/storage
Crispy chicken tenders pair wonderfully with a variety of sides. Think about crispy fries, fresh salads, or coleslaw for a complete meal. You can even choose to serve them alongside vegetable sticks for a healthier twist.
For storage, place any leftover chicken tenders in an airtight container. They can last in the fridge for up to three days. Reheat them in the oven for a few minutes to restore their crispness, ensuring every bite stays delicious.
Conclusion
Crispy chicken tenders bring joy and flavor to any meal. This simple yet satisfying recipe resonates with fans of delicious chicken dishes. With straightforward steps and essential techniques, anyone can enjoy this beloved comfort food. Indulging in crispy chicken tenders at home creates memorable experiences. Cooking becomes enjoyable and delicious, offering everyone a slice of culinary bliss.
Print
Crispy Chicken Tenders
- Prep Time: 15 minutes
- Cook Time: 15 minutes
- Total Time: 30 minutes
- Yield: 4 servings
- Category: Main Course
- Method: Frying
- Cuisine: American
- Diet: None
Description
Delicious and crispy chicken tenders that are a family favorite, perfect for any occasion.
Ingredients
- 1 pound chicken breast, sliced into strips
- 1 cup all-purpose flour
- 2 beaten eggs
- 1 cup breadcrumbs
- 1 teaspoon garlic powder
- 1 teaspoon onion powder
- 1 teaspoon paprika
- Salt and pepper to taste
- Oil for frying
Instructions
- In a large bowl, mix flour, garlic powder, onion powder, paprika, salt, and pepper until well combined.
- Dredge each chicken strip in the seasoned flour, then dip into the beaten eggs, allowing excess to drip off.
- Coat each strip with breadcrumbs, pressing lightly for an even layer.
- Heat oil in a frying pan over medium heat until hot.
- Fry the chicken tenders in batches for 5-7 minutes per side until golden brown and cooked through.
- Remove tenders and drain on paper towels before serving hot.
Notes
For extra crunch, consider double-dipping the chicken strips in the egg and breadcrumbs. Always use tongs to maintain the coating.
